How to Make a Cat Scratching Post
Learn how to make a cat scratching post! This chic DIY cat scratcher uses sisal rope and a few other materials to make a beautiful scratcher for your kitty.
How to Make a Cat Scratching Post
Hey there, today I am sharing an awesome post that is actually an old project! This post about how to make a cat scratching post first appeared on Pretty Handy Girl’s blog back in May 2017. Right after I found out I was pregnant with Tootie and hadn’t told anyone yet!
I loved being a contributor for Pretty Handy Girl Brittany’s blog. She is awesome and does some seriously badass stuff. But I had to scale back on some of my commitments when I found out I was pregnant and started barfing nearly every day. God it was terrible.
Now I am finally re-sharing this project over here on my blog…over two years later 🙂 It’s an adorable DIY cat scratcher that you might even be able to make using scrap wood. Depends on how much of a hoarder you are.
Supplies
(Affiliate links below; read more about those here)
- 3/4″ plywood, I used a scrap from my wood pile that was about 14″ x 14″
- 2″ thick wooden dowel cut to 24″ long
- Strong adhesive
- Hand-held staple gun
- Sandpaper or orbital sander
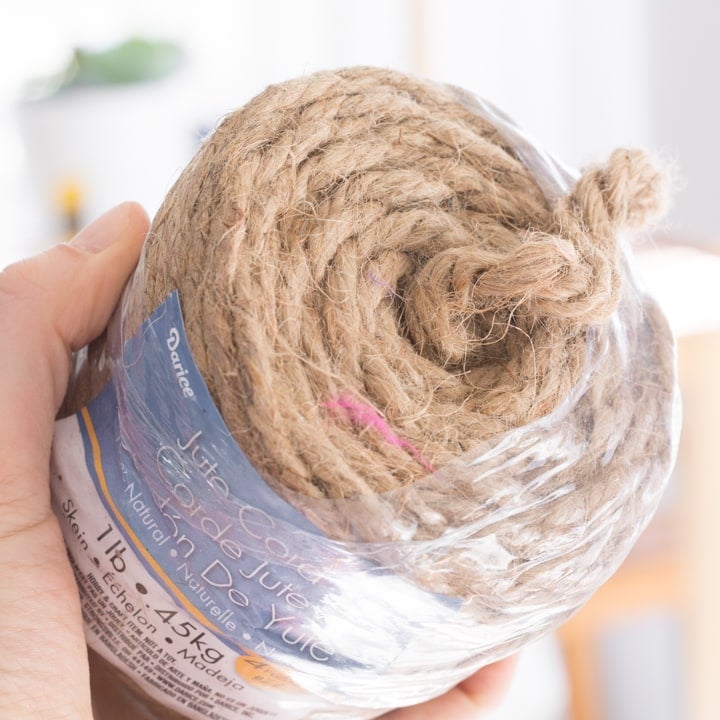
- Sisal rope or jute cord
- Scissors
- Disposable gloves
- Pliers
- Black and bronze paint
- FrogTape
- Brushes
Like projects for cats? Check out my DIY cat tree made using real branches, my Ikea tables cat condo, and my indoor cat house build plans!
And here’s how to make a cat scratching post!
Always take the proper precautions and safety measures before working with any tools or materials. Wear safety equipment and work with a professional to complete projects when necessary. Read my full terms of use and disclosure for more. Happy making and stay safe!
Step 1: Create the scratcher pole portion
I created the cat scratcher pole portion first. First I took my 2″ thick wooden dowel and stapled the jute cord/sisal rope into place a few inches above the bottom of the dowel. I added a dab of adhesive and then used a handheld staple gun and just one staple to hold the rope in place while the glue dried.
Then I tightly wound the rope up around the dowel, not leaving any gaps in the rope. As I wound it, I also added a few lines of strong adhesive up the dowel. I wanted to ensure the rope would stay in place when everything was dry and I removed the staples. Oh, and I also did a staple about halfway up the rope to hold everything in place as well.
I kept gluing and winding until I got near the top of the dowel. Then I added a dab of glue to the very end of the rope and staple it in place, just as I did when I started winding the rope. Once all of the glue was dry, I used pliers to carefully remove the staples. You don’t want your kitties snagging their nails!


Step 2: Create the base
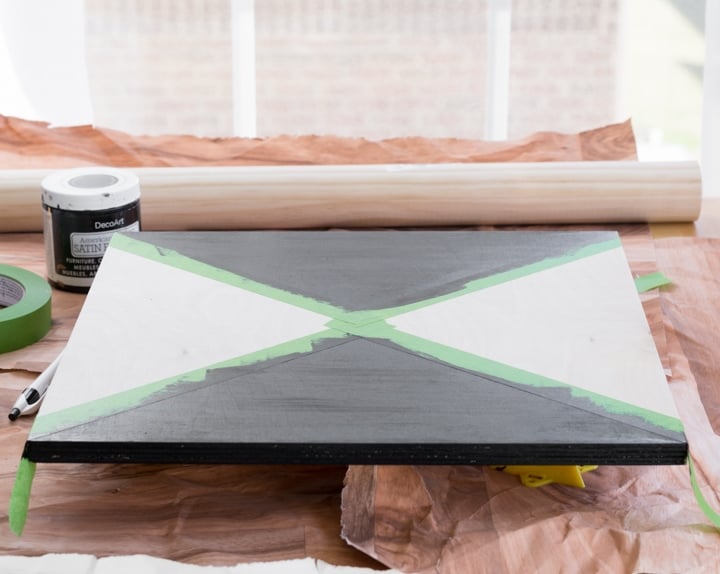
I used a square piece of plywood for my base. I left it unfinished, but I did give it a good sand first to make the plywood look more polished. Then I decided to paint it using a modern pattern. You can paint it however you’d like, but I used FrogTape to create triangular designs. I painted two in using black paint and the remaining two in a bronze color.
As a tip for using painter’s tape to create designs: I like to peel away the tape immediately after painting while everything is still wet. This helps to keep the lines crisp. Then, if you need a second coat, you can reapply the tape and paint again.


Step 3: Attach the post to the base
As the last step, I used strong adhesive to glue the post in the center of the base. You can reinforce this using nails up through the bottom of the base if you’d like, but I didn’t need to.


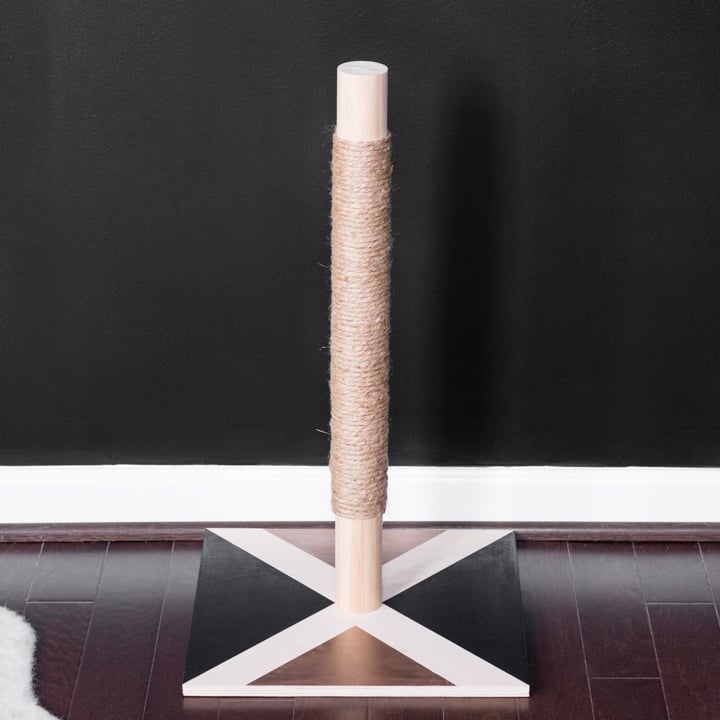
And here’s the final cat scratching post! Isn’t it adorable? All you really need to make a cat scratching post is some sisal rope or jute cord and a surface to put it on. Easy as that.

Share my post about how to make a cat scratcher on Pinterest!