DIY Resin Planters (& Heat Gun Tips!)
This post is sponsored by Wagner Spray Tech and contains affiliate links.
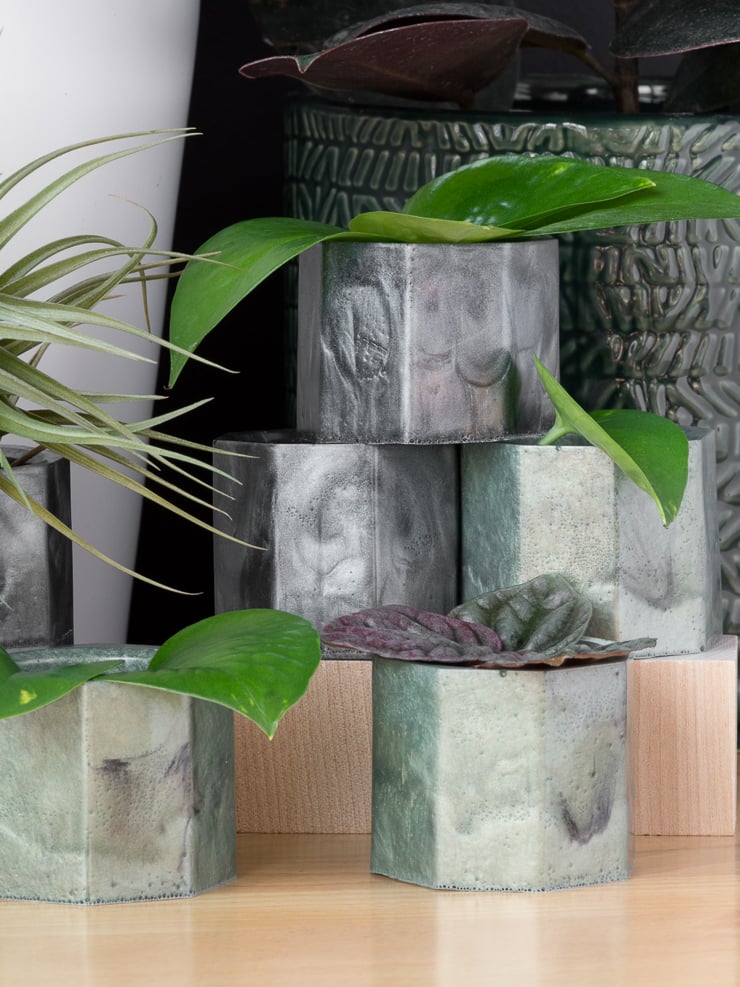
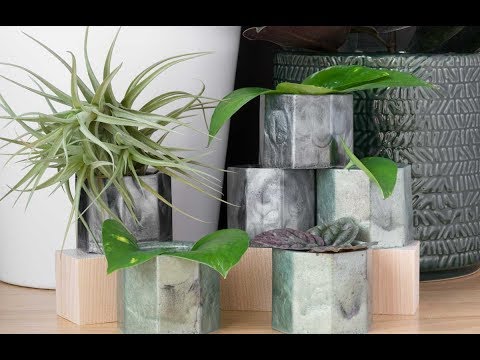
I’m sharing a really fun and easy epoxy resin project today—DIY epoxy resin planters using a silicone mold. Ever since I made my galaxy-inspired epoxy resin paint pour art, I’ve wanted to try my hand at some more resin projects. Today’s planters took me a few tries to get perfect, and I’m sharing all of the tips you need to nail it the first time.
Supplies & steps
- Silicone planter molds
- Two-part epoxy resin
- Wagner FURNO 500 heat gun
- Mica dye powders
- Black alcohol ink
- Silicone measuring cup
- Disposable mixing cups and stirrers (buy a kit here)
- Disposable gloves
- Workspace protection & paper towels
(Safety first! Make sure to work in a well-ventilated area and wear gloves. Don’t let the liquid resin epoxy come into contact with your skin, children, or pets. Read the manufacturer’s instructions on all materials and tools. See my full disclosure here.)
Step 1: Prep workspace & mix resin
First I covered my entire workspace using thick paper. I also set aside some paper towels. If you’re never worked with resin before, it’s messy! Cover everything, including your hands. Next I measured my two-part epoxy resin.
The easiest way to do this is with a silicone measuring cup because it’s super easy to clean out once the resin has cured, plus it’s reusable. However, I also like to use disposable cups. You can use a disposable cup as a measuring cup like this: Dump in an amount of water—say, a ½ cup—and mark where it hits.
Then dump in another ½ cup and mark where that hits. Dump out the water. You now know where to pour to get equal amounts of your two-part epoxy resin, and it’s already in the cup ready to stir. Less cleanup!

Step 2: Add dye powder
Once I’d poured equal parts of the two-part resin into the cup, I stirred thoroughly with a disposable stirrer. Then I added alcohol ink and mica dye powders to get my desired colors. For one set of planters, I used black alcohol ink and some green mica dye powders. For the other, I used black and silver mica dye powders.
These mica dye powders have a beautiful shimmer to them and color the epoxy very well. They are messy, though, so make sure to immediately shut the bag when you’re done working with each color. Feel free to mix and match until you get a color you like and remember that a little goes a long way. You can always add more.


Step 3: Pour into molds & pop air bubbles
Once I’d finished mixing colors in, I poured the mixture into each planter mold and let it sit for a minute or two. As it settles, you’ll notice bubbles rising to the surface. These are just air bubbles escaping the mixture.
I have tried different methods for popping bubbles in resin with mixed effectiveness: using a straw, dragging bubbles out with a toothpick, and using a hair dryer. Dragging bubbles out with a toothpick is effective for larger bubbles. Using a straw and blowing can make a mess. A hair dryer works well if you want to blow colors around to mix them, but it has way too much force for smaller projects.
The FURNO 500 heat gun is the perfect solution to these problems because you can control the heat levels and air flow much better. I set my FURNO 500 on the lower of the two fan settings and adjusted the heat at 350 degrees F (the second-lowest heat option). Next I held the FURNO 500 about a foot away from the mold and slowly pointed it directly at each resin pour.
It’s best to start off with lower settings and increase as needed. You don’t want to blast your molds and get uncured sticky resin everywhere! Once all of the bubbles are gone, you’re done. The resin will begin to harden very quickly. As that is happening, using the heat gun can mess with the resin and create weird uneven patterns as some areas solidify before others.
Turn the FURNO 500 on cool-down mode by pressing the snowflake button. You’ll hear a fan. While you’re waiting for it to cool down, you can prop it up on its built-in stand. If you want to override cool-down mode, you can hold the snowflake button down for a few seconds.


Step 4: Let cure & remove from mold
I let mine cure for about 24 hours in my dining room under my ceiling fan. It’s so hot and humid right now here in Maryland, so I wanted to make sure I gave them plenty of time. Read your brand of resin’s instructions for more precise times.
Once 24 hours had passed, I popped these cuties out of the molds. If you have any rough spots, you can use a piece of very fine-grit sandpaper to sand them off by hand. What do you think?


You will also love my DIY epoxy resin coasters, this galaxy inspired resin paint pour art, how to make resin jewelry and my DIY resin and wood serving tray!
Pin this!