Our DIY landscaping progress & a Vego beds review!
I’m home from work and puttering around this week, reading and whatnot. I figured it’d be a nice time to go through some of my blogging backlog. And one of the things on my list was my yearly yard post.
This is our second summer in this house, but the first full growing season. We are still very much getting to know the space and figuring out what we want to do. You can see the post I did about our progress last year. We also put a sunroom off the back of the house and added a patio. But what about the garden?! Let’s talk about it!
How the year started
To get started, here are a few before shots from March of this year. Even though the patio went in last fall, we pushed all landscaping work to the spring. The first picture shows where my husband laid out the raised garden beds area.
We knew we wanted to put perennials in here, but also a lot of zinnias and herbs to attract beneficial insects. Once we had it completely laid out, we used an edging tool to manually edge out all of the areas we wanted to mulch. Our real goal is to get rid of as much grass as possible in the yard. We hate grass!
We also wanted the raised beds area to come around the patio and connect seamlessly to the long bed we put in along the fence last year. This was a lot of work but SO worth it to unify the different areas of the yard.


Adding the Vego beds
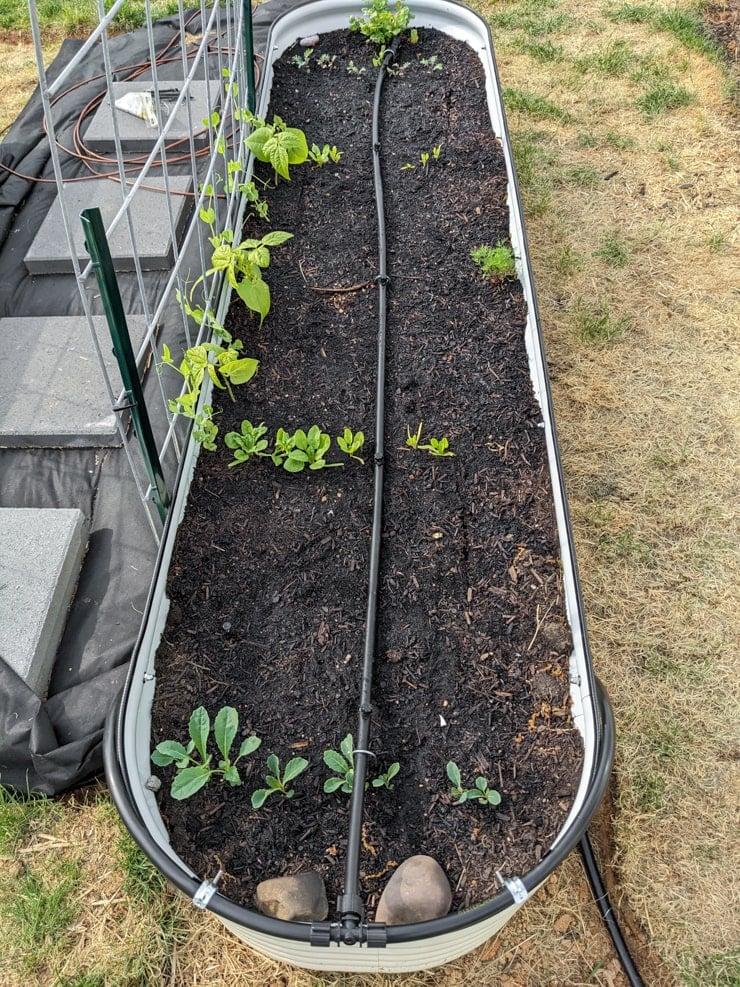
You saw a peek of the beds in a few of the pictures already, but we got two Vego Garden beds. We chose the 17″ Tall 9-in-1 beds in Pearl White, which is really more of a beige. These are not cheap, but we had wooden raised beds at our old house that rotted quickly.
I had heard a great Vego garden beds review or two. And they are built to last—20 years, to be exact. I also like that they are aesthetically pleasing with nice colors to choose from. I put these together in March in our kitchen then carried them out to the yard. Lots of nuts and bolts to screw in, but otherwise pretty painless to put together!
I love that the beds have an open bottom, meaning that the bottom of your beds will not be a barrier to your plants reaching their full growth potential. They are designed to use the hugelkultur gardening method, which originated in Germany. Hugelkultur is German for “hill culture.” It essentially entails filling your beds with layers of organic material.
I first put in a layer of cardboard on the bottom, then added sticks and small logs. On top of that, plant waste and other compostable materials from the yard. Finally, I topped it all off with a few inches of leaf compost.
This method is ideal for filling your beds for many reasons. First, it saves money on soil. Filling raised beds can take A LOT of soil. It also creates an ideal ecosystem within the beds for your plants to thrive. And it also helps you convert yard waste and other things into something that helps you grow plants.


DIY landscaping
After we had the beds edged out and the Vego beds in place, it was time to start filling in with mulch. I decided to use thick landscaping fabric in the areas where I knew I wanted to put a path and not plant.
The goal here was just to save myself a little bit of time weeding since I find that thick landscaping fabric generally does a very good job of blocking out weeds.
In all other areas, I opted for layering cardboard/paper and mulching on top of it—otherwise referred to as sheet mulching. (You’ll see below that I later decided to plant in some of the landscaping fabric areas, so I used a knife to cut a circle out.)
In some areas, I just laid cardboard and mulched right on top of the grass to smother it out. But once it got warmer and the grass really got going, I sprayed it down with horticultural vinegar and let the sun cook it for a few days before sheet mulching.


Rain barrel irrigation system
Mike also led the charge on setting up a really awesome DIY solar powered rain barrel irrigation system. That post has all of the details. It started out as just one rain barrel, but we quickly expanded that to include two more rain barrels that are daisy-chained together.
Given the droughts we’ve had this year, it was great to be able to harvest so much rainwater and use it in our raised beds. We know we’d like to expand our raised beds next year, so I’m hoping we’ll also be able to expand this irrigation system.


Perennials & natives we planted
I definitely wanted to focus on planting perennials and native plants. But perennials are obviously more expensive, especially when buying them in the spring. So I decided to put in a few perennials and fill in with annuals for now.
Mostly zinnias and dahlias that I started from seeds, but a few other things. We are planning to add more perennials this fall, and eventually become a 90% perennial garden in the mulched areas. I just don’t have the energy to water annuals every day, especially with our increasingly hot summers and the very little rain we got this year.
Around the patio, we put in three ornamental grasses that ended up getting quite large. so I’ll be able to fill in more appropriately with perennials this fall. It takes time, but I know we’ll get better deals if we buy things off season!


Crops planted in the raised beds
For the raised beds, we did mostly food. We added a cattle panel trellis between both of the beds to maximize growing space and add a bit more visual appeal. And I attached some solar powered globe string lights which are entirely unnecessary but just look really pretty at night!
The cattle panel trellis had a couple things on it, but the Christmas lima beans and Malabar spinach really took over. I know lima beans aren’t really the best thing to grow to save money, but I love how they look, and I love how they taste!
I also planted a lot of Plants That Attract Beneficial Insects around the beds to help with natural pest deterrence. Things like herbs that I let flower, marigolds, alyssum, yarrow, coneflowers, daisies, sunflowers, and of course—milkweed! We’re planning to replace more and more annuals with perennials as time goes on.


The patio area
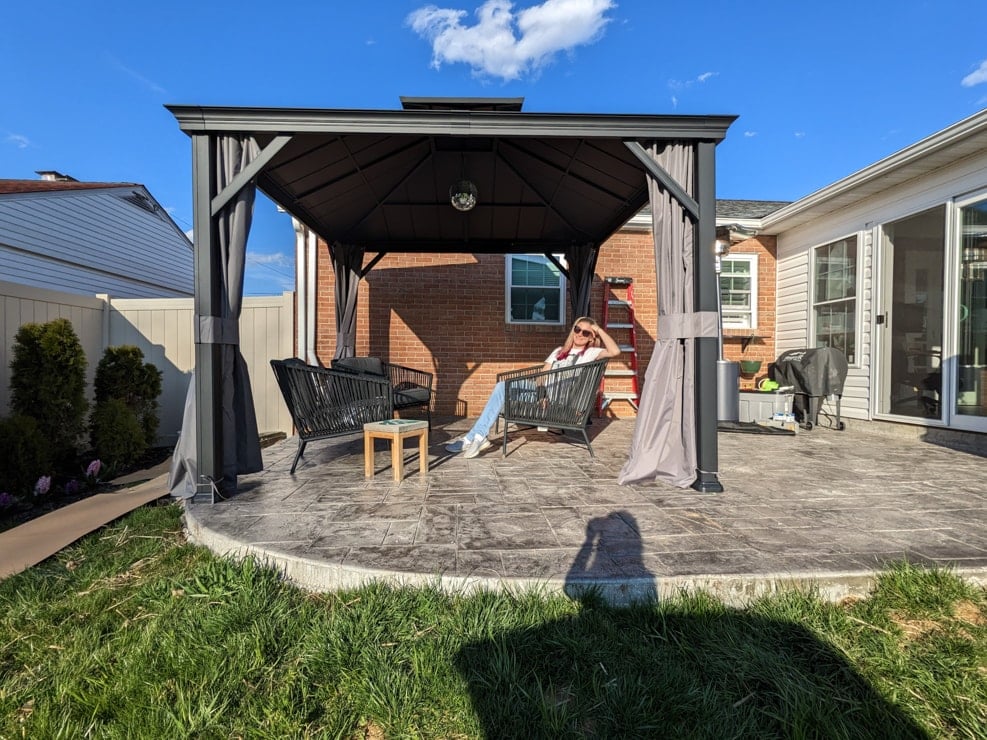
Truly, the patio area really took a back seat. But the space came together nicely. It gets a ton of sun, so I knew it would not be even remotely usable unless we added shade. We got a gazebo, and it has curtains that I thought we wouldn’t use. But we use them almost every day to block the sun if we’re having dinner out there.
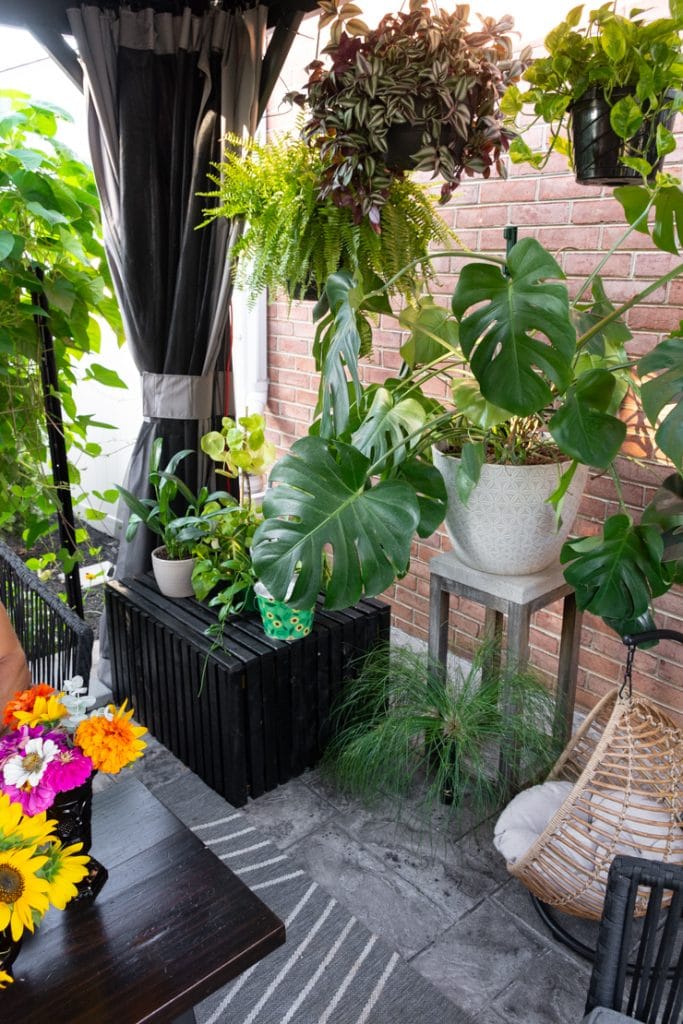
We used all of the same furniture from our last patio…and the coffee table is actually our old indoor DIY coffee table! It was only meant to be a temporary solution, but it stuck. We also have our old Concrete Paver Outdoor Side Table and the little DIY Paver Plant Stand I made a few years ago.
We did use another wire panel like I did in this post last year to make a privacy screen between us and our neighbors. Our yards are long, but we are very close. We figured a moon flower vine growing on a wire trellis would be a great short-term privacy solution.
Mike also set up a solar panel on this side of the house that powers the string lights under the Gazebo and the ceiling fan. The utility box for all of that stuff is under the slatted black side table you’ll see in later pictures with plants. It’s the perfect multipurpose solution.
The patio also has the DIY potting bench I designed and built this year. This is also something I use daily, whether I’m repotting something, saving seeds, just using it as a garden drop zone so I don’t lose stuff.


Pin my tour!


Brittany is a seasoned DIY home and garden expert, running a creative brand since 2014 that inspires others with approachable plant care guides, woodworking tutorials, and decor projects. She is a certified project manager and has completed extensive coursework in the art and science of growing your own plants. Her work has been recognized by major publications, and she routinely collaborates with fellow DIY industry leaders—but her favorite thing to do is inspire you! Learn more about her here.

Leave a comment