It’s been a while since I have designed something from scratch myself and made it! I am not terribly great at using the 3D modeling software SketchUp, but I am trying to get better at it. So I thought a potting bench would be the perfect project to practice on.
It might have taken me what it takes an experienced SketchUp user maybe a half hour to do…but I did it! And I was able to design a potting bench that is the perfect size for a specific space on our patio. Below are the overall measurements of the finished product and a peek at it on my patio.
After that, I’ll walk you through the cut list and other tools and materials I used. This whole bench is built out of 2x4s and 1x2s, so it keeps it pretty streamlined. Then I have all of the step-by-step instructions with 3D renderings. Enjoy!

Here’s what I used…
(Affiliate links below; read more about those here)
Below is all of the information you need to get started. First is the cut list, then a list of the tools I used for this project, and then some additional supplies. The steps will walk you through the construction process.
Here’s the cut list:
- (2) 2″ x 4″ x 57″—back vertical pieces
- (2) 2″ x 4″ x 35.5″—front vertical pieces
- (6) 2″ x 4″ x 42″—front and back horizontal pieces
- (6) 2″ x 4″ x 18″—horizontal supports connecting the front and back pieces
- (21) 1″ x 2″ x 49″ slats
- (3) 1″ x 2″ x 42″ slats
Tools used:
Additional supplies:
- Outdoor stain
- Measuring tape
- Square
- Pot clips and terracotta pots

And here are the steps to make it!
Always take the proper precautions and safety measures before working with any tools or materials. Wear safety equipment and work with a professional to complete projects when necessary. Read my full terms of use and disclosure for more. Happy making and stay safe!
1. Cut all pieces according to the cut list
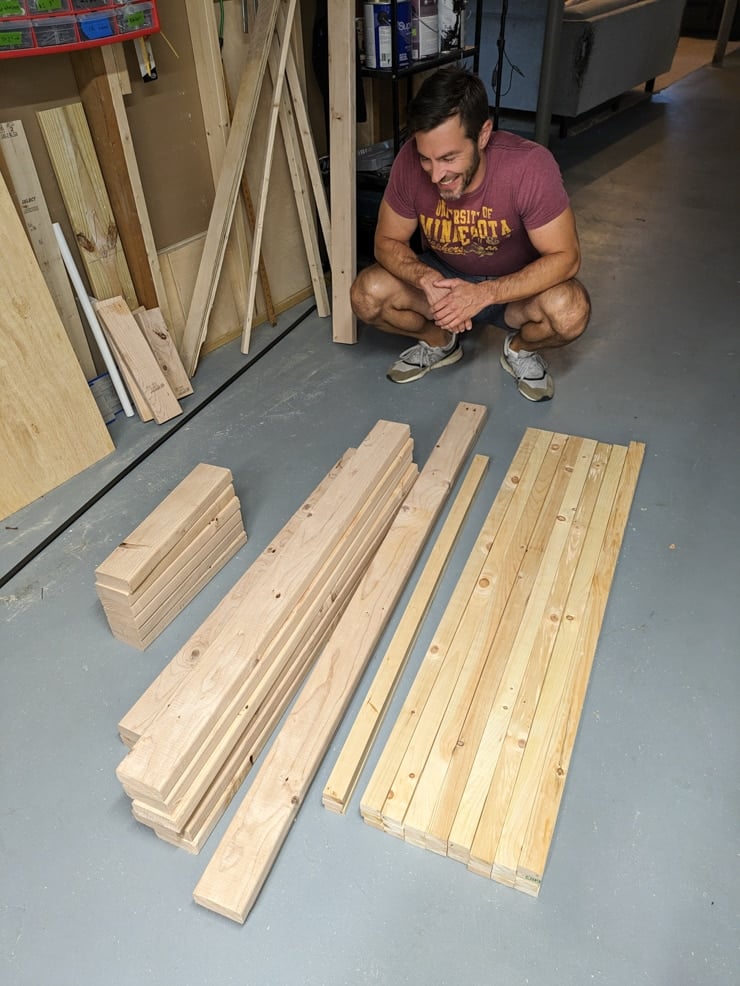
First cut all pieces according to the cut list outlined above in the supplies section. I always find it helpful to use a free tool like opticutter.com to help me decide exactly what boards to buy. Supply can vary from store to store, so sometimes you need to adjust plans.
The bench is made entirely of 2x4s and 1x2s. Here is what I cut based on my closest store having 96″ and 120″ 2x4s in stock, as ell as 96″ and 120″ 1x2s. (Note that the image below labeled 1x4s should be 1x2s…sorry!)


Step 2: Drill pocket holes
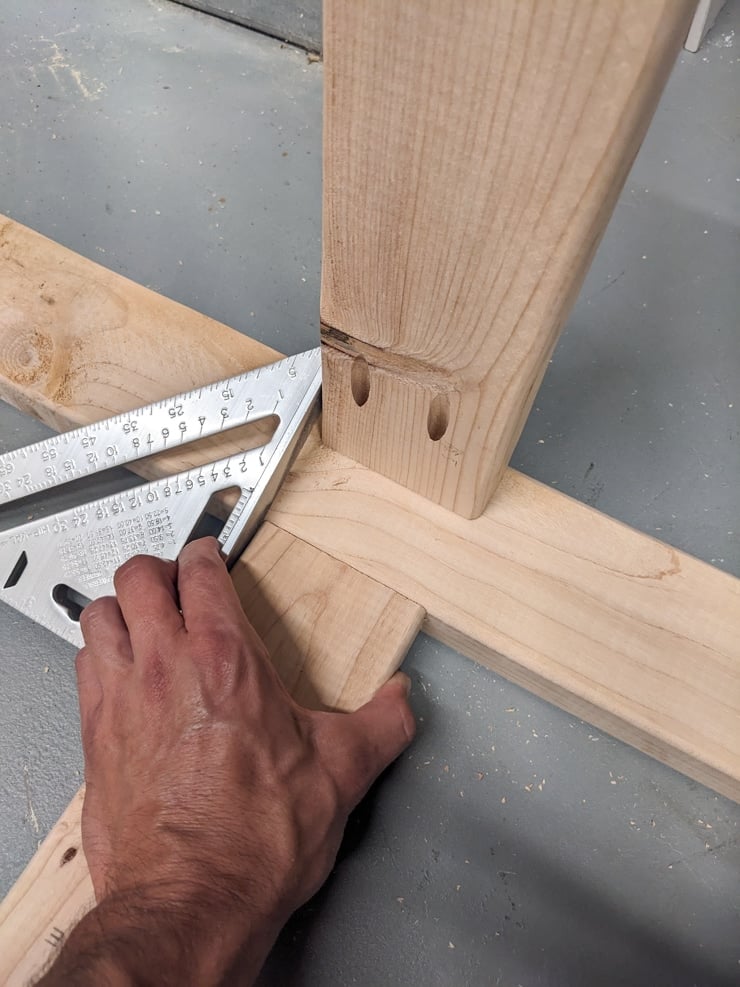
Next I used my KregJig to drill two pocket holes in the ends of each of the (6) 2″ x 4″ x 42″ pieces (the front and back horizontal pieces). I also drilled two pocket holes in the ends of each of the (6) 2″ x 4″ x 18″ pieces (the horizontal supports connecting the front and back of the bench).

Step 3: Construct the back of the potting bench
Lay the (2) 57″ (4’9″) back vertical pieces down and line up (4) of the 42″ (3’6″) horizontal pieces as follows. Attach using 2.5″ pocket hole screws, a pocket hole bit, and a drill.
The side with the pocket holes will be the back of the potting bench. So make sure to position your pieces accordingly.


Step 4: Add the horizontal supports
Next add the (6) 2″ x 4″ x 18″ horizontal supports as outlined below. The position of the outer supports will be flush with two of the longer pieces you already attached.
The center support should be added in the center. Use 2.5″ pocket hole screws to attach these pieces as well.


Step 5: Build out the front of the potting bench
Take the (2) 2″ x 4″ x 35.5″ front vertical pieces and create the front of the potting bench by attaching them to the remaining (2) 42″ pieces. Then attach this to the existing structure to finish out the potting bench’s frame.


Step 6: Add the slatted surfaces
To finish off the potting bench’s structure, I lined up (1) of the 1″ x 2″ x 42″ slat pieces with (11) of the 1″ x 2″ x 49″ slat pieces. I simply butted these up against one another and nailed them in place.
For the base area of slats, I used the last (2) 42″ pieces and the remaining (10) 49″ pieces. These are some minor gaps, but it doesn’t need to be perfect. I just didn’t want gaps so large that soil would fall through and get all over what I have sitting on the bottom shelf.

Step 7: Finish and seal the DIY potting bench
I used Behr outdoor stains for the whole piece. I already had the Clear (but not really clear) Transparent Waterproofing Exterior Wood Finish—it’s the same one I used on our deck posts in the old house. (And we used it on some fire pit chairs we built this season, too!)
The color on the slats is Slate from the Behr Solid Color Waterproofing Exterior Wood Stain and Sealer line.
Once everything was dry, I grabbed some of my trusty pot clips—my favorite way to hang clay pots on just about anything wood—and added some pots along the top!
I’ll use these for a mix of some plants and some storage. Oh—and I raised a miscellaneous drawer in our basement to find an extra hook. Now I won’t be losing my trowel every 5 minutes 🙂


Pin my free plans!


Brittany is a seasoned DIY home and garden expert, running a creative brand since 2014 that inspires others with approachable plant care guides, woodworking tutorials, and decor projects. She is a certified project manager and has completed extensive coursework in the art and science of growing your own plants. Her work has been recognized by major publications, and she routinely collaborates with fellow DIY industry leaders—but her favorite thing to do is inspire you! Learn more about her here.

Leave a comment