Small Outdoor Table Plans With an Epoxy Resin Top
Looking for small outdoor side table plans? I’m sharing the free printable build plans for the cute table I made for our patio. It is designed for an epoxy resin table top, so I’m also including tips on working with resin including how to marble resin and pop air bubbles! This post is sponsored by ETI, my favorite resin company!
Hey all, super excited to be sharing the small outdoor table plans I designed around the scrap wood in our garage! Every DIY blogger on the planet is lamenting the high lumber prices lately, but even if lumber weren’t super expensive, scrap wood projects are still the best.
I hate waste and try to minimize it when buying and cutting for projects, but it just isn’t always practical. But this project was actually based mostly around the under-the-stairs shelving I built to store paint.
I’m not painting nearly as much as I used to, so I gave away a lot of my paints and took down the shelving to make room for other storage. The wood was unfinished, so I simply trimmed off the pocket hole ends and added it to the scrap wood pile.
How to build an in-lay table top for resin
But I didn’t want this to be just any outdoor side table. I wanted to incorporate resin into it. That meant I needed to build an in-lay table top to hold the resin in. But how do you do that?
First I’ll run through the supplies I used for this project, and then I will talk about how to pour an in-lay epoxy resin table top for a gorgeous marbled galaxy look using ETI’s Pour-On High-Gloss Epoxy Resin!

Here is the supply list:
(Affiliate links below; read more about those here)
Table build supplies:
- Lumber: See cut list in the printable PDF plans at the end of this post
- Miter saw
- Drill
- Nail gun
- Pocket hole jig
- 1 ¼” pocket hole screws
- Bar clamps
- Orbital sander
- Wood glue
- Paintable caulk
- Wood filler
- Outdoor finish, I used Behr’s outdoor opaque stain and sealer
Resin supplies
- Enviro-Tex Lite Pour-On High-Gloss Epoxy Resin—I used two 16-ounce boxes.
- ETI PolyColor Resin Powders in Pearl Mountain Metallic, Violet Pearl Metallic, Pearl Metallic, Gold Metallic Dust, and Black Metallic
- Disposable gloves
- Resin mixing cups and supplies
- Heat gun
And here are my small outdoor side table plans…including an epoxy resin table top!
Step 1: Cut all pieces and drill pocket holes for side table construction
First cut all pieces according to the cut list in the printable plans. The plans are at the bottom of this post—look for my pic on the signup form. Drill pocket holes as outlined in the plans.

Step 2: Assemble side table’s top and caulk
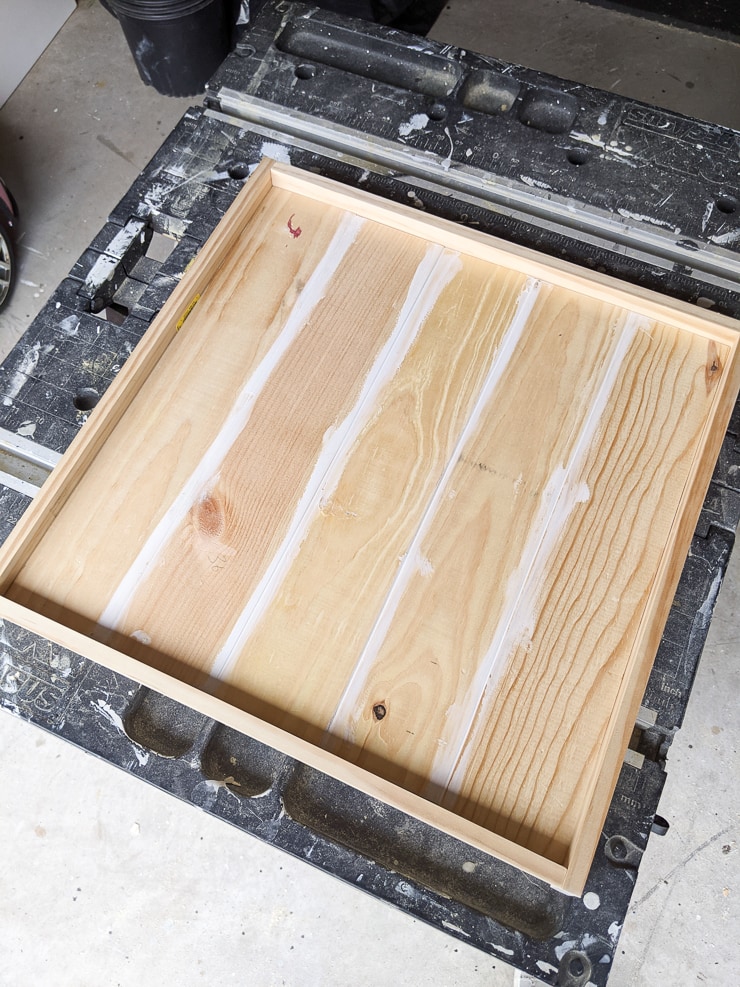
I was working with several smaller pieces of scrap wood that I wanted to join together to form the table top. Since I knew the resin would cover nearly all of the imperfections, I wasn’t too worried about it being perfect.
I joined all of the table top panels together using pocket holes and pocket hole screws. A few clamps were helpful here since I was working alone, but you can ditch the clamps if you have a second set of hands.
Next add the lip around the edges of the table to hold the resin in. I needed something thicker than ¾ inch since that was the thickness of the table top. Ended up going with 1 ½” pine, which is a bit wider than I’d wanted. But it ended up working out just fine.
Glue on and secure in place using a nail gun. Then caulk all of the seams to close gaps and cover imperfections. This is critical—if you don’t caulk, the resin will seep through and get everywhere. Even if the seam looks tight, caulk it!


Step 3: Assemble the side table legs and base
I went with a slight angle on the table legs, similar to the little DIY kids table I worked with my friend Anika on! Then I just used a simple apron method to attach the legs to one another.
I find it easiest to create the two “sawhorses” first, then attach them to one another last. After I had the entire base completed, I flipped the table top upside down, positioned the base, and attached it using pocket hole screws.


Step 4: Paint the side table
You can see that I painted in a few different steps just to speed things along. You can paint the top and bottom separately, or you can wait and paint it after it is completely assembled.
The wood is unfinished so it does need to be protected for outdoor use. I used a Behr’s outdoor wood stain and sealer in a gray opaque color. It goes on like paint even though it is called a stain.
This is the same finish we used on the small shed in our backyard, Ramona’s DIY water play table, our DIY rock play box, and more. Love this stuff! Holds up really well to the elements. Soap and water cleanup. Matte finish.

Step 5: Pour the epoxy resin glitter table top
Now it’s time to pour the epoxy resin table top! All of the cracks are caulked and sealed, and the entire piece is painted. So you have a great base for a resin pour. I did mine inside to ensure rain and wind weren’t an issue.
However, remember to always work in a well-ventilated area when working with resin. Open windows. I worked right by an open window and sliding glass door, and when I was done, I turned on the ceiling fans.
If you’re new to resin, know this: it sets up FAST. You’ll have about 20–30 minutes of working time. So have everything laid out and ready to go before getting to work. That means workspace protection (I laid down plastic trash bags), mixing supplies, backup disposable gloves, dye powders, and your heat gun or hair dryer.

A few notes on mixing ETI’s resin…
As I mentioned, I am working with ETI’s Pour-On High-Gloss Epoxy Resin for this project. This resin is very easy to work with because it comes in two bottles that just need to be mixed in a 1:1 ratio.
There are a few different ways to approach mixing the resin. I mixed in smaller 8-ounce cups, but I mixed two batches at a time. So, for example, the process went a little like this:
- Set out several mixing cups
- Pour four ounces of resin into two cups; add PolyColor Resin Powder and mix thoroughly
- Add four ounces of hardener into the cups and mix thoroughly
- Mix with a stick. You can also pour this mixture into another cup to help mix it, but don’t transfer the resin beyond this. Pouring it into multiple cups to mix could result in excess bubbles.
- Pour immediately into the in-lay table top
- Repeat—fast!
The first 16 ounces covered really well, but I did an additional 16 ounces for durability. (Keep in mind that this resin self-levels very well—to approximately 1/16 of an inch.)
The remaining 16 ounces were split up into smaller pours of different shimmery colors and glitter for accents. The Gold Metallic Dust is very glittery and looks GORGEOUS.
I would say that I spent about 5 minutes mixing and pouring about 80% of my colors. I always leave a tiny bit in the mixing cup to fill in gaps and mistakes.
Want more resin projects? Check out my tiny resin planters, my DIY epoxy resin paint pour art for beginners, and my easy DIY epoxy resin hexagon coasters!
How to marble epoxy resin on a tabletop using ETI’s Pour-On High-Gloss Epoxy Resin
Once I dumped my first 16/20ish ounces in, I grabbed the heat gun. Bubbles were starting to emerge as the resin settled, and I wanted to pop them and start blowing the colors around.
The amount of mixing and marbling you do is completely up to you, but I wanted a heavily mixed and marbled galaxy look. Therefore, I used my heat gun on a medium heat setting, fan on high to blow around the resin to mix it up.
There is really no right or wrong way to do this, just remember to work quickly. In some areas I got very close to the resin to really blow it around and mix it. Other areas I just skimmed over to pop air bubbles.
Safety note: Remember to always wear gloves when working with resin and work in a well-ventilated area. Follow all safety instructions for your product.
Then I quickly added the rest of my resin in while everything was still setting up. These were the shimmery mixtures and leftover resin from the first pours to fill in empty spots or create more variety in the patterns and colors.
Then I grabbed the heat gun and started blowing them around and mixing again. Don’t over-mix—it can be hard to know when to say when! I stopped as soon as I realized the resin wasn’t as easy to blow around and was starting to set up. This was about 10 minutes from the first pours. I backed off and set down the heat gun.
While you’re flowing the resin around and mixing to make patterns, you can use one of the mixers you used for your resin—or just a toothpick—and drag it around in the resin to make some swirls or veining as well.
Waited another 5 minutes to monitor for any more rogue air bubbles that I blew out with the heat gun. And then I just set it aside and let it begin to cure! After about 24 hours it was hard to the touch. I waited 48 hours to set it outside.


Finishing touches on the outdoor resin side table…
It was pretty much done, but I went in with a small paint brush and touched up some areas with the gray paint. Then I decided to take a very thin drill bit and drill directly down into one of the corners.
Yes, drilled down through a corner of that gorgeous resin, all the way through the wood. This was because it is going to be an outside table, and I wanted to facilitate quick drainage after it rains.
You can skip the hole, just know that you’ll need to dump the top of the table after it rains. It can hold a decent amount of water with the remaining lip around the side.


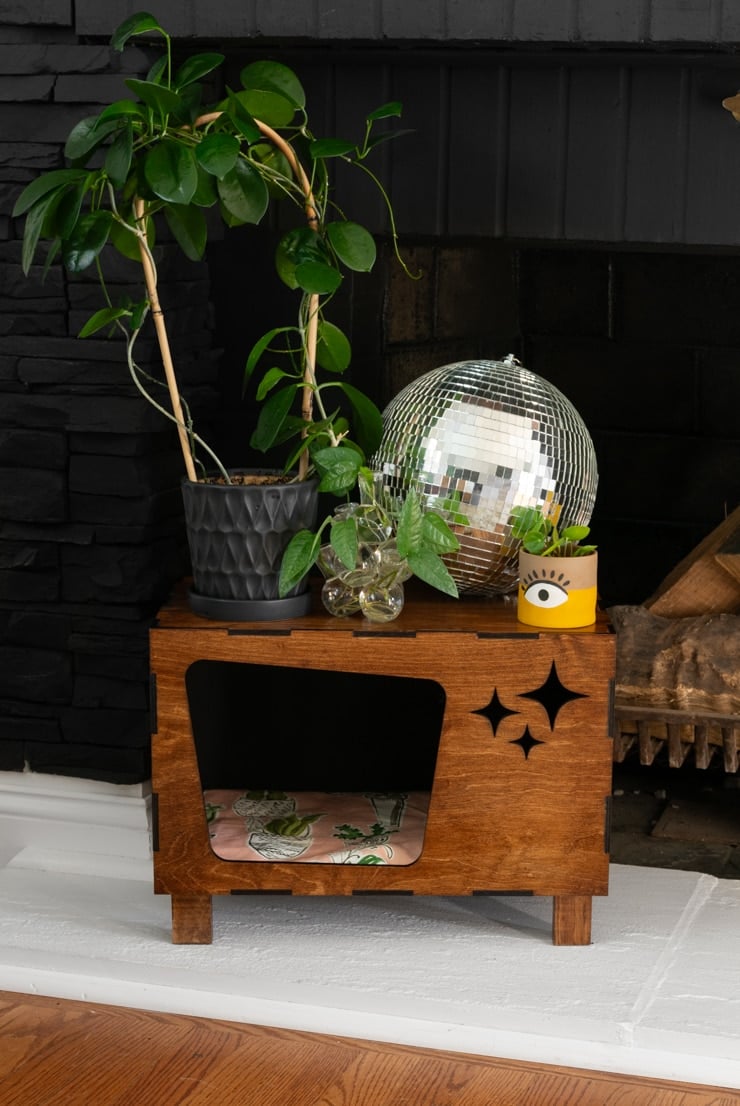
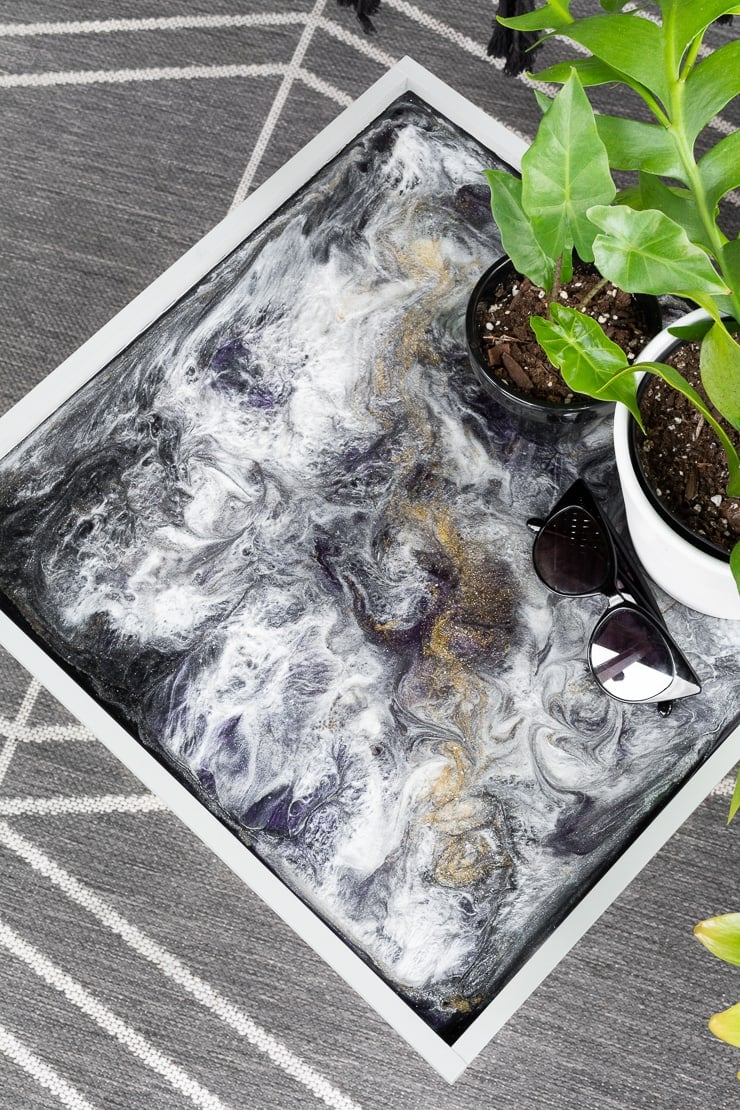
And here is my finished small outdoor side table plans with an epoxy resin glitter table top!
Isn’t it gorgeous? I am SO proud of how this one turned out. Especially since I scrounged around the garage and made something out of scrap wood. This will be a perfect little addition to our home. 🙂
Remember that the resin will likely feel “dry” or “non-tacky” to the touch in 8–12 hours, but full cure is 72 hours. Also keep in mind that if you’re working in a high-humidity environment, it might take a bit longer.