How to Put a Wick in a Candle
Learn how to put a wick in a candle without using wick stickers.
How to put a wick in a candle with no special tools
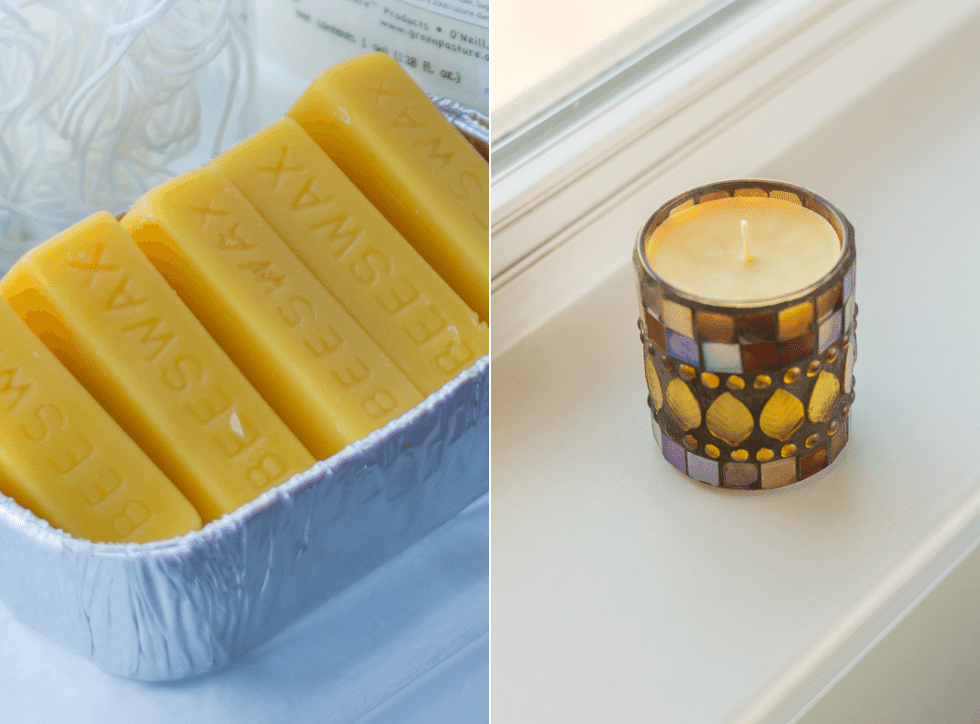
I love making candles–see my DIY beeswax and coconut oil candles tutorial! Making them is actually pretty easy. But setting the wicks is a different story and is by far the most frustrating part.
After lots of candle-making trial and error, I’m going to show you how I set candle wicks using stuff from around the house. Because, although I love making candles, I just do it for myself. So I don’t really want to amass a bunch of extra supplies that spend most of their time collecting dust in my craft drawer.
No extra candle-making supplies necessary for this approach! Just a hodgepodge of different things I found in my kitchen junk drawer—things that you probably have around, too.

Supplies I used…
(Affiliate links below; read more about those here)
- Wicks (I have this kind)
- Pen or pencil
- Clothes pins or medium-sized binder clips
- Tape
- Paper towel
- Melted wax for your candle
And here’s how to put a wick in a candle!
(Do not use any appliances or work with new materials without proper training, precautions, and supervision from a professional. Make sure you research fire safety and take all necessary precautions before working with beeswax. Read my full terms of use here.)
Step 1: Cut and prep the sicks
The first step is to cut the wicks. I cut my wicks 3-4 inches longer than I’d like the finished product to be. That’s because I use the extra length to help stabilize the wicks to make them stand up when I am I use the extra length to stabilize the wicks and get them to stand up.
Remember, you can always trim a bit more off of your finished candle wick, but you can’t add more! If you’re unsure of the length you should use, an an inch or two on.

Step 2: Dip wicks into melted wax
The next thing I did was dip the cut wick into the melted wax mixture I was using for my candle. But I dipped only about 75% into the wax mixture and used a paper towel to straight out the wax-covered area. The wax will dry quickly and straighten the wick completely, forced it to stand up straight while you pour the wax.
(I have a paper towel handy.) I dip each wick into the melted wax so that the wax covers about 75% of the wick. The I use my fingers to gently smooth out the wax from the wick’s top to its bottom. As the wax hardens, the wick should become perfectly straight.
Step 3: Anchor the wicks
To anchor the wicks and prep them for wax pouring, I wrapped my wicks around a pen enough times so that, when the pen is resting on top of the candle container, the bottom of the wicks barely touch the bottom of the container.
Sometimes the wicks just stay in place on their own (second and third pics below). If they don’t stay in place on their own, you can anchor them in place using something like a clothes pin or medium-sized binder clip (first pic below). You can also secure the pen with tape if you need to.


Step 4: Pour the first layer of wax
Then I pour about a 1/2-1 inch of melted wax mixture into the candle container and let solidify for 10-15 minutes. This is a DIY wick holder approach because as the wax solidifies, it will hold the wicks in place. I don’t like to pour the wax in all at once because it will cause the wicks to curl up due to the heat.


Step 5: Let wax solidify and trim wicks
I leave the wick-holding apparatus in place as I pour the rest of the wax in. I typically like doing this in a few different pours, letting the wax solidify a bit between each pour. Then, when I’m done and the candle wax has set, I clip the wicks. Wait 24 hours before burning the candle. Enjoy!
Pin my tutorial!


I am going to try securing wick with pen, etc or similar. So patients is what I need now. Thanks for the info!! Will let you know how it goes?
Yes, patience and a little craftiness when it comes to DIY, lol 🙂
This is just what I needed. I have some wicks with metal bases, but they are long and I didn’t want the remaining wick to be wasted.
Glad it was helpful!
Can this wax/oil mix be used for silicone molds or is it too soft?
Hi! I haven’t used it on silicone molds, but I would imagine it would be fine if you let it harden completely. Try it out and let me know!
Thank you for this useful and helping tutorial! And I have to say, I looove your votive cup. Could you tell me anything about it? The brand, is it vintage, where to get one? It reminds me so much of a votive cup my grandmother had.
Thank you so much! I wish I remembered…I get lots of my stuff from thrift shops, and this one came into my life at least 15 years ago 🙁 sorry!!
Thank you so much!!! I used to spend so much money at Yankee Candles, but it’s not the same company anymore and it’s time I learned how to make my own candles at home. I have some peel and stick jewels I purchased from a dollar store to bedazzle my reusable candle containers. Have you ever used olive oil or other oils with a cotton wick? I think I might try that next and play with different scents. I think I might start trying some scents from the kitchen, like vanilla, lemon, almond, etc. Have you ever added fragrance to your beautiful candles? Thanks again for sharing with the world this very helpful information
Hi Alice!! Oh man I used to spend SO much money at Yankee Candle, too. I haven’t used other oils, but if you want to experiment, I’m sure there are many recipes out there! And I have added scents for sure!