
Make a Hanging Indoor Garden
Learn how to make a hanging indoor garden with my tutorial!
Learn how to make a hanging indoor garden
This project started out as a hanging herb garden, not a hanging cactus/succulent garden. I’ve wanted to have a garden for a long time now. Unfortunately, apartment living and no convenient community gardens leaves me with herb gardening as my best bet.
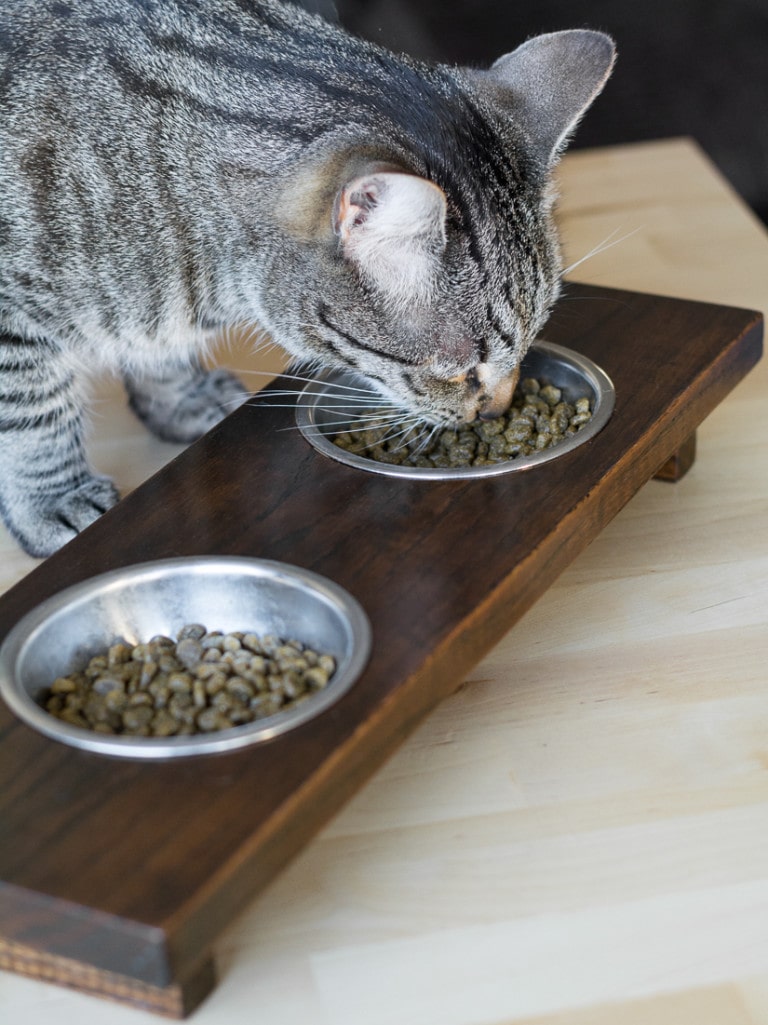
Now that we’re in an apartment that gets more sun, I was hoping that this time we could keep the plants alive. However, our cat Henry LOVES chowing down on plants. The first night I brought an herb plant home, Henry ate so much of it that he threw up.
We woke up to a disheveled plant and a pile of cat vomit on the floor. Yes, my cat is a jerk. I started researching ways to mount an herb garden to a sunny wall that is out of Henry’s reach. Would you believe that I didn’t find anything on the Internet that I liked? Me either.
I didn’t want anything to do with mason jars, because they don’t have drainage and I’m generally not a mason jar decor kind of gal. So I spent an evening searching for inspiration and came up with a plan to make a hanging indoor herb garden. Here’s how the finished product looks:

Wow, those are funny-looking herbs, right? That’s because I gave up on my herbs. It turns out that there isn’t anywhere on the wall that gets enough sun to keep herbs thriving, and the window sill isn’t an option with our little plant feaster in the house.
So I decided to go with something a bit lower maintenance (and something that is less appetizing for Henry if we want to move the plants to the window to get some extra light on a sunny day). Although I was sad that the herb garden didn’t work out, I really like how the planter looks with these plants in it.
Supplies I used…
(Affiliate links below; read more about those here)
- 1″x6″ piece of pine cut to the desired length
- 4″ hole saw
- Rust-Oleum wood stain in Kona and a finish of your choice (I used this)
- Hand sander with 100-grit sandpaper and one piece of fine sandpaper (I used 220-grit)
- Terracotta pots with a 4.5″ diameter opening
- Krylon chalky finish spray paint in Colonial Ivory and protective spray in Clear Matte
- Gorilla Glue and plastic beads (like these)
- Measuring tape and pencilWant to read more about houseplant care?
And here’s how I made a hanging indoor garden
(Remember to wear a mask and eye protection while sanding and working with wood, and wear an appropriate mask while working with paints, stains, and finishes. Follow the directions and warnings from your particular brand. Do not use any tools without proper training, precautions, and supervision from a professional. Read my full terms of use here.)
Step 1: Measure and mark the hole locations
First I picked up a piece of pine. I got a 1″x6″ inch piece (cut to 20″ inch) because each of my pots has a 4.5″ diameter at its opening, and I wanted to have a bit of shelf left on each side after cutting the circles. I measured and marked the center points for each of the three circles.
Step 2: Use the hole saw to cut the holes out
We used a hole saw to cut the holes. We used a 4″ hole saw and pots with 4.5″ openings because I wanted the pots to sit in the holes without falling through. If the holes are too big, the pots will fall through.


Step 3: Sand and stain the piece
Once I cut the holes, I used my sander to give the entire piece a good buffing. Then I used my fine-grit sandpaper to smooth out the inside of each circle, as well as the edges of the shelf. Shout out to dad for this rare action shot he took of me at work sanding.
I stained the shelf and apply a finish coat just as I would any other staining project (read more about how to stain wood here). I used a dark stain because I thought the contrast with ivory-colored pots and dark soil would look nice.


Step 4: Attach shelf brackets and hang
I attached shelf brackets to the shelf and hung it on the wall. Pop the pots in. Viola!


Adding optional drainage
You probably see the saucers on the bottom of each pot and are wondering how they work as drainage. Drainage is really important because you don’t want water sitting in the bottom of the pots, rotting the roots (especially if you’re growing herbs).
The drainage for this garden is simple. First, I got small saucers. I made sure they were big enough to hug the pot’s bottom but also small enough to fit through the shelf’s circular holes. After I’d painted the pots and saucers to match, I grabbed a few cheap plastic beads and Gorilla Glue.
I squirted three dots of the glue into each saucer and press a bead on each. After that dries and had bonded completely, add a dab of glue on top of each bead. Then, press the pot down into the saucer. The idea here is to raise the pot off of the saucer to create an area for a bit of drainage. I chose to use beads because they are super cheap.
You can honestly just skip this part if you want. I just thought it would look cool to have the “floating” drainage saucers.


Looking for plant care tips? Check out my snake plant care tips, pothos plant care tips, prickly pear cactus care tips, and my top tips for taking care of succulents indoors! You can also check out my roundup of all of my original DIY planters.
Like this? PIN IT!


Love it!
Thanks! 🙂
I love how sleek this looks. I’m not one for mason jars either, and this is an excellent solution.
Thanks Anna!
I like your idea of using succulents.
Here is an idea I just thought up that your readers can try. I think I will as well. Instead of the pots you show here, one can use clear jars or ??? and fill them with colorful marbles or ??? and ‘Lucky Bamboo’. As those grow in water it will also help with keeping the humidity up a little for folks like me who live in the desert.
What do you / your readers think about that?
You know, I have to admit that I’ve never had a bamboo plant in the house! But I like bamboo and love the idea of growing it hydroponically. That would definitely negate any need for drainage, too!
I really like this idea Brittany, it is so pretty and i was thinking it would be really pretty if you have one across your kitchen Window but up high enough so as not to block your view. You can add brackets to the ends and if your pots are not very heavy it would certainly hold them. Thanks for sharing and giving me a great idea.
Great idea!! That would be great sun for herbs, too.
Love this and will be making one of these for sure! What a great way to add greenery to the house without cluttering up windowsills.
Thanks Carol! Yeah, I think my cats would knock the plants over if they were in window sills. 🙁
I’m OBSESSED with this! Love it!
Thank you 🙂 Me too. One of my favorite projects.
What type of castus is that with the pink flowers?
I’m not sure! But I got it at Home Depot, so it can’t be that rare 🙂