DIY Plant Stand Using Scrap Wood
Learn how to make an easy DIY plant stand. I made one using scrap wood and some hairpin legs I ordered online! This is a great beginner woodworking project.
DIY Plant Stand: Make This Easy Project for Your Plants
It’s been a while since I’ve done a real woodworking project—something that required designing, cutting, sanding, pocket holes, the whole nine yards. I’ve been so jealous of everyone making woodworking projects in quarantine. You’d think I’d have more time on my hands, but we’ve really just been balancing jobs with a toddler out of daycare. Survival mode. 🙂
This project is really similar to the hairpin leg simple plant stand DIY I made late last year. In fact, it uses the same hairpin legs that I took off of the original plant stand. That’s because we didn’t know the bit pot was leaking some moisture until one day I removed the pot and…there was a circular share of mold. Ew.

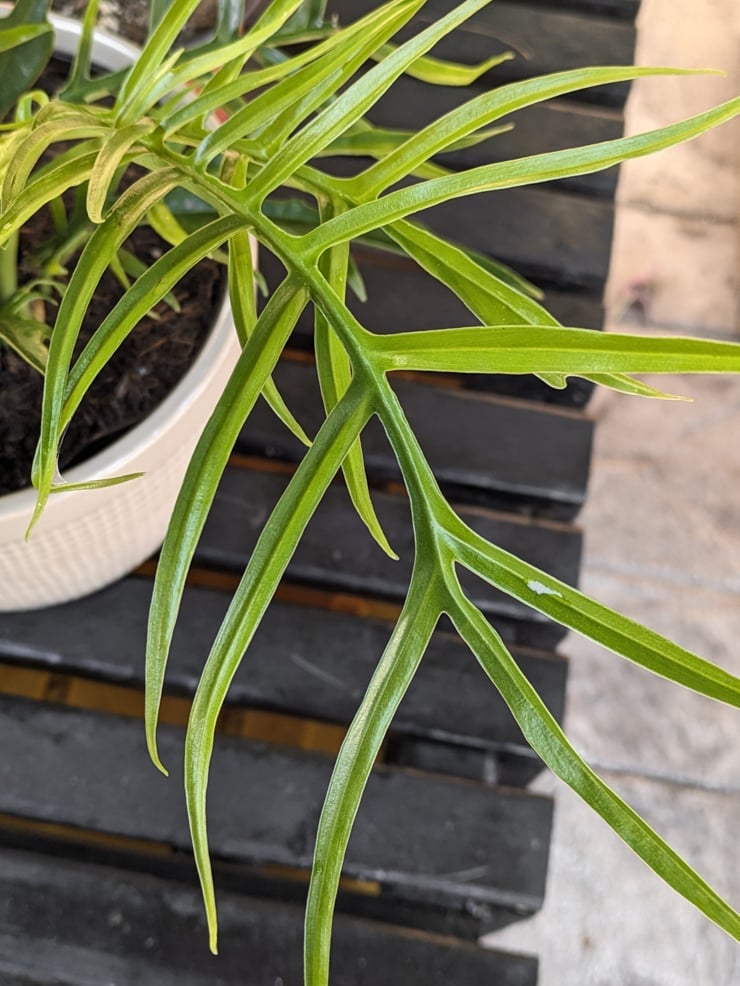
It was made of scrap wood to begin with, so I wasn’t too heartbroken. The nicest part of it was the hairpin legs, so I just unscrewed them and stashed them in the closet for a future project. Well, the future project is here! It’s a box-style DIY plant stand I used for my prized repotted monstera. 🙂

Here’s what I used:
(Affiliate links below; read more about those here)
- Scrap plywood: (2) 13″ x 13″ pieces and (2) 13″ x 5″ pieces
- Miter saw
- Orbital sander
- KregJig K4
- 1 1/4″ pocket hole screws
- Drill
- Wood glue and clamps
- Nail gun (optional)
- 6″ hairpin legs and 3/4″ wood screws
And here’s how I made my DIY plant stand.
Always take the proper precautions and safety measures before working with any tools or materials. Wear safety equipment and work with a professional to complete projects when necessary. Read my full terms of use and disclosure for more. Happy making and stay safe!
Step 1: Cut the pieces
I used wood from our scrap wood pile. If you’re anything like me and do woodworking projects as a hobby, you probably have enough scrap laying around to use as long as you are flexible with measurements.
I based my size around the scraps I had, so I decided the surface area would be 13 inches by 13 inches. This was perfect for my 12-inch pot I wanted to put on this. Instead of just making it one piece with hairpin legs on it, I wanted to raise it up a bit. I knew the potted monstera had a lower profile and needed to be a bit higher.
So I also cut two 13 inch by 5 inch pieces to make a box-style DIY plant stand. This raised the total height of the plant stand to about 12.5 inches: 5 inches for the side pieces, 1.5 inches for the thickness of the top and bottom pieces, and 6 inches for the hairpin legs. Perfect!
I also used my orbital sander to sand rough spots or splintered areas. It’s plywood, so it isn’t perfect. But sanding it can dress it up really nicely! After sanding using fine-grit sandpaper, I set everything up carefully to make sure it looked good before assembling.


Step 2: Assemble the box
Instead of using just glue and nails to assemble the box, I decided to use pocket holes and pocket hole screws to attach the sides to the base. I knew the plant I’d be putting on this stand would be pretty heavy, especially after watering. So I wanted to make sure everything was really solid, and you can’t go wrong with pocket hole joinery!
So I drilled three pocket holes along the bottoms of the side pieces and attached them to the base using 1 1/4″ pocket hole screws. You can use right-angle clamps if you have them, but I just held them in place and used bar clamps to tighten everything together.
For the top, I just ran a line of wood glue along the tops of the sides and clamped the top piece down onto it. I used a nail gun to run three nails down each of the two glued sides, but that’s only because I didn’t want to wait for the glue to dry. This is optional if you don’t have a nail gun. (You could also use a hammer and nails. If everything is clamped in place, it shouldn’t move.)


Step 3: Add hairpin legs
I didn’t bother filling the nail gun holes or pocket holes because I knew I wasn’t even finishing the piece. I decided to leave it with the unfinished plywood look. So I flipped it upside down and screwed each of the four hairpin legs on the bottom. Easy as that!


And here’s my finished DIY plant stand using scrap wood…
Here’s my DIY plant stand in place with the plant on it! I think this really brings the plant up to a better level. It was just too low without a stand, and the height is perfect. Looking forward to watching this plant grow even more!


Want more DIY planters? Check out my DIY hairpin leg plywood planter, which coordinates perfectly with this project! Also check out my DIY hanging plant pot holder, my stainless steel bowl hanging planter, and my post on how to paint terracotta pots!


Pin my tips on how to make a DIY plant stand!