DIY Kids Chair With Storage
My DIY kids chair with storage is the perfect addition to my daughter’s desk. The storage space is perfect for craft supplies and play-dough! I’m sharing the build plans and instructions with you today.
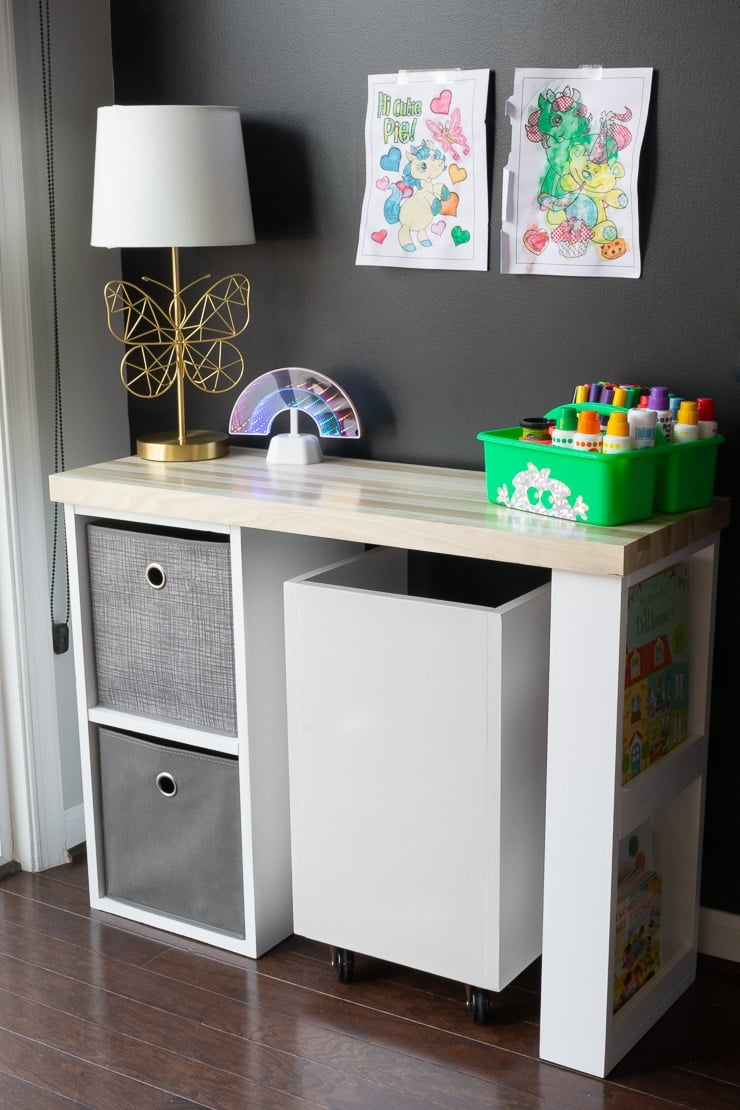
Hey guys, if you saw my DIY kids desk post a few weeks ago, you probably noticed the little chair. Today I am sharing how I made it and how you can too! It’s a cubby-style chair with storage space designed to match the cubbies on the desk. And it rolls! But the caster wheels are optional. 🙂
Here’s a little peek at the whole setup. I did this all kind of for Christmas, kind of just because. I finished it right before Christmas and didn’t really have anywhere to put it, so I gave it to Ramona a few days before Christmas. I felt like it was something she’d grow into, but she instantly took to it. Mostly taking the cubbies in and out and in and out.

So here’s what I used:
(Affiliate links below; read more about those here)
- 1″ x 12″ x 6′ (my actual: 3/4″ x about 11 1/4″ x 6′)
- KregJig K4 (new to the KregJig? Check out my full guide on the KregJig K4)
- 1 1/4″ pocket hole screws
- Miter saw
- Drill
- Orbital sander
- Bar clamps
- Wood filler or joint compound
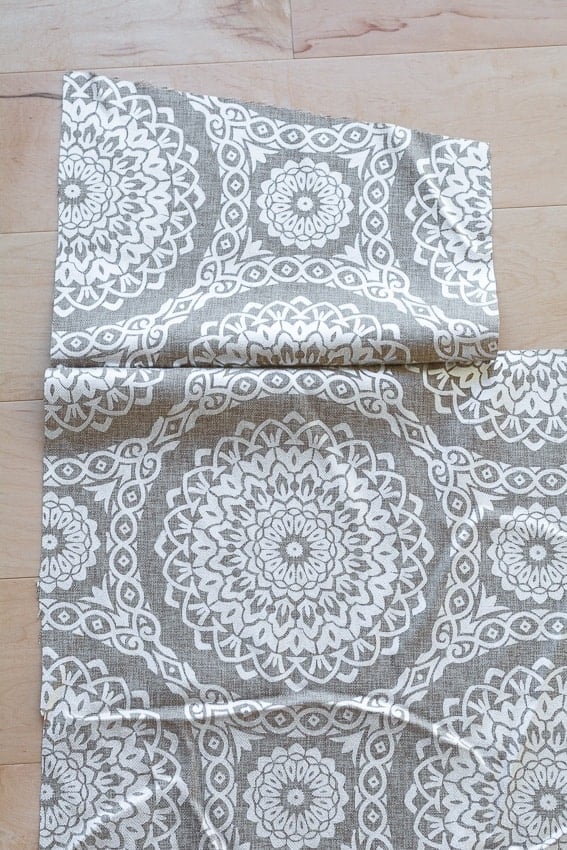
- 11″ fabric storage cube from Target
- Primer, paint, small rollers
- Optional: Caster wheels with an appropriate weight rating
MY CUT LIST:
- (3) 20″ A pieces for the two sides and back
- (2) 10 1/2″ pieces for the base and seat
And here’s how I made my DIY kids chair with storage!
Always take the proper precautions and safety measures before working with any tools or materials. Wear safety equipment and work with a professional to complete projects when necessary. Read my full terms of use and disclosure for more. Happy making and stay safe!

Here is a link to the Dropbox folder with all of the files!

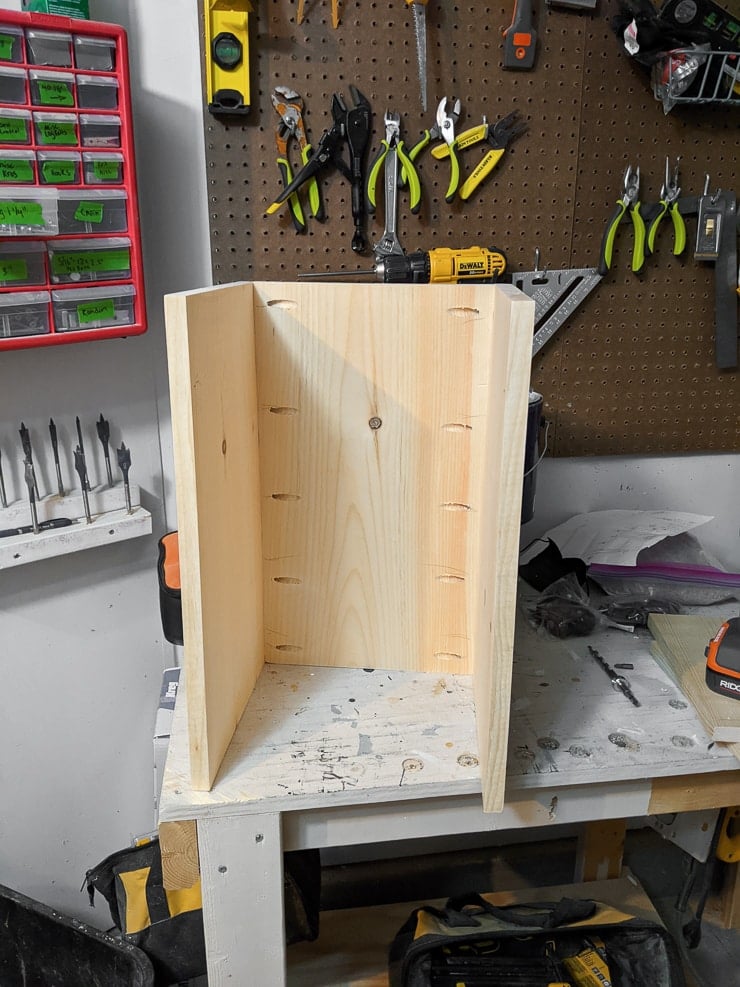
Step 2: Assemble the main frame of the chair
To assemble the main frame of the chair, drill pocket holes along the sides of ONE of the A pieces (back piece). All of the pocket holes are in ONE A piece, none in the two other A pieces (the sides). That makes it pretty easy to assemble. The first pic below is the left side of the chair attached.


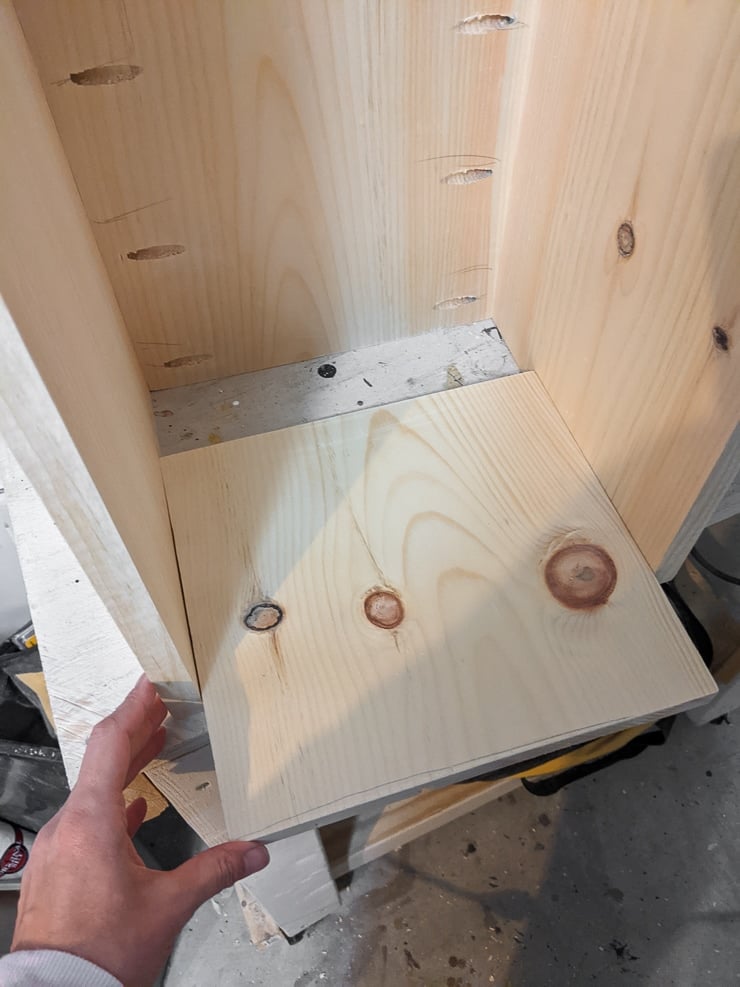
Step 3: Add the base
The base piece is one of the two B pieces. For this one, I drilled 5 pocket holes along each of the sides and 4 along the back. I wanted this to be super secure since it’s the base. You’ll notice some pocket holes along the front that attach into nothing—don’t worry about those. This was a piece of scrap wood I didn’t want to waste. 🙂

Step 4: Attach the seat portion
Measure and mark the seat portion based on your child’s height. If you plan to add caster wheels to this, make sure you do that first so you can measure accordingly. You don’t want the seat to be so high that your child will need to climb up in, especially if you add wheels.
This could lead to the chair rolling as your child tries to climb up on it or the chair tipping. If you’re concerned about this, I recommend not using the caster wheels until they are tall enough to sit on the seat like a normal chair (i.e., with no climbing or “shimmying” up).
I attached the seat portion (the second B piece) using several pocket holes in each side and the back. I obviously wanted this to be as rock solid as possible since a little butt would be sitting on it! (Ignore the pocket holes that go to nowhere on this one, too—another piece of scrap wood.)

Step 5: Patch and prep the chair for painting
First I used some iron-on veneer edge-banding to cover up the busted pocket holes on the scrap wood pieces. Veneer edge-banding is often used when working with plywood since it has the exposed stacked edges. But you can really use it for anything.
I used my Cricut EasyPress Mini to attach it because that’s what I had downstairs. It’s also the perfect little size! But generally people use a regular household iron to attach edge-banding. (That’s what I used when attaching edge-banding to our DIY murphy bed.)
Since I was using bottom-barrel pine for this project, I spent significant time patching dips, grooves, and knots in the wood. Then I spend a lot of time going over this piece with my orbital sander. I always regret not springing for nicer wood when it comes time to sand, but this sander has served me well for years.
I wanted this to have a smooth, even, Ikea-like finish once I’d painted it. When I was done patching and sanding, I gave the entire chair a coat of primer and two coats of white semigloss latex paint I had in the closet.


And here’s the finished DIY kids chair with storage!
The space under the seat can fit one of the fabric cubbies the desk uses, but in these pics we just have other random toys in there. Ramona is constantly moving stuff around, as 3-year-olds do. Just be mindful of what you want to store down here when deciding how to position the seat.


Pin my DIY kids chair with storage!