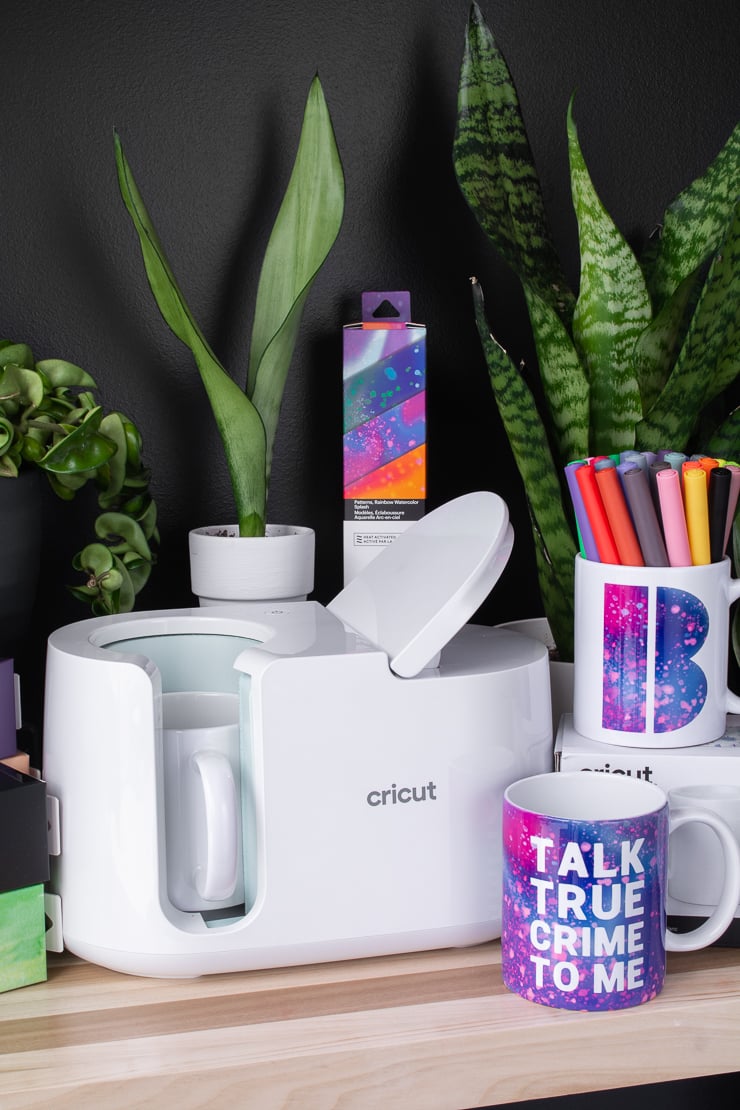
Complete Guide to Using the Cricut EasyPress
The only guide you’ll need to use the Cricut EasyPress!
Today I’m sharing the complete guide to using your Cricut EasyPress to complete beautiful, professional-looking iron-on and heat transfer projects in your own home. Cricut’s EasyPress line combines the speed, accuracy, and reliability of a professional heat press with the approachability of an iron.
It works great with traditional heat transfer vinyl, as well as the fun stuff like heat transfer foil, glitter, and metallic materials.

Why is an EasyPress better than an iron?
The first thing to discuss in any complete guide to using the Cricut EasyPress is why it’s actually necessary in the first place. Until now, I have always used an iron for my heat transfer and iron-on projects. And almost all of them turned out good.
I’m going to be totally honest with you—if you only do a few heat transfer or iron-on projects a year, you probably don’t need an EasyPress or EasyPress 2. But if you do a lot of crafting work, this bad boy will up your quality while also saving you time. And if you sell your products, you need a heat press to ensure uniform, professional results across your projects.
The EasyPress and EasyPress 2 are both easy to use, do not require a press cloth for most projects, are great for layered projects, are compatible with all major brands of heat-transfer materials (not just Cricut), and help transfers hold up and look great through multiple washes.
According to Cricut, there are three main factors that contribute to getting professional heat transfer results at home. Your household iron can meet some of these, but not all.

1. Evenly dispersed heat
Your household iron is not designed to disperse heat evenly. It generates one hotspot in the middle, and the heat decreases as you get to the border of the iron’s plate. For this reason, iron-on projects done with a household iron usually require a barrier between the iron and the project, usually a thin cloth. This helps spread out the heat more, but doesn’t get you there totally.
2. Exact temperature & control
Heat transfer or iron-on materials adheres to a surface once it reaches a specific temperature. For example, this temperature will be different for foil iron-on than it would be for regular iron-on vinyl. All of Cricut’s heat transfer products have been tested with the EasyPress and EasyPress 2. You can use their Interactive Quick Reference Guide to see what settings you need to use for a given material.
Speaking from personal experience, I think the EasyPress 2 does a much better job on metallics, foils, and other special items that aren’t plain ol’ vinyl. The temperature can be more difficult to control with an iron, and using the EasyPress can help you get the exact right temperature and time needed to ensure results that last. The only iron-on project I’ve ever had fail was actually
3. Flat, stable surface
A flat surface works best. And I don’t mean an ironing board. Cricut suggests using their EasyPress on a flat surface like a table with a Cricut EasyPress Mat. The mat provides the extra benefits of protecting the surface underneath from heat.


EasyPress vs. EasyPress 2
Cricut originally released the EasyPress in 2017, and it came only in a 9” x 9” machine. The company then release the EasyPress 2 in 2018, which comes in three different sizes: 6” x 7” (ideal for smaller items like baby clothes), 9” x 9” (ideal for everyday use), and 12” x 10” (ideal for larger format projects).
Both the EasyPress and the EasyPress 2 will up the quality of your designs. They have very similar capabilities. Cricut has a very handy guide outlining the differences between the EasyPress and the EasyPress 2, as well as a traditional iron and a lower cost heat press.
Here are the major changes the EasyPress 2 adopted:
- Gets hotter—precise temperature control up to 400°F (205°C); the original EasyPress has precise temperature control up to 360°F (180°C).
- Heats up quickly—up to 25% faster than the original EasyPress.
- Has totally uniform, edge-to-edge heating.
- Comes in different sizes with different price points.
- Has a micro USB port that allows you to update firmware.
And here are a few other things the EasyPress 2 has that the original EasyPress doesn’t—these wouldn’t necessarily be something that would impact my buying decision personally, but you should be aware of them:
- Different color choices (purely cosmetic—this in no way affects the quality of your heat transfer).
- Ability to register the product online to receive educational materials and updates.
- Streamlined safety base that keeps work surface up to 60°F cooler.
- Remembers time and temperature settings from last use.

Do I need an EasyPress Mat?
The Cricut EasyPress Mat is a must have, in my opinion. Have you ever tried to do iron-on projects on a towel and ended up with a ton of moisture? Or on an ironing board and ended up with some wonky rippling in your design? The EasyPress Mat prevents all of this, all while being use to use and store.
It’s soft but stiff, providing the perfect flat surface to press on. It eliminates moisture and directs heat where it needs to go: evenly dispersed across your project. And it also protects your work surface from the heat.
The mat is made of a heat-resistant cover, a felt layer for moisture control, a foil lay to reflect heat back up to your project, and a silicone sponge layer to insulates your work surface and functions as a pressing pillow to absorb seams and whatnot (see section below about working with your EasyPress and seams/zippers!).
The EasyPress Mat comes in three sizes so you don’t have to buy a mat that’s bigger than what you need: 8in x 10in, 12in x 12in, and 20in x 16in. The mat is one-sided, and the internal layers are designed to help you get the perfect transfer.
You don’t have to use an EasyPress Mat with the EasyPress, but it was designed for it and makes things really seamless. You want to avoid ironing boards, corrugated cardboard, and silicone baking mats/aluminum boil, which gets very very hot.

Working around seams & zippers
Using the EasyPress on smaller items can be a bit less straightforward. That’s because you want even pressure across a flat surface for your design to adhere, and seams and zippers can get in the way of that. Getting an EasyPress Mat is the best solution. Here are a few other ways you can work around those tricky spots.
1. Elevate base material
The best way to use the EasyPress on smaller items is to try to elevate the base material just enough so that the seam will not interfere with getting a flat press. You can do this by putting the item over a piece of thick cardboard that is about the same size. The cardboard should be totally flat with no folds, seams, or corrugation.
The seamed or zippered areas should “hang” over the sides of the cardboard. Remove the EasyPress immediately after your press time (usually 30 or so seconds) and let the cardboard cool completely before handling.
2. Use towel as a base
You could also use a folded towel on a flat surface with your project on top of it. When you apply the EasyPress, the raised seam or zipper areas will flatten out since the towel material has a bit more give.
3. Use folded towel as filler
For something like a bag or pouch, you could also fold (not bunch up) a small towel and put it inside of the item, under the area where the design will go. This will bump up that area and allow you to avoid the seams, which will be lower.

What if my design is too big?
With all this talk about distributing even heat, you might be wondering if you can work with a design that is bigger than the EasyPress surface area. The answer is yes, you can!
One great tip from the folks at Cricut is to fold your base material in half and use your EasyPress to create small creases in the material. This will for a plus sign on your base material that will help guide you when placing larger items.
Begin at one corner of the design and press according to the setting outlined for your base and iron-on material. Once your timer beeps, move the heat press to a new section and repeat. It’s okay if the EasyPress overlaps just a bit with the previously heated area. Just make sure you don’t leave any gaps that have had no heat applied.
After you’ve finished applying heat to the entire design, flip your project over and apply heat to each area of the back for about 10 seconds. Remember to never slide your EasyPress. Always lift it and set it back down on a new area.
If your large design uses multiple different types or iron-on material or several smaller designs, you might decide to peel off the protective liners as you go. Just make sure the heat press doesn’t touch the areas you’ve already peeled off. You can use the liners for protection as you’re working through your design.

Using the EasyPress to layer iron-on
Layering materials is an easy way to add dimension to your heat transfer projects. (See my tutorial for how to layer iron-on vinyl for more!) In fact, there are many Cricut designs out there that are designed specifically with layering in mind. They have multiple layers that are placed on top or one another to create the final image.
All Cricut iron-on products can be used in layering, but Cricut recommends using some materials as final layers only: foil, glitter, holographic, and holographic sparkle iron-on. Additionally, SportFlex Iron-On should be layered on top of other SportFlex Iron-On only—that’s from Cricut. I’ve never worked with SportFlex. For best results, don’t include more than four layers on designs.
The first step is to apply the first—or bottom layer—of your design to your materials. To do this, using the recommended temperature setting for your materials, but instead of following the recommended time, cover your design with your EasyPress and apply firm pressure for 3 seconds. Use both hands and put some muscle into that pressure!
Once the liner has cooled from hot to warm, carefully peel it off. Be super gentle because the design isn’t totally set yet. Then, repeat the 3 second firm pressure step for all of your remaining layers (except the final layer), making sure that your EasyPress doesn’t touch any exposed material. Also take care not to let the edges of your liners leave imprints in the already adhered material.
For the final layer, apply firm pressure for 15 seconds (note: use only 10 seconds if you’re using foil iron-on), then flip the material over and apply 15 seconds of heat to the entire design from the back. Once the liner for the final layer cools from hot to warm, gently peel it off to reveal your fab design.

Using the EasyPress with wood & paper
Iron-on material is traditionally associated with fabric, but you can use the EasyPress to adhere iron-on designs to other bases like wood and paper. As with ironing on to fabric, your base material and workspace must be super flat so that the EasyPress can distribute heat evenly.
Use Cricut’s Interactive Quick Reference Guide to find the right settings—make sure to change the base material! The process is very similar to applying iron-on to fabric.
Simply place your design and set the EasyPress down over it. (Note: If you have to use something like a cloth between your base material and your EasyPress, you may need to bump the temp or apply heat for longer.)
You don’t have to apply pressure—just let it sit there doing its thing. After the EasyPress timer beeps, burnish the design. I like to do this for most of my heat transfer projects, honestly. I take a balled-up paper towel and rub all over the design to help the iron-on film adhere as it cools. You can see me doing this in the video I have in this post.

Project example using an EasyPress
Now I’m going to share a real project using my EasyPress 2 and Cricut Everyday Iron-on in black. I’m using a cut file I designed myself.
Safety Note: Do not use the EasyPress while small children or pets are around, and always return the EasyPress to its safety base when you’re not using it. Even when it’s not hot, it’s just good practice. The heat plate can get VERY hot and cause severe burns if you touch it.
Step 1: Cut design
I cut my design from Design Space on my Cricut Maker. Make sure to always mirror your images when working with iron-on. Then I carefully weeded out the negative space using a weeding tool.


Step 2: Prep mat, base material, & EasyPress
I set out my EasyPress Mat and laid my base material, a 100% cotton bag, out over the mat. I set my EasyPress 2 to the recommended settings for a 100% cotton base while working with Cricut Everyday Iron-on and the Cricut mat. Note that the settings can be slightly different if you’re not working with the Cricut Mat, so definitely make sure you check or uncheck that box.
To change the temperature, I just clicked the temp button and then used the plus/minus buttons. The timer defaults to 30 seconds, which is what I needed. As for the lights, the orange one means your EasyPress is heating up; the green one and a beep means it’s ready to press! (Note: While it’s heating up and whenever your EasyPress is hot but not in use, keep it in its safety base.)

Step 3: Pre-heat & press design
Once the EasyPress light turned green, I pre-heated the my bag for about 5 seconds. (If you’re working with a wrinkled piece of clothing, this heat press will take the wrinkles out really quickly! Just make sure you let it cool before you proceed with your design.)
Then I laid my design out carefully on the tote bag, set the EasyPress down over the design, and clicked the Cricut symbol to start the timer. No more clock watching or counting in your head with the EasyPress.
I apply gentle pressure for the recommended 30 seconds. Remember not to move the EasyPress around like you would while ironing clothes with a clothes iron; this can mess up the design.


Step 4: Apply heat from back & peel
After the timer beeped, I flipped my bag over and applied heat from the back for about 10 seconds. Then I returned the EasyPress to its safety base and flipped the bag back over. I used a balled-up paper towel to gently burnish the design through the protective sheet to ensure optimal adhesion as the iron-on stick cooled. (Be careful—it’s hot!)
Once the design had cooled from hot to warm, I peeled off the protective sheet to reveal my design. Your design may require you to wait for everything to cool completely. Check the Interactive Quick Reference Guide for specifics about your project.


Pin this!