How to Slice Text in Design Space
How to slice text & cut things out of images in Design Space
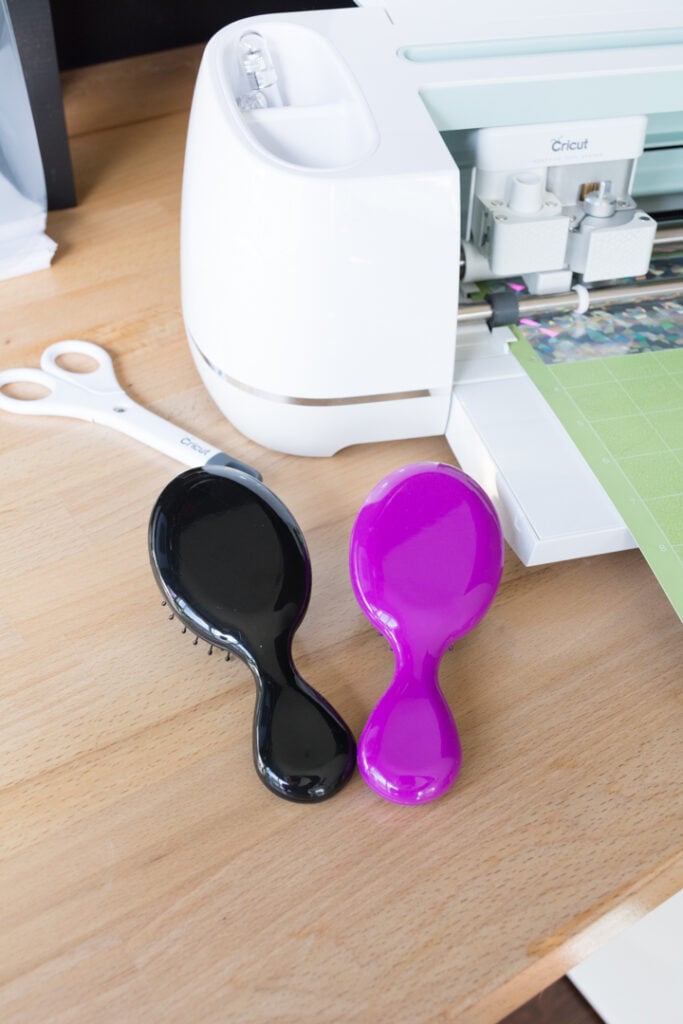
If you’ve seen a picture of my kid, you know she’s got a nice head of hair. She’s had a little baby brush and a comb that she’s used so far, but she’s been increasingly interested in using mommy’s brush. Plus, she really needs a brush with real bristles.
So we went to Target together one morning to pick out a big girl brush. I showed her the “Wet” brand brushes, which is what I use. They are really gently on your scalp and hair, and they do a great job detangling. HUGE fan of these brushes. You can get them just about anywhere—Target, Walmart, Amazon, CVS, etc.
I had also heard one of her big girl friends at daycare was having a hard time with brushing her hair. She didn’t like the feeling of the brush on her scalp, so I had R pick a brush out for her, too. Figured trying this brand was worth a shot. Obviously I had to trick these brushes out, too…
In this article…
How to cut text out of a shape in Design Space
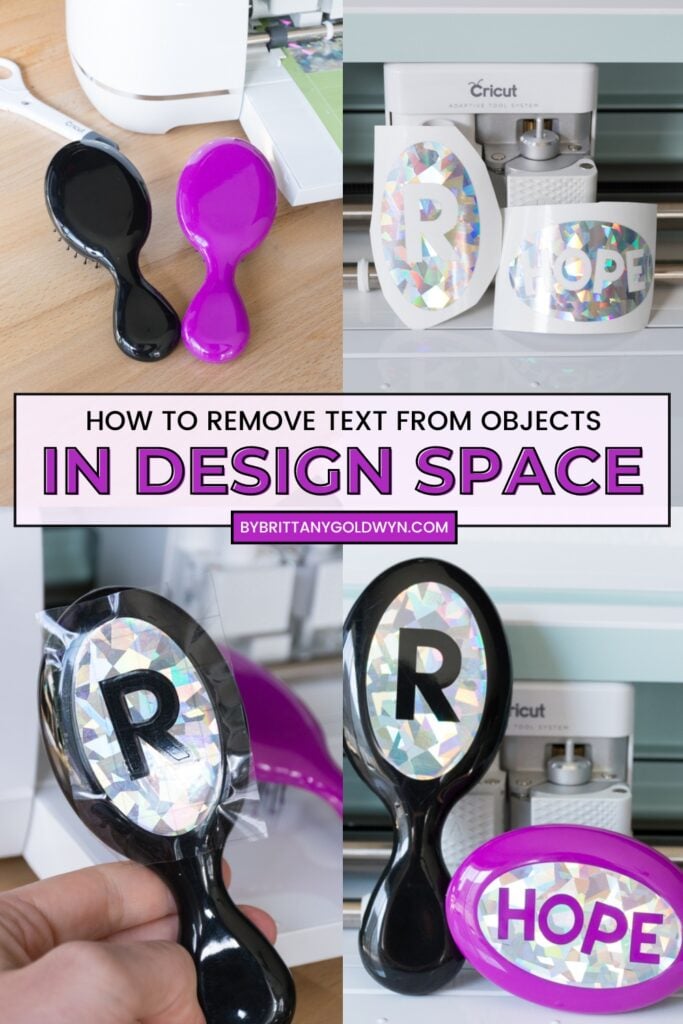
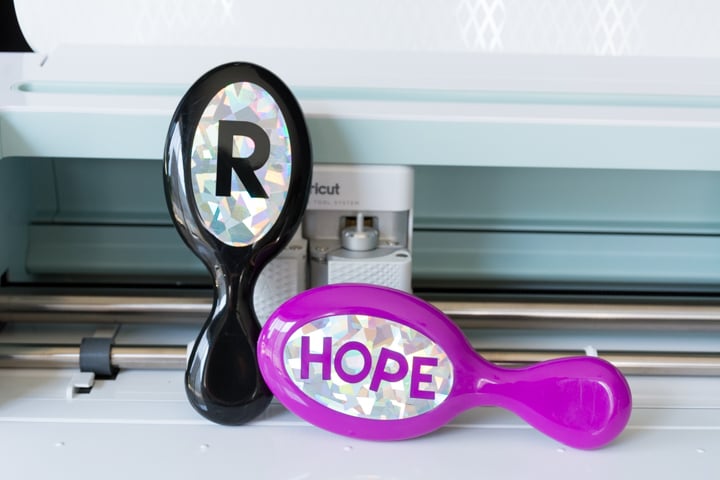
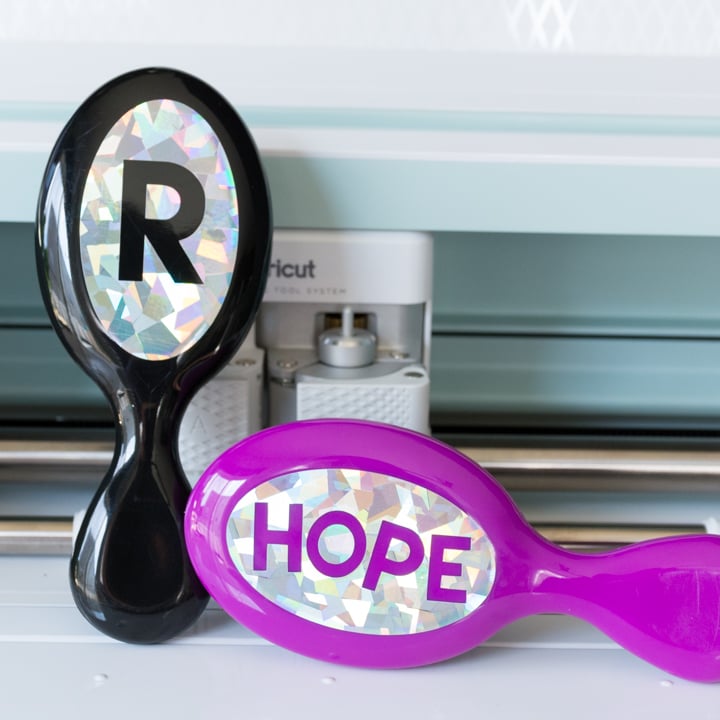
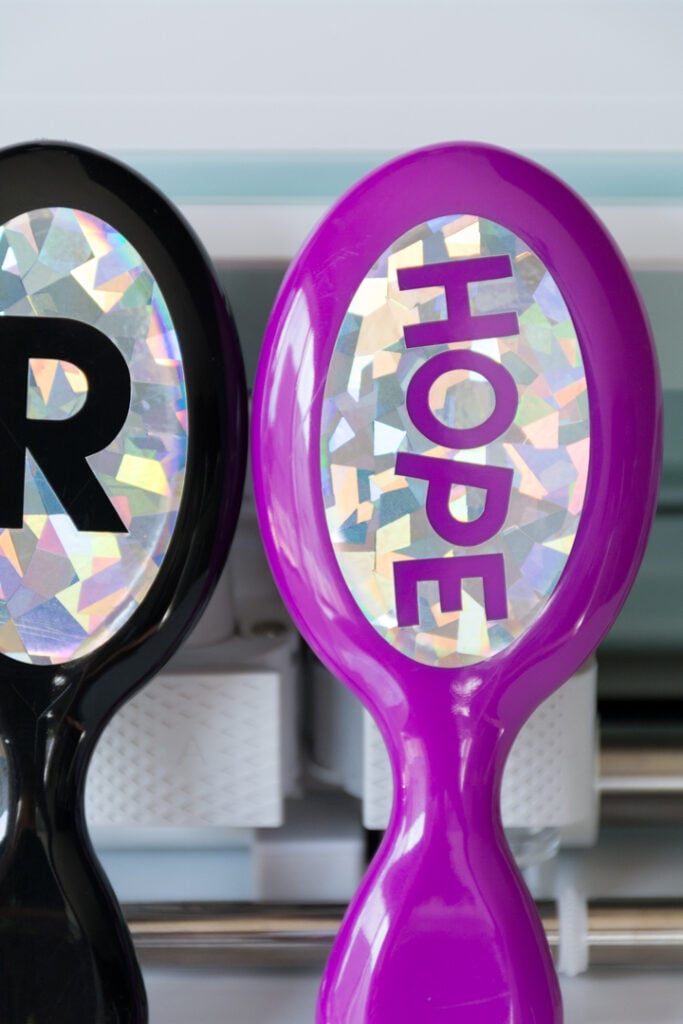
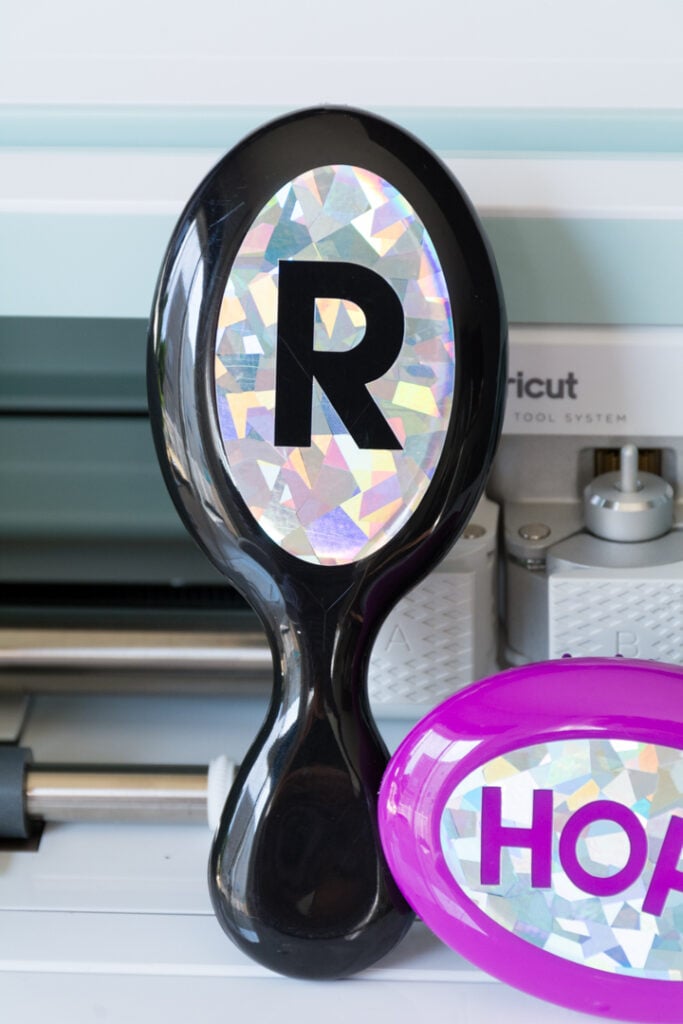
Aren’t they adorable? I’m going to use the decals I put on these brushes as a tutorial for how to cut text out of an image in Cricut’s Design Space using the slice tool. You can use this tutorial to cut anything out of an image—it can be text, numbers, shapes, or another graphic. For this project, it looks so much better than just putting the letter onto the brush!
So what does the slice tool do? It splits two overlapping objects (images, graphics, text, whatever) into different parts. In doing so, it creates new cut lines from the two objects, resulting in several additional images that will show up in your Design Space layers panel.
Each of these new images will be an individual layer. So if slicing two objects gave you some images you don’t want to keep, you can just easily delete those layers. Don’t worry if this is confusing. It will make more sense with the tutorial. 🙂
Step 1: Type text & create a shape
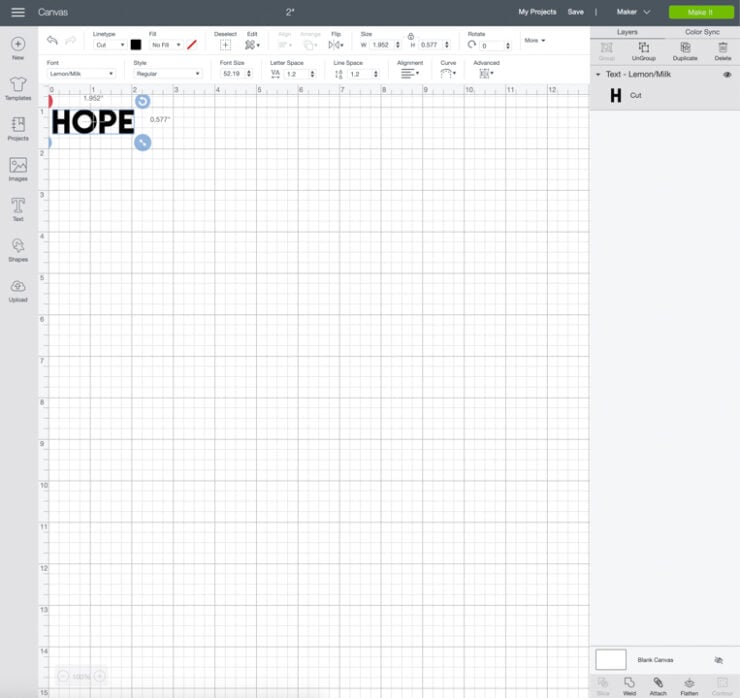
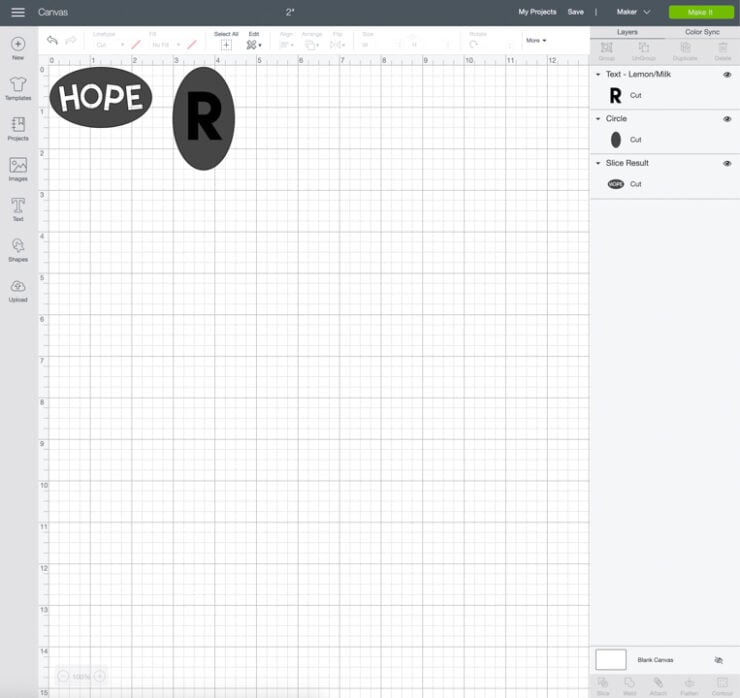
First up is the decal for Hope’s brush. I typed “HOPE” into a new text box and used the Lemon/Milk Design Space free font. Note in the first image below that there is only one layer in the layers panel: It says “H” because “HOPE” is all one shape, so it’s in one layer. Remember this for later!
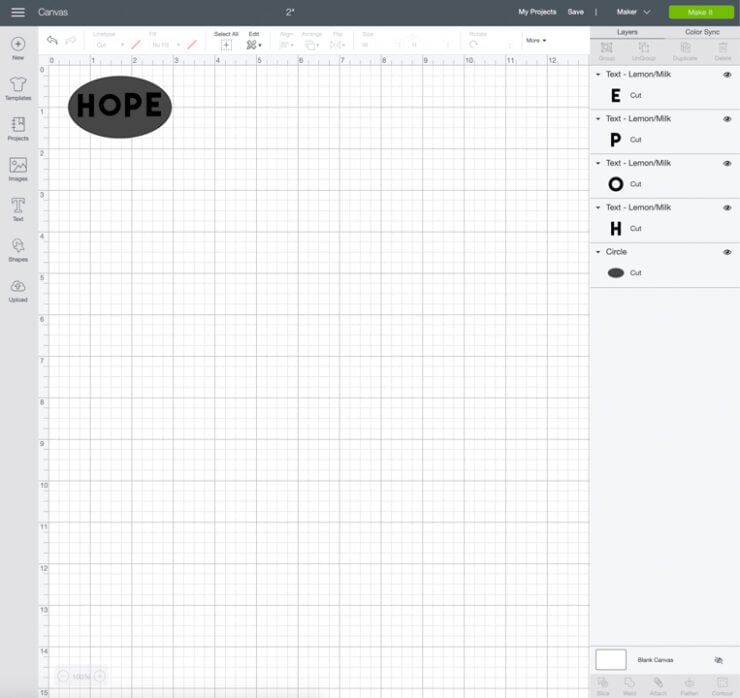
Then I measured the back of the brush to see what sized I needed to make it. I also used the brush measurement to decide what size I should make the oval shape. I drew the oval shape by drawing a circle with the Shapes tool, unlocking the shape, and dragging it into an oval. Then I locked the shape again so I could scale it down to the appropriate size without messing up the oval shape.
I arranged the oval and text so that the oval was the bottom layer. I wanted to be able to see the text on top of the layer to make sure everything was positioned properly.
Step 2: Ungroup text to individual letters
The slice tool is slightly more complicated when working with text. That’s because you need to work with each letter individually—you can’t just slice out all of the letters at once. So do this, you must ungroup the text so that they are individual letters.
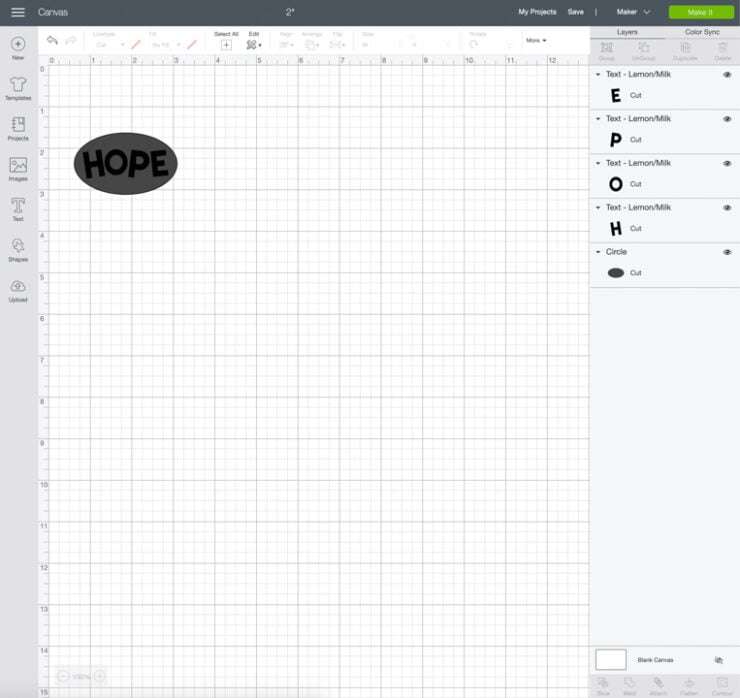
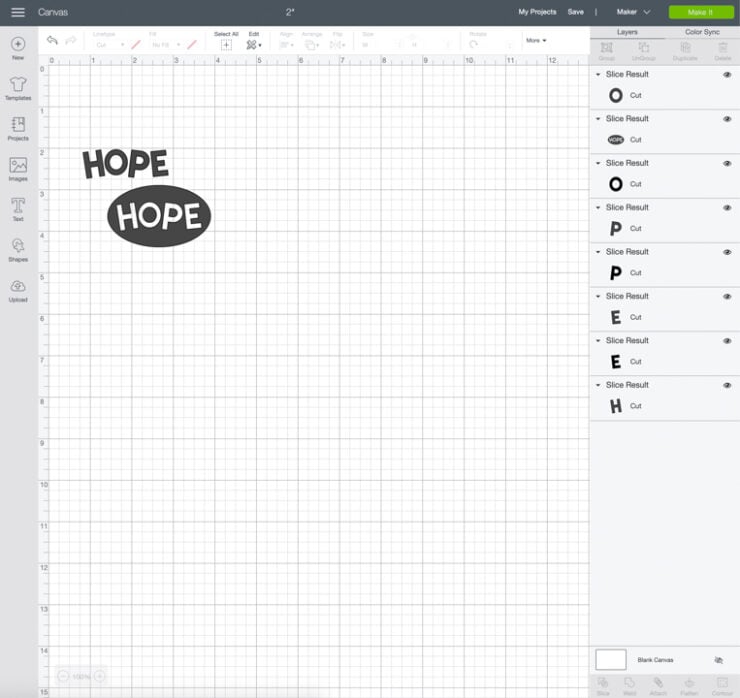
To do this, slick the text box, and then at the top of the layers panel on the right, click “Ungroup.” Each letter will now become its own layer. Remember how in step one there was just one layer that said “H”? Now I have an H, an O, a P, and an E. (See the individual layers in the first image below?)
Once all of the letters are individual layers, you can tweak their size and spacing, and you can rotate them to fit different shapes. I decided to rotate each of the four letters to make the font look a bit more like something you’d see on a kids toy.
But you can’t just select all of the letters you want to slice out and click “slice.” That’s because the slice tool only works with two layers at a time. In the first image below, I have every layer selected. See how the slice tool is grayed out? (It’s the first one on the bottom of the layers panels and it’s a bit hard to see here.)
Another reason your slice tool might be grayed out is if your design has multiple layers. You must hide the layers you aren’t working with. Or you can ungroup the layers and select only two at a time.
However, keep in mind that if you use the slice tool and have hidden layers, the hidden layers will be removed from both the Design Space workspace and the layers panel. To keep those hidden layers, ungroup all of the elements before using the slice tool.
Step 3: Slice one letter at a time
Back to the tutorial! Since you can only use the slice tool with two layers at a time, you just have to do each letter individually. I think it’s easiest to highlight the text letter by letter in the layers panel.
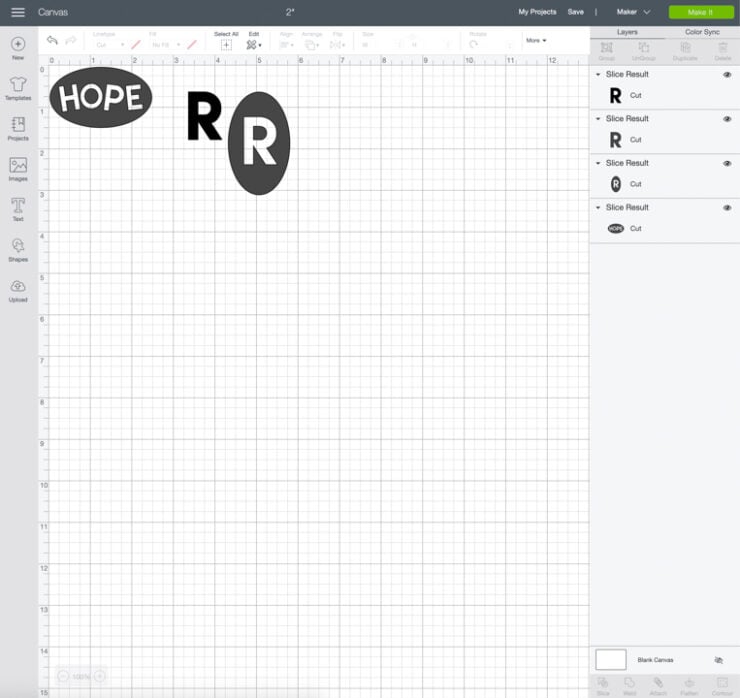
To select two layers at one time, click the base layer while holding the CTRL key on a Windows computer (command on a Mac computer). Keep holding that key while you click the first letter you’d like to slice. Both layers will be highlighted in the layers panel, and you’ll see that the slice tool is no longer grayed out. YAY!
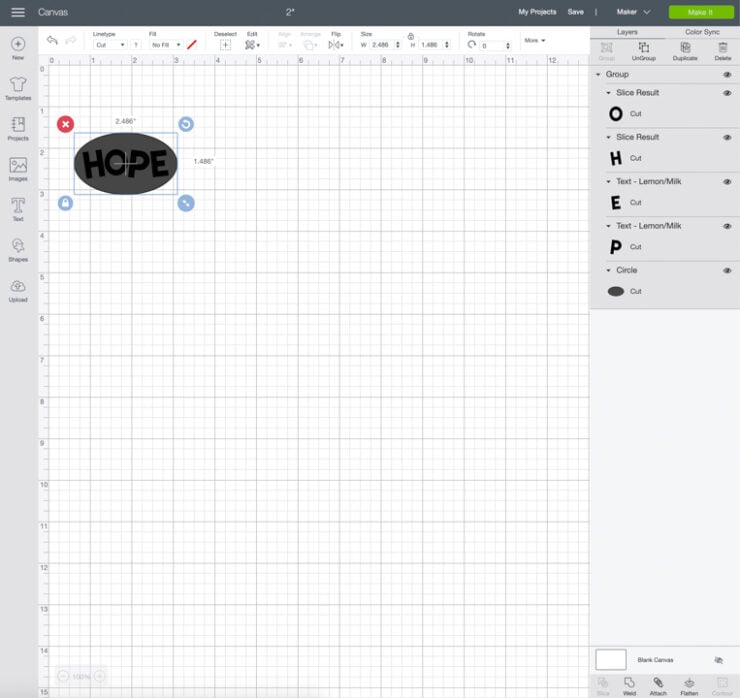
While both layers are still selected, click Slice. You’ll notice new layers appear in the layers panel. That’s because slicing creates new images by “slicing” things out of the base object. In my case, it created new letters.
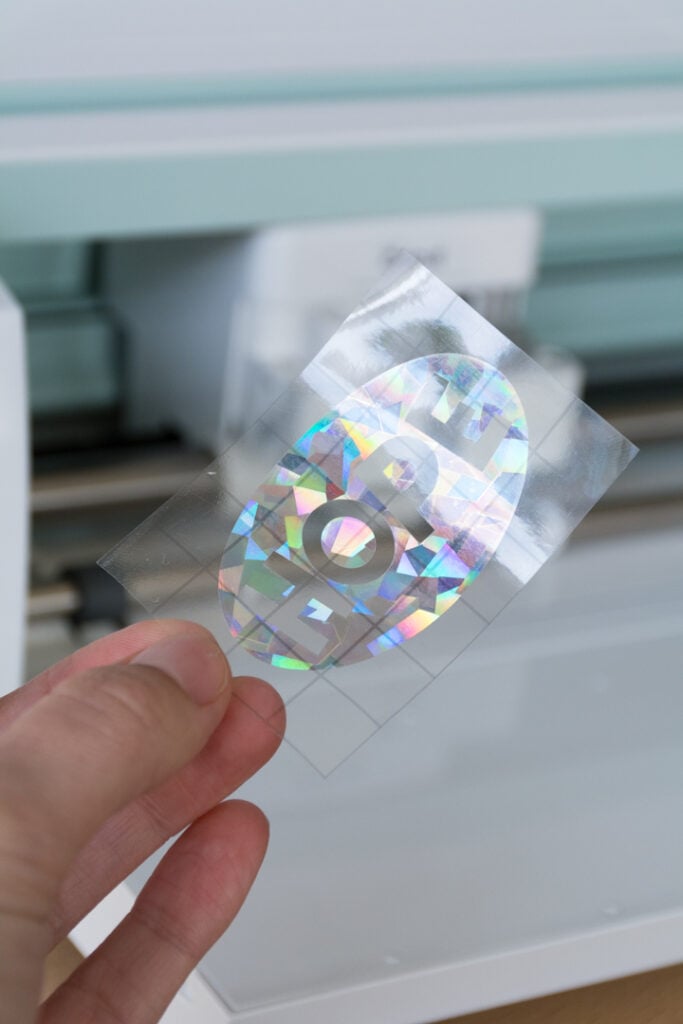
Next, click the base shape again and select the second letter using the same method you used to select the first letter. Click Slice. You’ll see more layers appear as you continue slicing through each letter. Below is what my design looked like after I sliced each of the four letters and I moved the base shape off of the sliced letters.
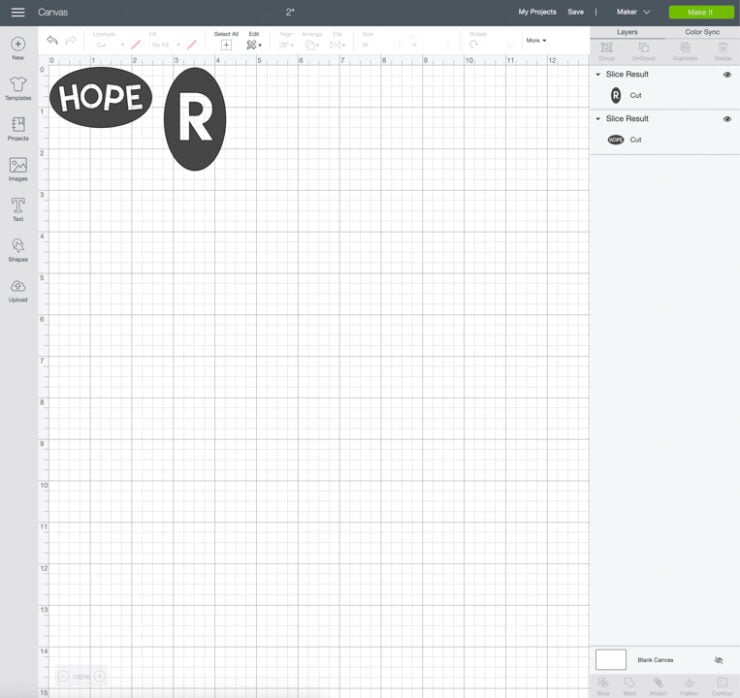
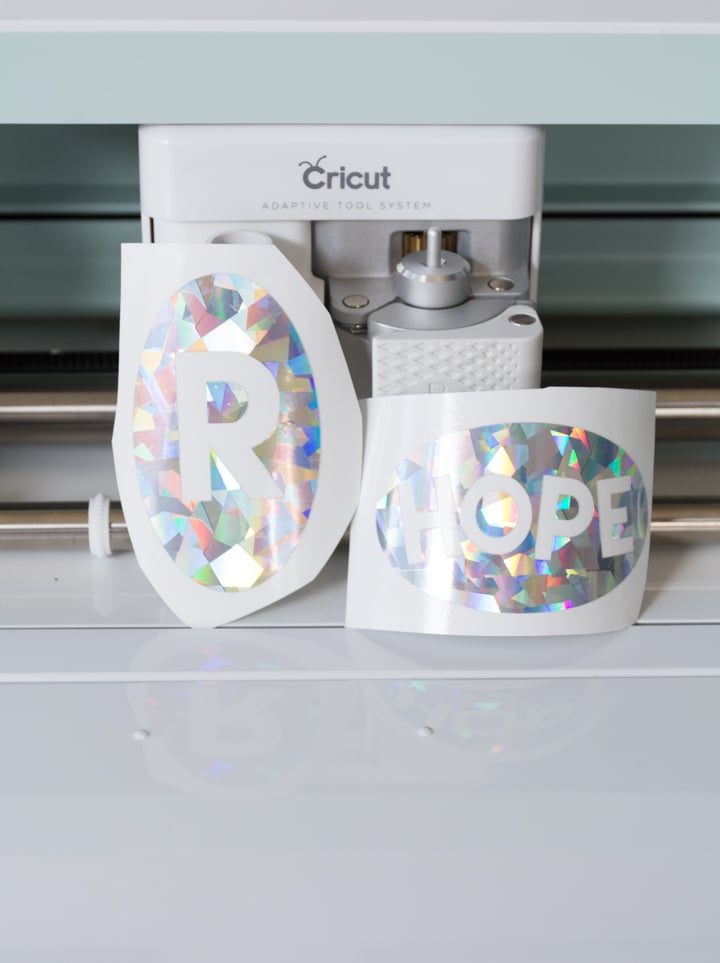
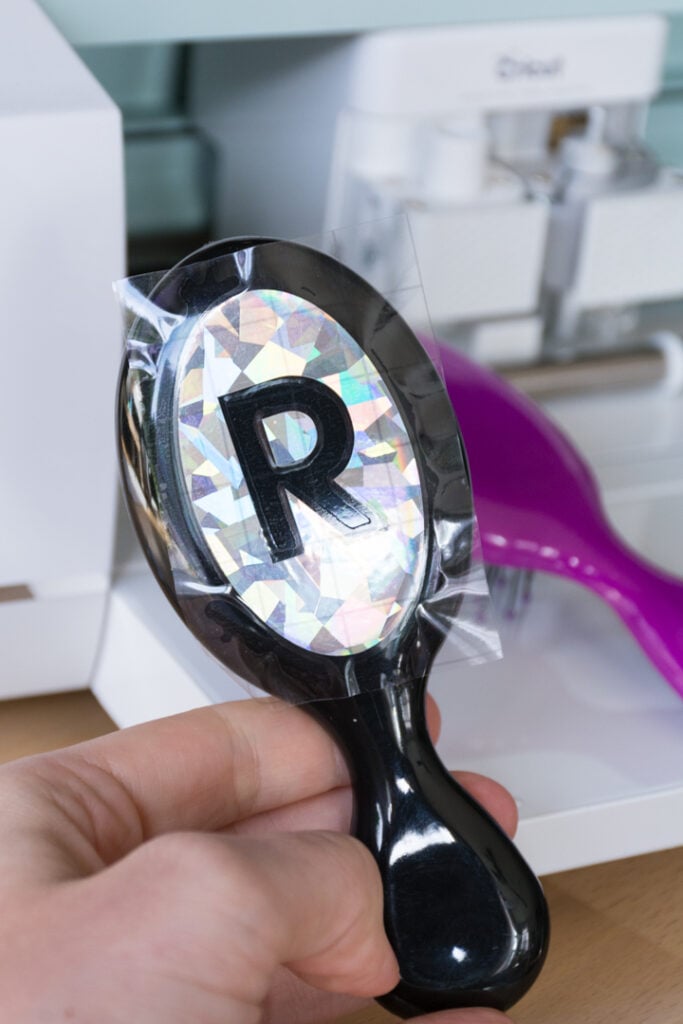
Since I only wanted to keep the oval with the negative space where the letters had been, I deleted every layer but that one. R’s brush was a bit easier because I just did a simple large “R” for her design.
Step 4: Cut sliced design & apply
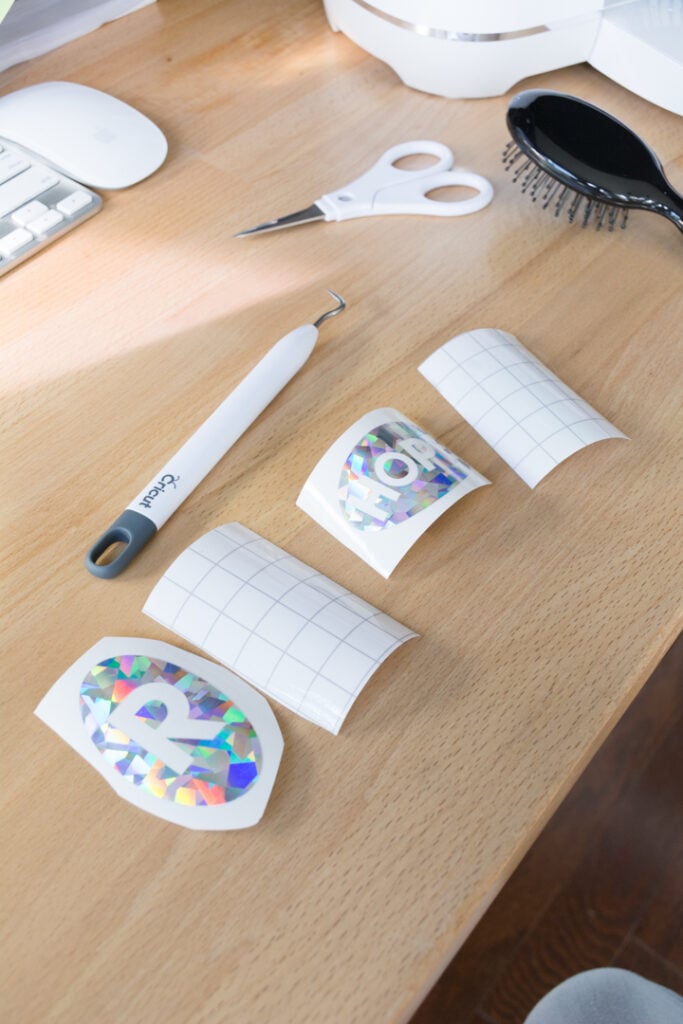
Once I had both of my images sliced and ready to go, I had only two small designs to cut. I used some holographic adhesive vinyl and cut both of these out at the same time on my Maker.
I did use transfer tape to apply these designs because they each had pieces of the letters on the inside that I didn’t want to have to worry about placing exactly. Transfer tape to the rescue. 🙂
Pin this!