Modern Buffet-Style Cubby Storage Plans
Use these modern buffet-style cubby storage plans to make the perfect storage that’s both functional and gorgeous! Designed to fit common-sized storage bins and boxes.
I recently posted about a wall I’ve been slowly working on in our house. First we replaced the closet doors, then painted, then replaced the front door, and finally removed a large rustic barn door that was in the house when we moved in.
Not only was it not really my style, but it didn’t really provide much value. We never really closed it, and it seemed to just take up a lot of space. So I pulled that sucker down and sold it on Facebook!
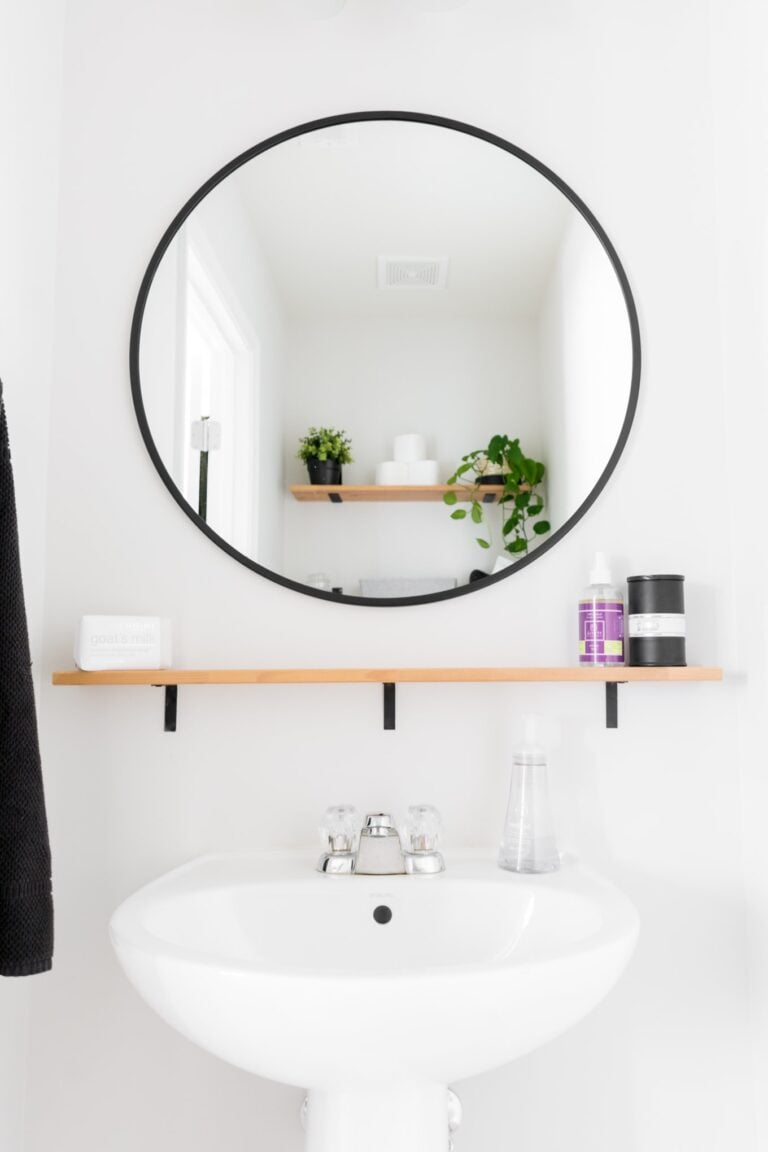
I replaced it with a mirror, a small table that functions mostly as a drop zone for kid stuff, and a DIY over-the-door plant shelf. The shelf was a great solution for a hallway entry that didn’t have any trim (and that I didn’t want to deal with trimming out).
The latest project in this space is building a piece to go by our dining table. This is a multi-purpose space in our small house. We eat here, but my daughter also spends a lot of time playing at the table, doing art, painting, etc. So we keep a lot of her craft supplies and toys here.
In a small kitchen, it also functions as overflow storage. For example, we have a box with a bunch of reusable bags and another bin with random kitchen stuff in it.
What we had before…
Here’s what we had before. It worked fine, but I just wasn’t feeling it. I also really wanted to move this into my husband’s office for more functional storage there. We’ve had it for a while—it’s a 16-cube Ikea Kallax unit.
But it just seemed so big and out of place in the dining space. So I worked with my friend Kati at Houseful of Handmade to design some modern buffet-style cubby storage plans.
As a bonus for us, this frees up wall space for a piece of art of mirror (to be determined on that front). And it’s lower to the ground, allowing my daughter to reach everything without using a step stool. So let’s walk through the process.


Here’s what I used…
(Affiliate links below; read more about those here)
- Plywood and 1×2 pine
- Circular saw and miter saw
- KregJig and pocket hole screws
- Cordless drill
- Table saw or router
- Nailgun
- Wood filler
- Orbital sander
- Assorted sandpaper
- Primer and paint
- Hairpin legs
And here’s a peek at the modern buffet-style cubby storage plans!
Always take the proper precautions and safety measures before working with any tools or materials. Wear safety equipment and work with a professional to complete projects when necessary. Read my full terms of use and disclosure for more. Happy making and stay safe!
Step 1: Cut and assemble the main frame
First we cut and assembled the main frame of the piece. This essentially built out all of the cubbies. It was kind of a beast to wrangle because plywood can bend and warp a lot…but we did it.
We assembled the frame using pocket hole joinery. These create strong joints that help provide additional stability. I love working with pocket holes and find they are pretty easy to use once you get the hang of them.


Step 2: Add the top, bottom, and side pieces
I added the top, bottom, and side pieces next. Instead of using a router to cut out a groove around the perimeter for the 1/4″ plywood backing, we used a table saw. With the 1/8″ blade, we were able to feed each of the four pieces through twice to cut out what we would have done with a router.
If you prefer to use a router, that’s totally fine. We don’t have one, but we do have access to a table saw. So that’s the method we chose. It worked great.

Like this project? Check out my post about How to Build a Shoe Cubby, my Easy DIY Dress Up Storage Build Plans, and my DIY Lego Table With Storage!
Step 3: Add face frame
Next I added the face frame. You’ll see that I added my legs at this point, too—that was just because I thought it would be easier to paint a raised piece.
Keep in mind that, if you’re adding legs on this piece, you’ll want to add support in the middle, too. That’s because the piece is so long that it will sag a bit in the middle without support. I added five hairpin legs: one on each corner, and one in the center.
Next I used a nail gun to attach each of the face frame pieces. I recommend cutting these as you go so you can get as close to an exact measurement as possible.


Step 4: Patch, sand, and repeat
Next I started patching. I patched pocket holes, nail holes, blemishes in the plywood, etc. Then I sanded the whole piece using an orbital sander. And then I repeated the process again to ensure a nice finish.
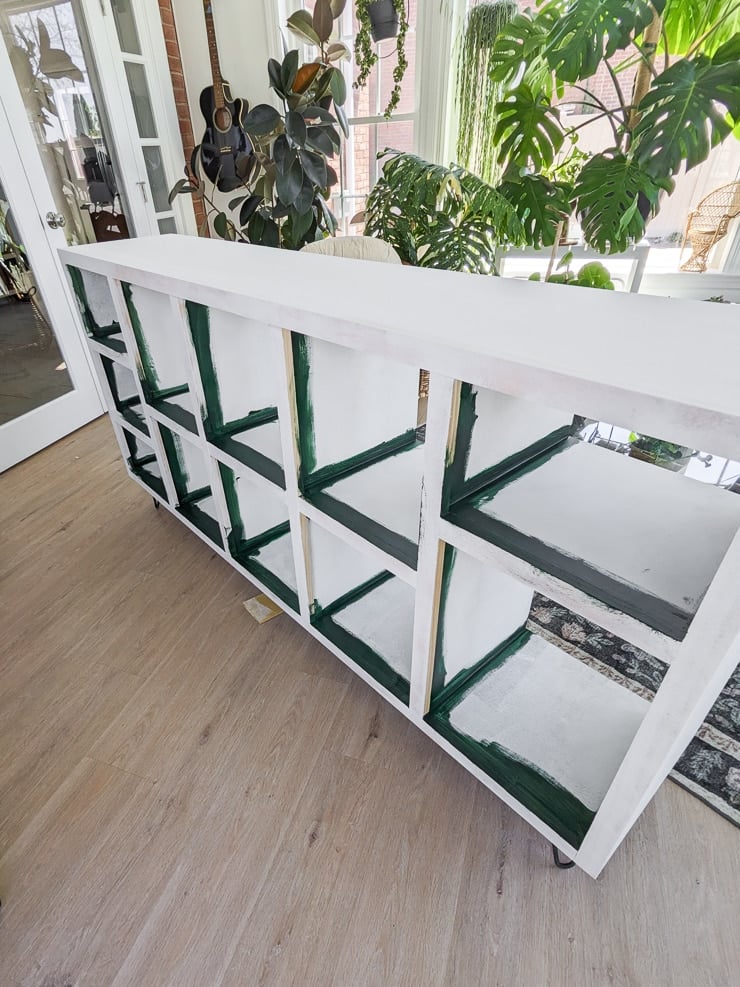
Step 5: Prime and finish
This is a pretty big piece, so it took a lot longer than I’d budgeted for to paint. After I’d sanded everything smooth, I wiped the piece down and used a small brush and roller to apply an oil-based primer.
This is the same stuff we used on our murphy bed. The oil-based stuff smells nasty, but once cured it provides a fantastically smooth finish. I think it helps polish up plywood a lot.
After the primer had dried, I applied two coats of paint using a small brush and roller. You can use any paint you’d like. I had some leftover Benjamin Moore Essex Green paint in eggshell, so I used that. It’s what I used on my sunroom accent wall, so it provides some nice continuity from one room to the next!

Step 6: Add backing
As a final step, you can add a plywood backing. Adding backing isn’t totally necessary but is a great way to take your piece from nice to WOW. At least I think so. 🙂 What do you think?


Want the plans for this piece? Head over to Kati’s post at Houseful of Handmade here to get them!