Looking for high-quality items you can use to engrave with your laser machine? I’m testing out 4 cheap things to laser engrave from Ikea, including a bamboo cutting board, cork trivet trays, a wireless cell phone charger, and more.
4 cheap, high-quality things to laser engrave from Ikea!
Hey all! Recently we were visiting a friend who just happens to live about 10 minutes from an Ikea. Since we’re pretty far from an Ikea, we took advantage of the drive and went up a bit early so we could do a bit of browsing.
Unlike other people, my daughter and I LOVE Ikea! She loves browsing the little room setups, and I love pretty much everything about the store. I always get tons of ideas walking through the store, and going on a weekday when you have the day off is bliss 🙂
So we were walking through the store and I noticed that there were a lot of things that made me think, “hey, I could engrave that on my laser machine!” So I decided to buy a few different things and test out different engraving settings on my xTool M1 machine.
If you don’t have an xTool machine, you can certainly still engrave these items. The settings are just in “xTool Creative Space speak.” You might have to do some testing of your own. So let’s just into my list of 4 things to laser engrave from Ikea!


For more, check out my xTool M1 machine review, which is the first machine I got. Then check out my review of the xTool P2 powerhouse machine!
(Affiliate links below; read more about those here)
1. Wireless charger stand
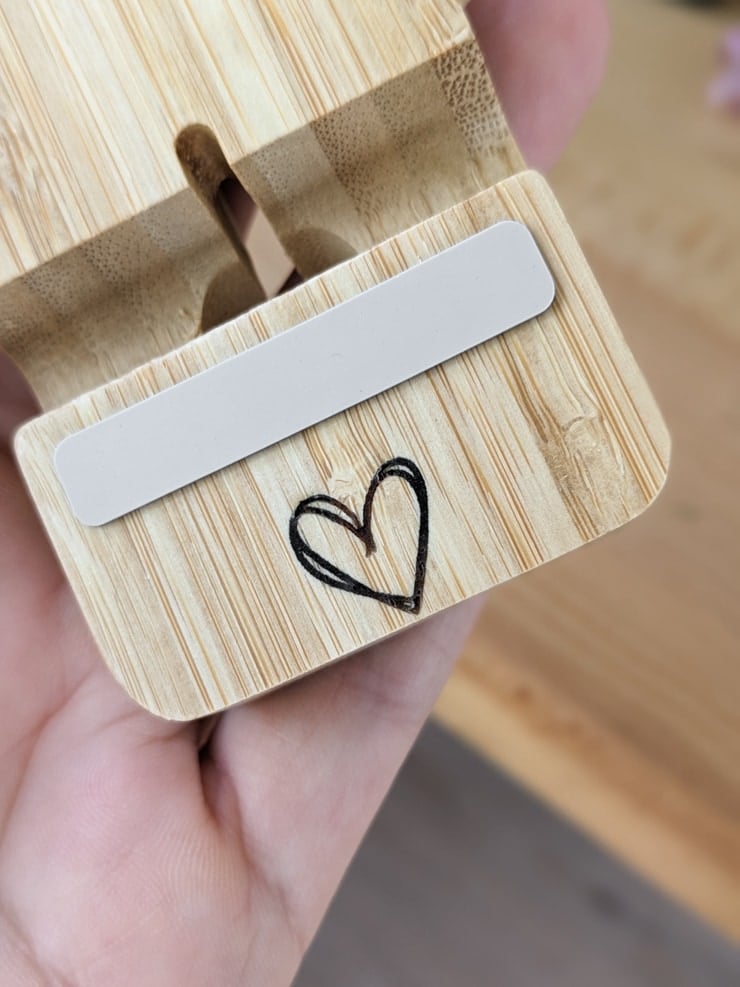
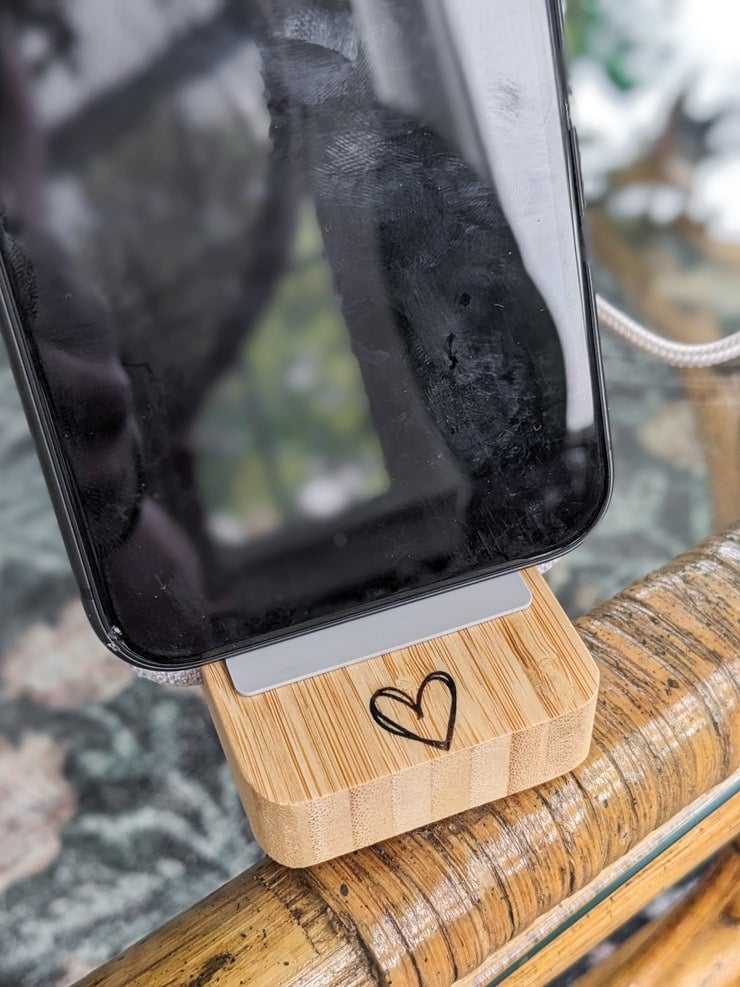
First up, let’s look at the smallest item on the list. I decided I wanted this wireless phone charging stand for myself, and I wanted to do a simple engraving test on it. This is the most expensive item on the list because it is a wireless charger, but it’s also a great thing to personalize!
I chose a simple small heart to engrave on the front of the wireless charger base. Because the base is made out of bamboo, I went with the stock settings for bamboo plant labels: 70/100/1. However, I went with a user-defined material so that I could manually enter the thickness of about .675 inches.
Auto-measure wasn’t working for some reason or else I would have done that. Oh—and I didn’t use any type of risers. Since it was just an engraving project, I popped it into the machine.
The 70/100/1 settings gave great results! Although I did use the framing function twice, the placement was a bit off. But the engraving settings themselves gave a fantastic finish on the bamboo base.


2. Bamboo cutting board
The second thing I tried engraving was a bamboo cutting board. Cutting boards are very popular things to laser engrave, and Ikea has an awesome selection of cheap, high-quality cutting boards in various sizes.
I chose the smallest one, which is basically just a rectangle. And I used it to make a sign for a local school. So don’t rule out cutting boards for random projects like signs. They make great bases!
For this, I followed an approach similar to the wireless charger stand. I used the same settings, 70/100/1, and I did a user-defined material with an auto-measure.
It engraved really well, but I do think that I could have done a second pass on this or upped the power. For some reason, it did not engrave as dark as I would have liked. I toyed with whether this was dark enough before deciding that it was…but it would have gone either way!
Also just an FYI, I didn’t use the laser cutting machine to cut holes in the top of the sign to hang it. Instead, I used a drill and a drill bit.


3. Shallow bamboo tray
I thought that engraving the shallow bamboo tray would be really similar to engraving the bamboo cutting board. But it wasn’t! Well, I did use the same settings of 70/100/1. Here’s what I did differently.
I didn’t use a user-defined material and auto-measure. Instead, I went with the stock settings for the bamboo plant labels—including thickness. That’s because I didn’t want the auto-measure to pick up the thickness of the sides of the tray.
And it worked out really great in terms of the engraving color! The lines are much darker and really pop. I’ll plant to spray this down with a protective matte finish, so that should make the illustration pop even more. (Btw, I just grabbed these elements from Canva and engraved them as a PNG file in xTool’s software, not an SVG.)


4. Cork trivet trays
And for the last and final test, I’m engraving three cork trivet trays! These come in 3-packs and have a lot of uses. I mostly use them to set under plants. However, they are designed for pots and pans in the kitchen.
I did three different engraved trays, using different designs and slightly different settings for each one. For the first circle of moons with an eye in the middle of it, I used no risers, auto-measured, 60/205/1 pass. In the “lines” area, I did 300.
For the intricate moth design, I did 55/205/1 and 300 to hopefully minimize some of the scorching. I used air assist on my M1 for all of these, but that did prevent all scorching. Especially on the thicker engraving areas.
And for the final design (the hands and moons design), I did 50/205/1 and 300. To be honest, I think all of them turned our great. However, all of them required just a bit of help cleaning up the scorching. I did this by using tape. First I tried clear packing tape so you could see how much came off.
Then I switched to painter’s tape because it’s a bit cheaper and I have a bunch of it. This worked beautifully and removed almost ALL of the scorching—yay! Very happy with the cork engraving process on the M1.


Want more? Check out my post about cutting acrylic with the xTool M1 machine and the 5 laser cutter hidey houses I’ve made!
Pin my post about 4 things to laser engrave!


Brittany is a seasoned DIY home and garden expert, running a creative brand since 2014 that inspires others with approachable plant care guides, woodworking tutorials, and decor projects. She is a certified project manager and has completed extensive coursework in the art and science of growing your own plants. Her work has been recognized by major publications, and she routinely collaborates with fellow DIY industry leaders—but her favorite thing to do is inspire you! Learn more about her here.

Leave a comment