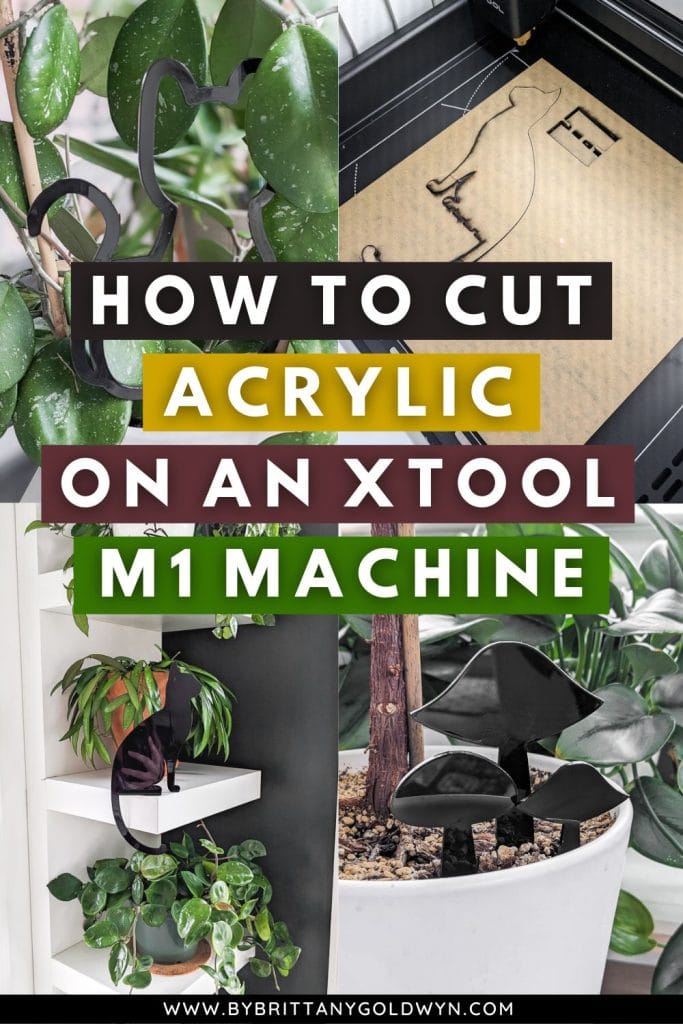
Today I’m sharing three projects to walk you through cutting acrylic with the xTool M1 machine! I used opaque black acrylic to make a cat decoration, a houseplant trellis, and cute little mushroom plant stakes. Here’s what you need to know about cutting acrylic on the M1.
My adventures in cutting acrylic with the xTool M1!
Hey there! Today I have another xTool M1 laser cutting post for you. I’ve been having a lot of fun playing around with my machine and decided to venture into another material. It’s mostly been wood so far—see my xTool M1 Review post for more on my experience so far.
In that post, I cut and engraved wood—and I also did some metal engraving. For this post, I’m testing out how the xTool M1 cuts acrylic. Specifically opaque black acrylic. I’ll be sharing a few projects and settings I used—but first, a little on cutting acrylic with this machine.
(Affiliate links below; read more about those here)
Can you cut acrylic with the xTool M1?
Yes, laser cutters including the M1 can cut acrylic. For this machine, which maxes out at 10W, 3mm acrylic is a good choice. It took two passes to cut clean through 3mm black acrylic for all of my projects.
More powerful machines (like a 20W diode laser or a CO2 laser) can cut thicker acrylic in one pass. Pretty cool—but not necessarily what I need at this point in my crafting.
The xTool M1 cannot cut clear acrylic, and it has to do with the type of laser. The M1 has a diode laser, whereas other laser cutting machines have CO2 lasers. CO2 lasers emit infrared laser beams that clear acrylic can absorb.
When cutting acrylic on a laser cutting machine, it’s important to remember that you must use proper ventilation. The fumes that the machine produces can be harmful. Work in a well-ventilated space and make sure you are venting your exhaust outdoors.
Cast vs. extruded acrylic
There are two types of acrylic that you can use with your machine: cast acrylic and extruded acrylic. The differences between the two types of acrylic are in how they are manufactured. One is better for engraving, one is better for cutting.
While they have the same chemical composition, they perform differently in engraving vs. cutting. Cast acrylic is made by pouring melted acrylic into a mold. For example, you could pour melted acrylic into a sheet mold to make a sheet of acrylic.
Extruded acrylic is made through pressing hot acrylic under rollers. It is rolled until it is an appropriate thickness—much like you’d do with cookie batter. Extruded acrylic is generally cheaper than cast acrylic.
What type of acrylic should I use?
Officially, xTool says that cast acrylic is the preferred type of acrylic for engraving. The reason for this is because cast acrylic creates a white frost-like look that makes the engraved area stand out more.
While it isn’t necessarily the preferred type of acrylic for engraving, it can definitely be done. Ask me how I know in a second.
Extruded acrylic, on the other hand, is best for cutting because the laser cutting process results in lean edges. It also doesn’t result in that frosty white color for engraving, so it is a bit lackluster in that department.
But! I tried ordering extruded acrylic knowing I wanted to cut my projects, not engrave. My order was cancelled twice (not an xTool material—just something on Amazon). So I got some cast acrylic. And it worked out really great.
Some minor melting around the cut areas, but I could probably fix that by increasing the speed of the laser and number of passes. I have a second sheet to play around with for future project, so I’ll probably try tweaking things then.
Here are 3 projects to illustrate cutting acrylic with the xTool M1!
Want to check out some actual projects? Here are three different ones I completed using 3mm opaque black cast acrylic material that I got off Amazon. All of them turned out awesome!
Project #1: Black cat hook
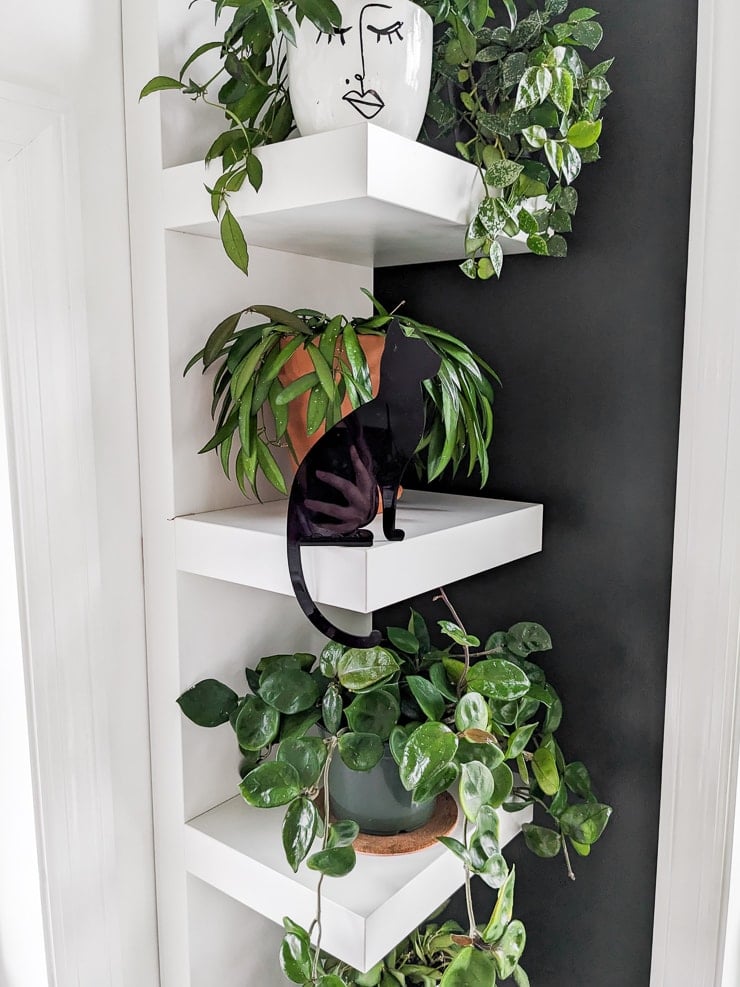
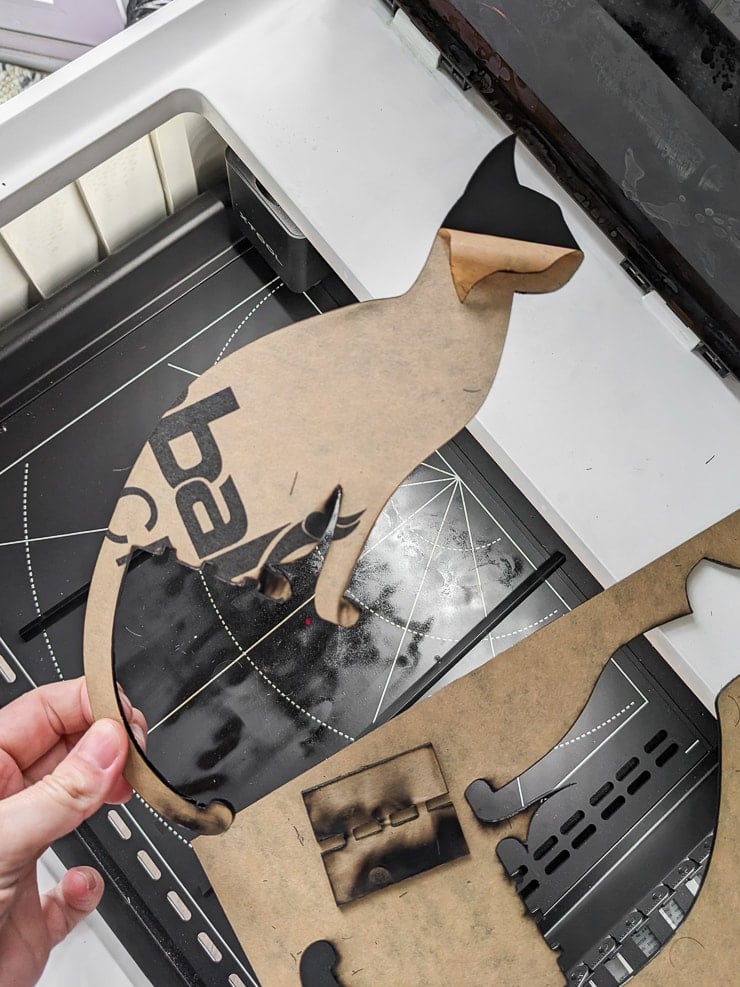
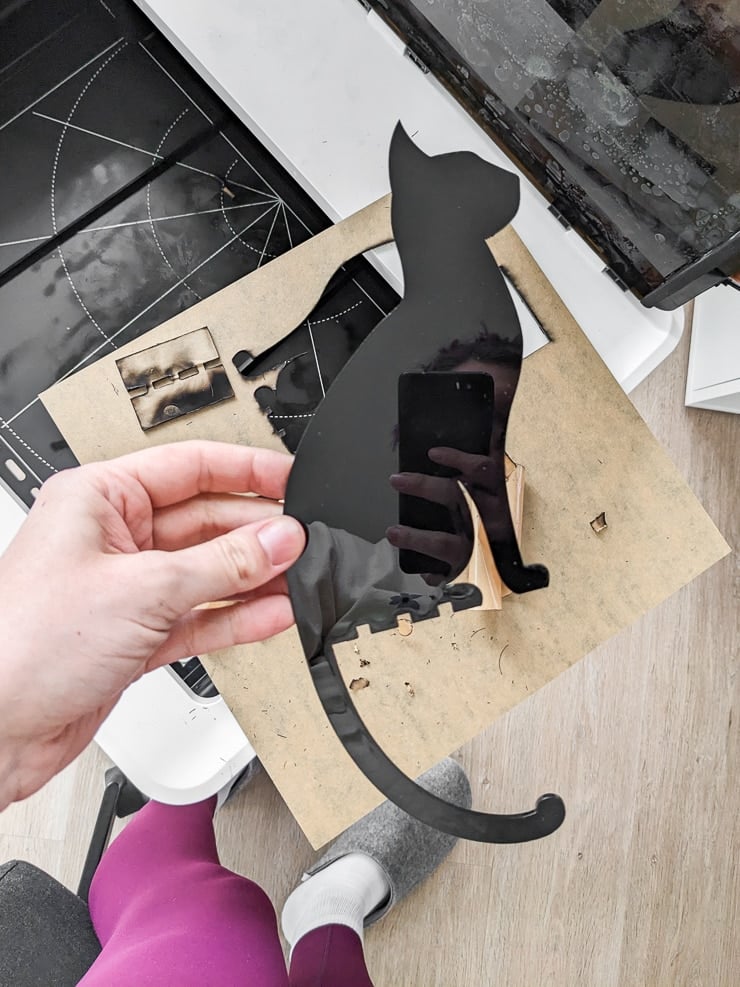
For the very first acrylic project I made with my xTool M1, I decided to choose something from the xTool Creative Space project gallery. I looked for something simple (labeled “level 1” or one star), and this black cat hook project fit the bill!
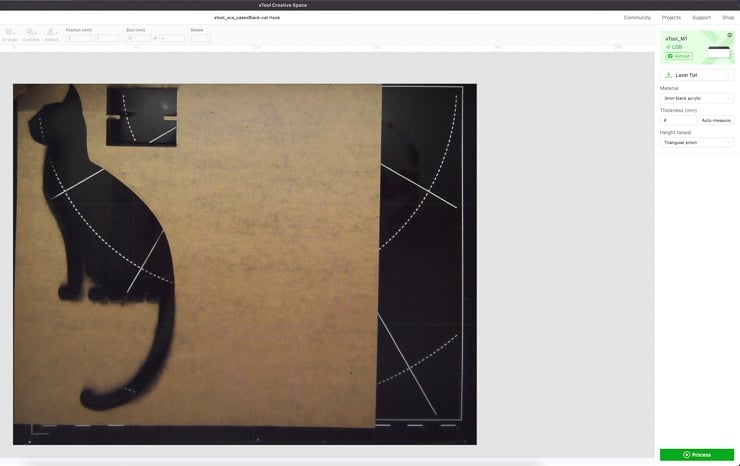
I kept the lining on my acrylic. And you can’t really tell by the second photo below, but I set everything to 3mm acrylic on xTool Creative Space. Even though it wasn’t xTool’s acrylic, I figured I’d start out with xTool’s recommended settings for their 3mm acrylic.
Overall, the machine took about 16 minutes to cut the cat and the base. It took two passes using xTool’s recommended settings for 3mm black acrylic: 100% power, 3 speed, and 2 passes.
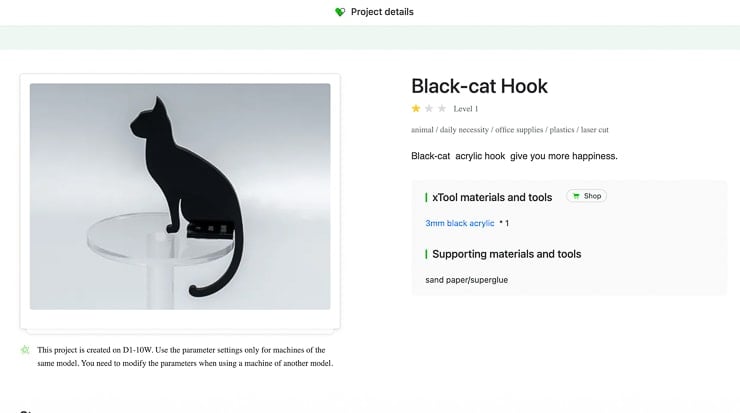
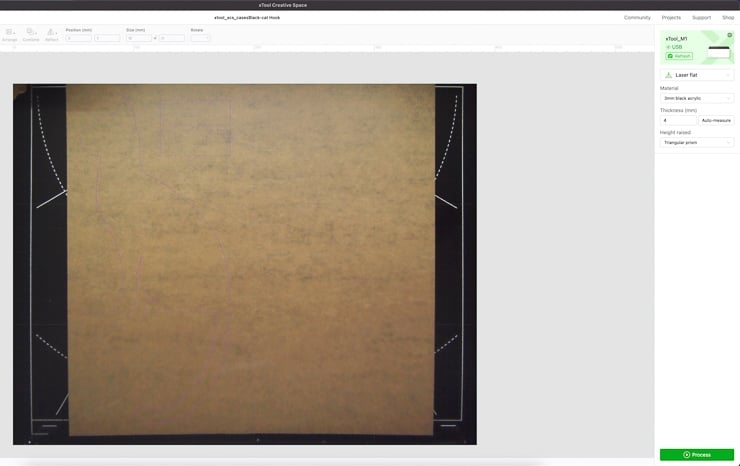

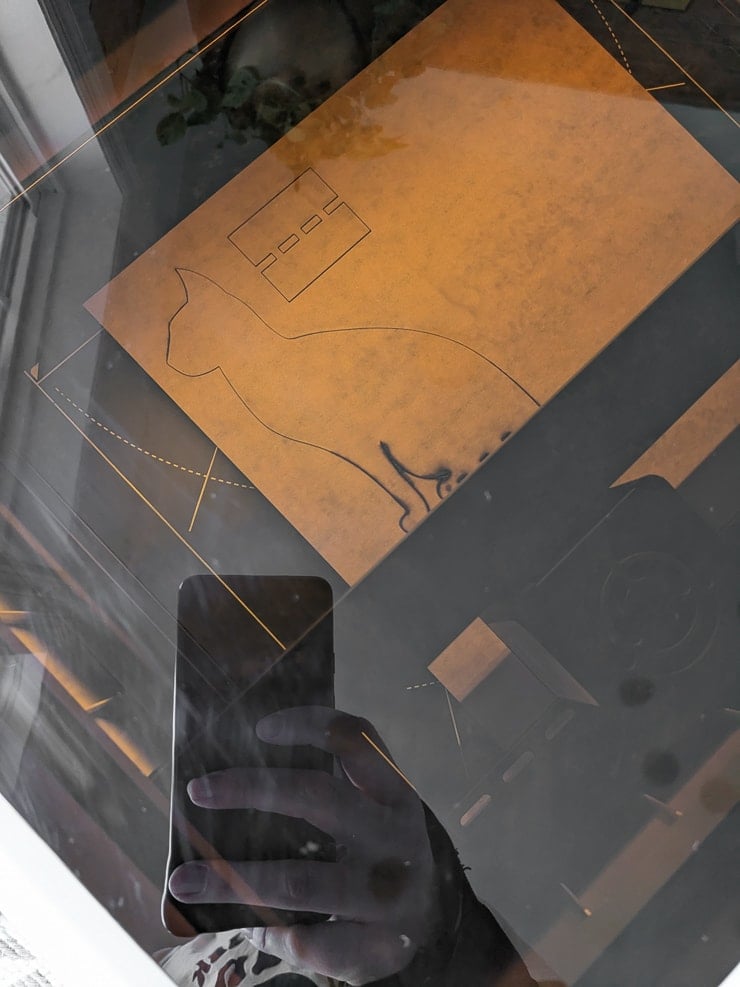
As you can see below, by the second pass, the liner on the acrylic started burning a bit. But that’s fine—it peels right off after cutting. xTool’s recommended settings for 3mm black acrylic worked perfectly for this project.
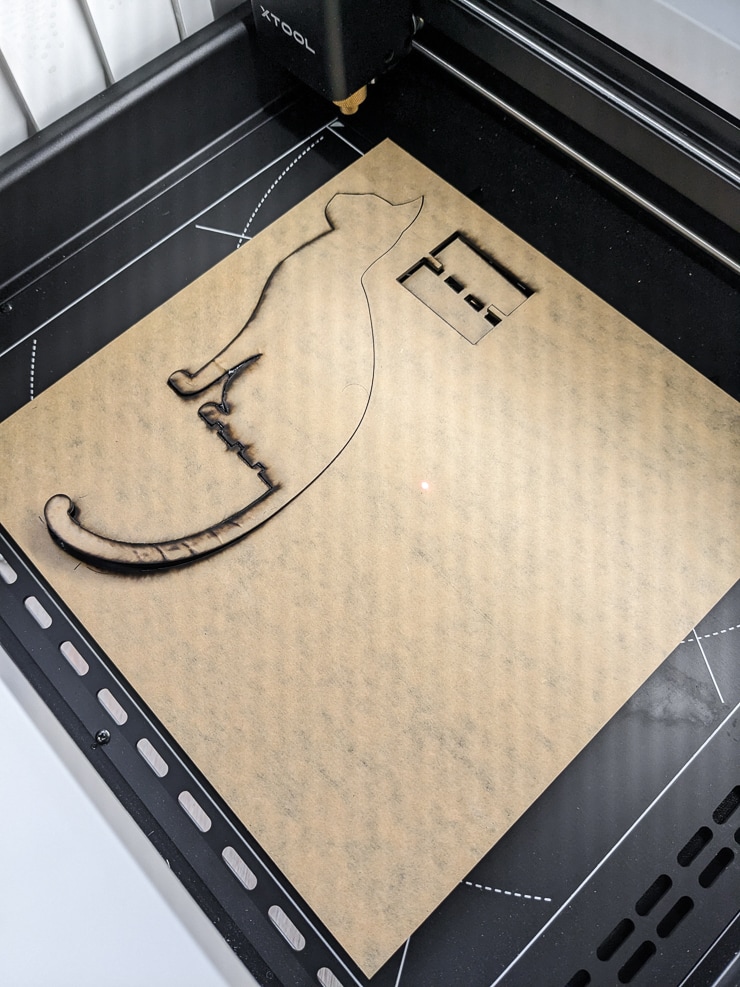
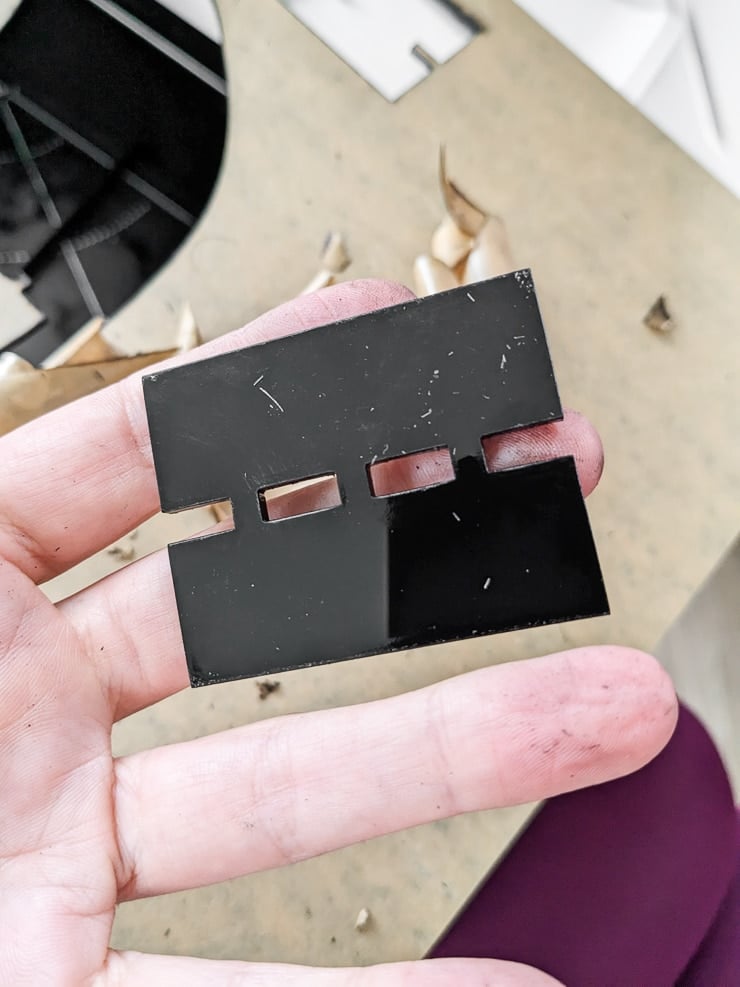
There were no areas on the design that didn’t pop right out. Or fall off the piece of acrylic while the laser was cutting it. The edges were very smooth with very little sign of any melting/burn marks. I was super impressed!
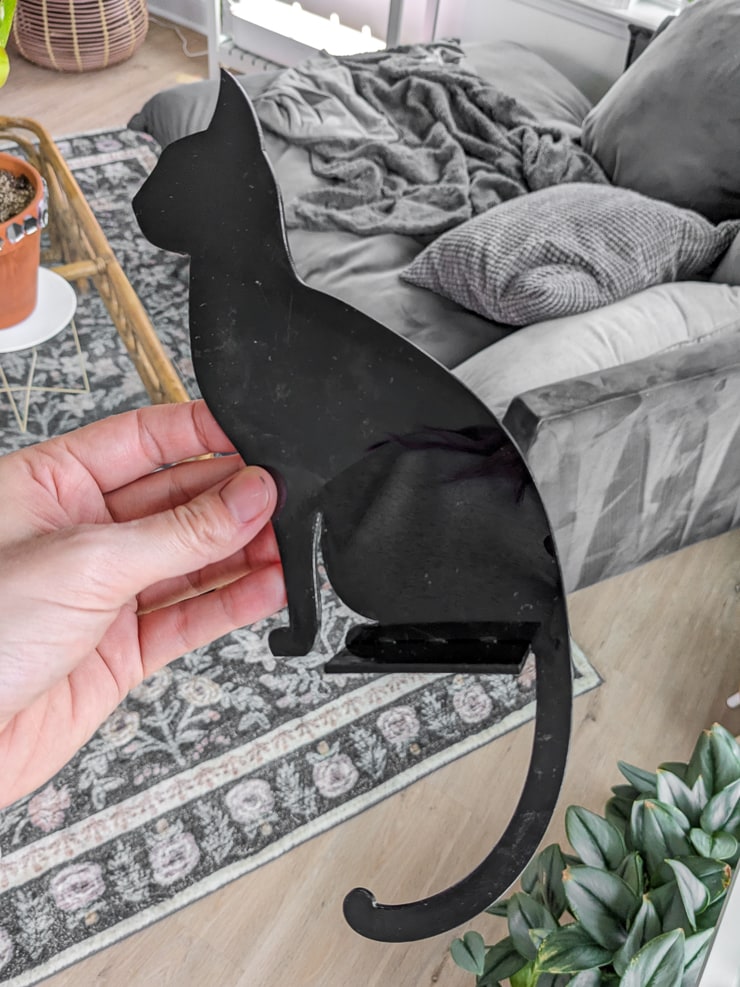
After I peeled off the liner for each piece on each side, I glued the cat figure to the base. Once it dried quickly, I put it on my plant shelving in the sunroom. It turned out so cute! What do you think?
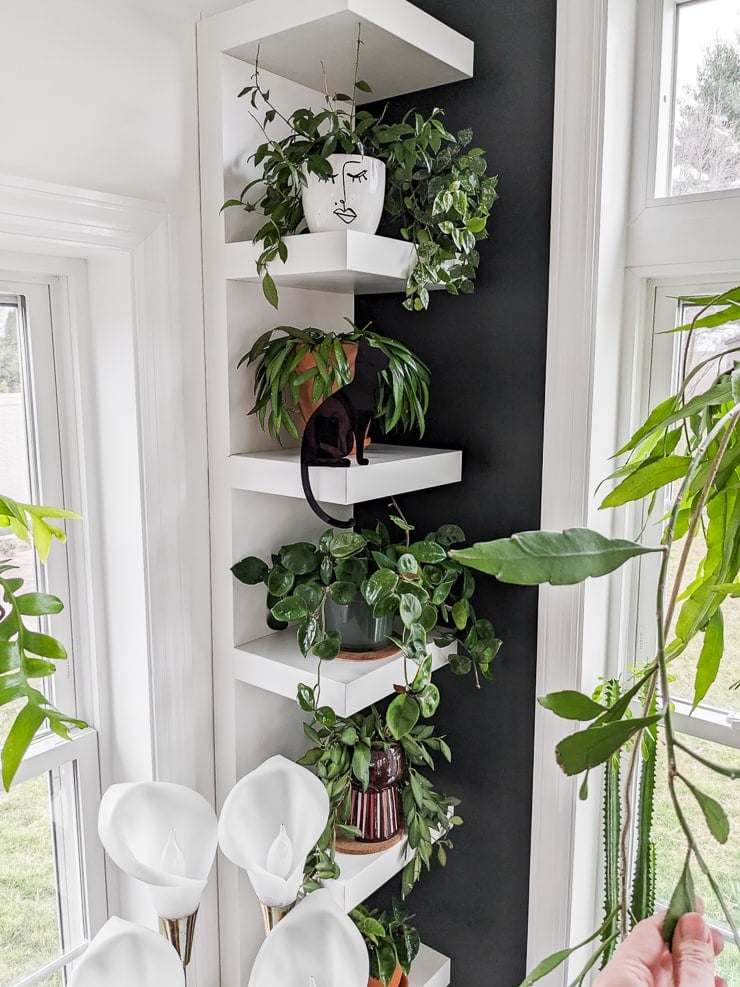
Project #2: Black cat trellis
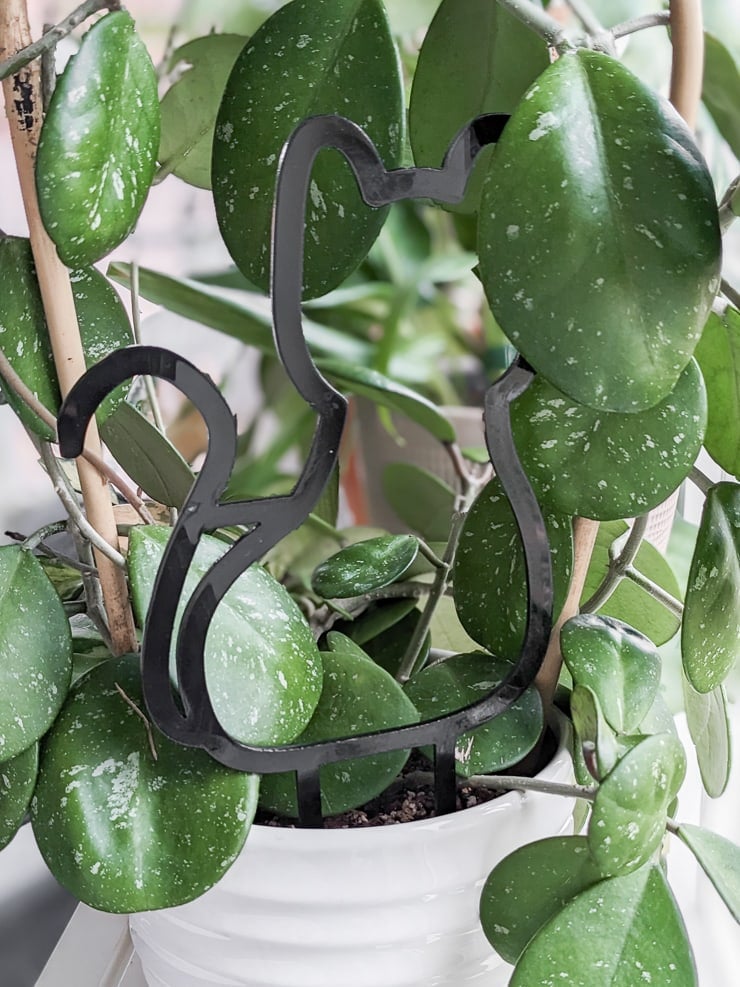
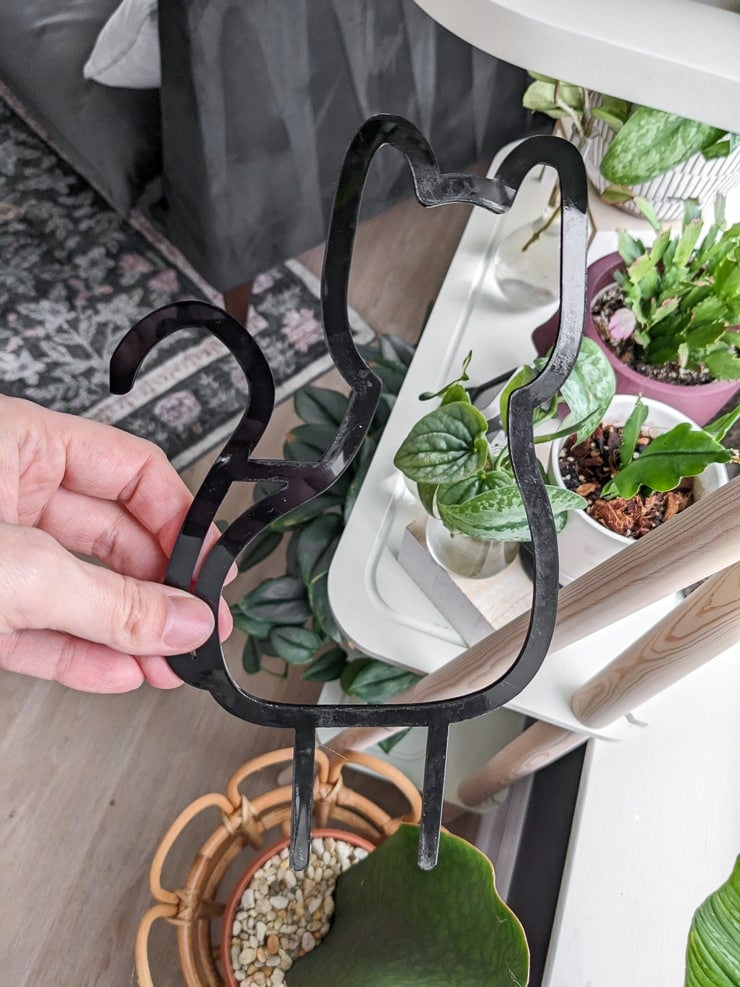
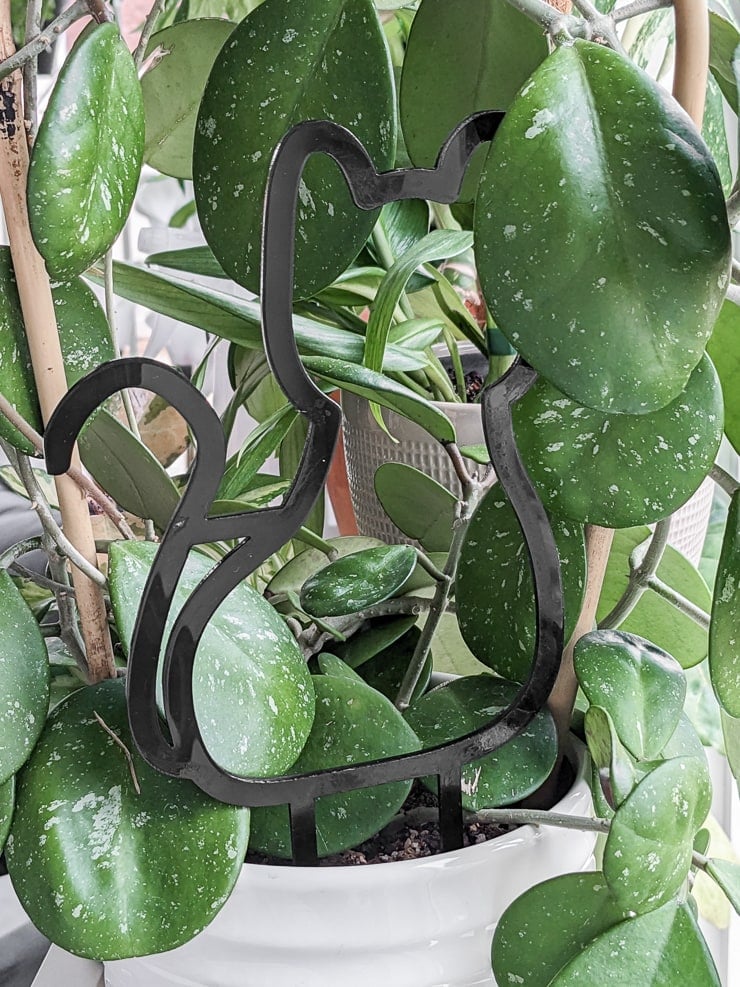
After making the black cat hook from xTool Creative Space, I decided to make another black cat! I used the houseplant trellis file I shared in my post 16 Free Houseplant Trellis SVG Files. I’ve had a lot of fun cutting these designs in wood—but this was a first with acrylic.
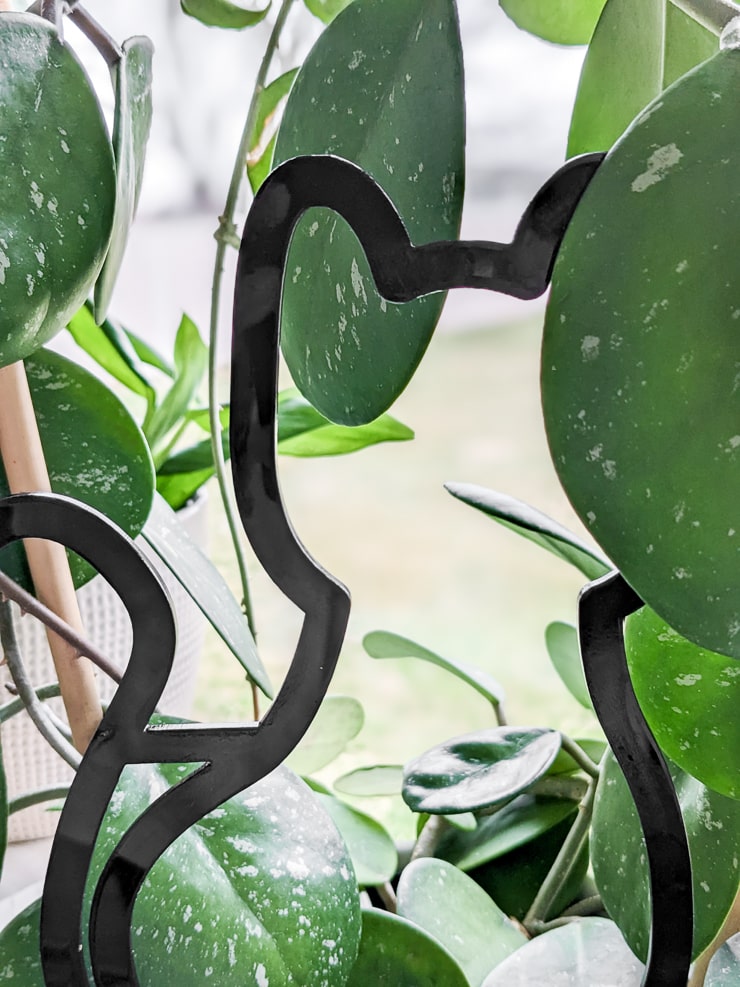
And the cat trellis design was perfect for the opaque black acrylic. Much like the black cat hook, the trellis turned out perfectly, too. I used the same settings as I used for the hook (100% power, 3 speed, 2 passes). It took just over 20 minutes.
Project #3: Little mushroom plant stakes
The black cat hook and black cat trellis took up most of the acrylic sheet I had. But I couldn’t handle wasting the rest of the sheet! There were some little areas that would be perfect for smaller designs.
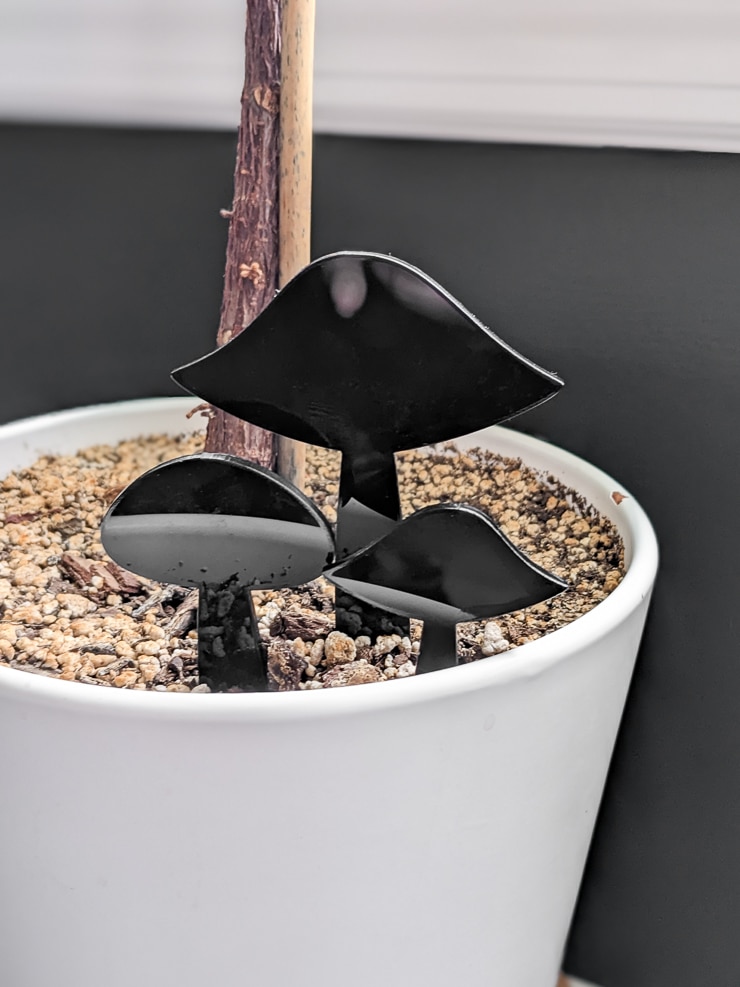
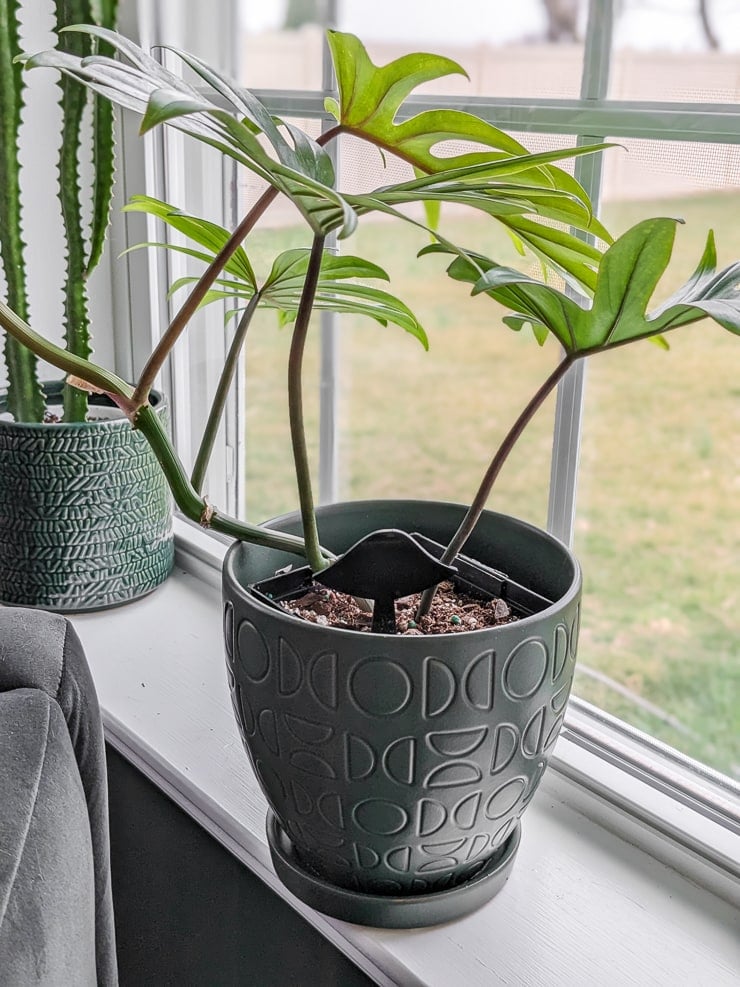
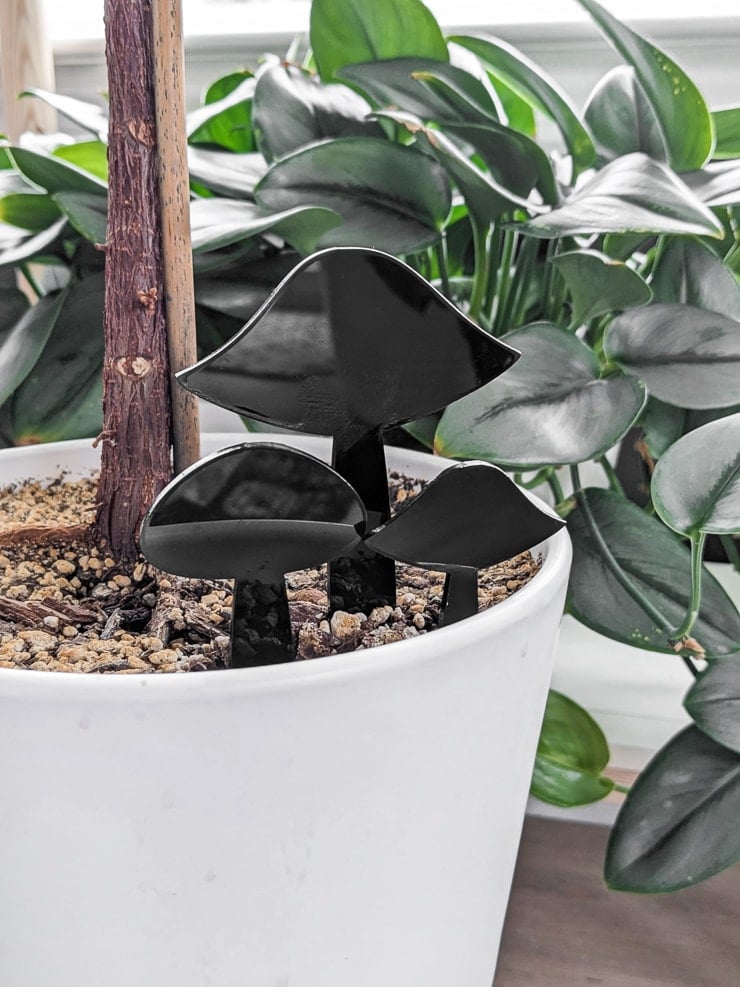
So I decided to take a page from the mushroom trellis design I put together and create some mushroom plant stakes. These were perfect because they were smaller, and I could position them perfectly to maximize space and use as much of this sheet as possible.
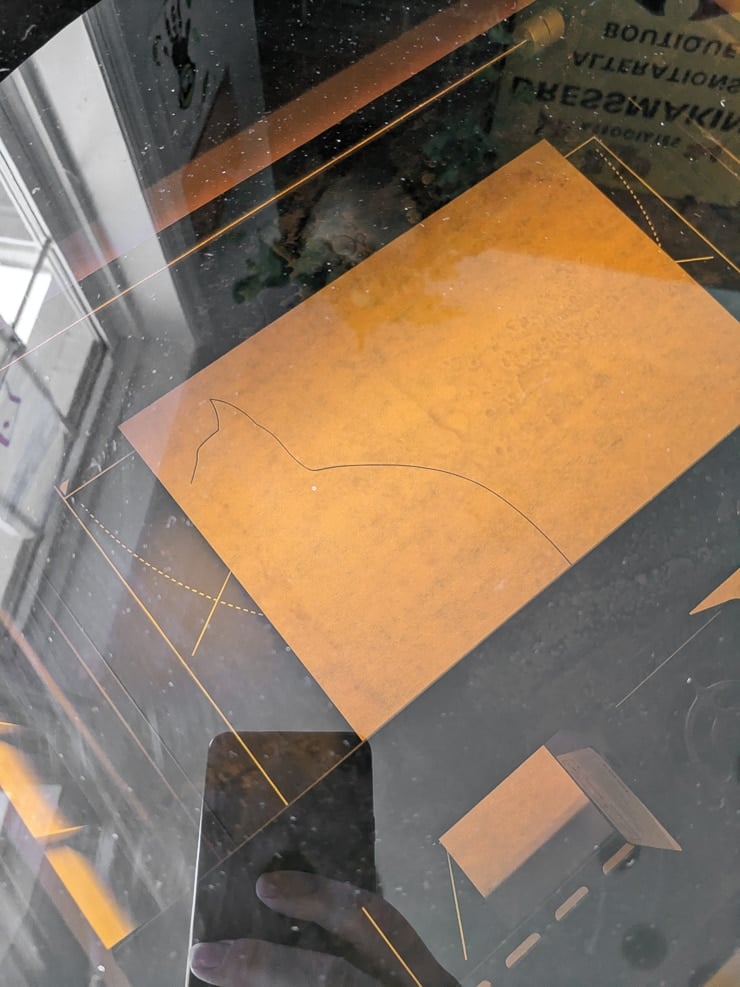
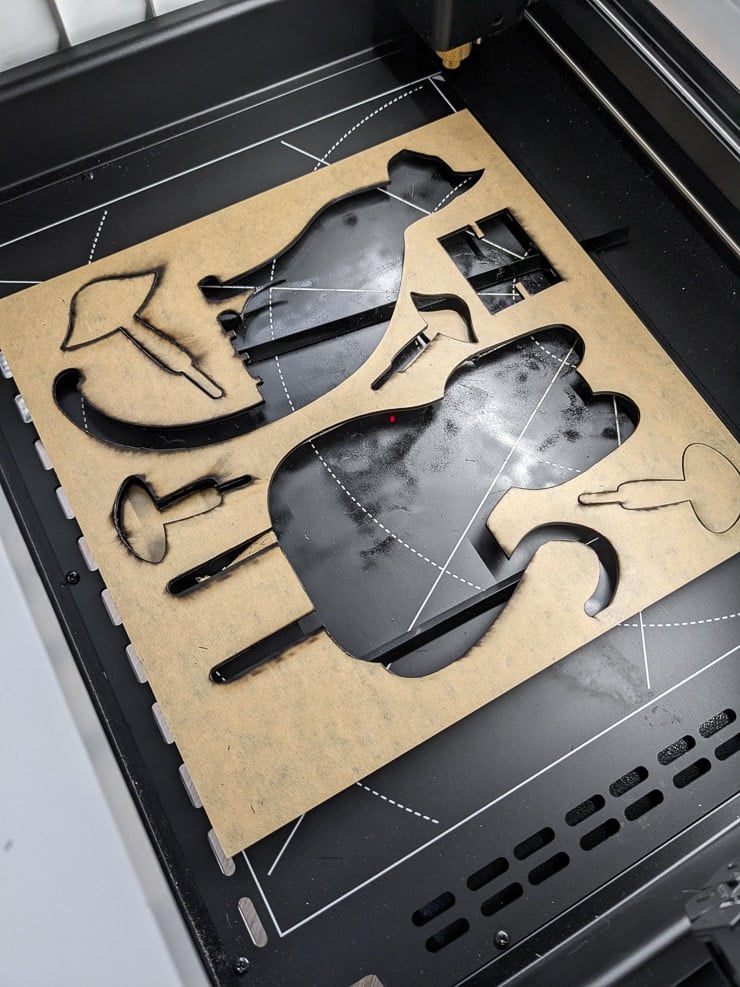
I even cut one out of the center of the cat trellis. Take a look at what I mean below—the live view lets you place everything perfectly so you don’t waste materials.
And these little mushroom plant stakes turned out so cute! They cut beautifully using the same settings as I used for everything else (100 power, 3 speed, 2 passes). What do you think?


Like this post? I’d love it if you’d make your xTool purchase after clicking one of my affiliate links! I will get a small percentage of your sale at no extra cost to you. Thanks for your support!
Pin my post about cutting acrylic with the xTool M1!


Brittany is a seasoned DIY home and garden expert, running a creative brand since 2014 that inspires others with approachable plant care guides, woodworking tutorials, and decor projects. She is a certified project manager and has completed extensive coursework in the art and science of growing your own plants. Her work has been recognized by major publications, and she routinely collaborates with fellow DIY industry leaders—but her favorite thing to do is inspire you! Learn more about her here.

Can you use different colors besides black?
Yep, you can–but it needs to be opaque and darker colors work better!