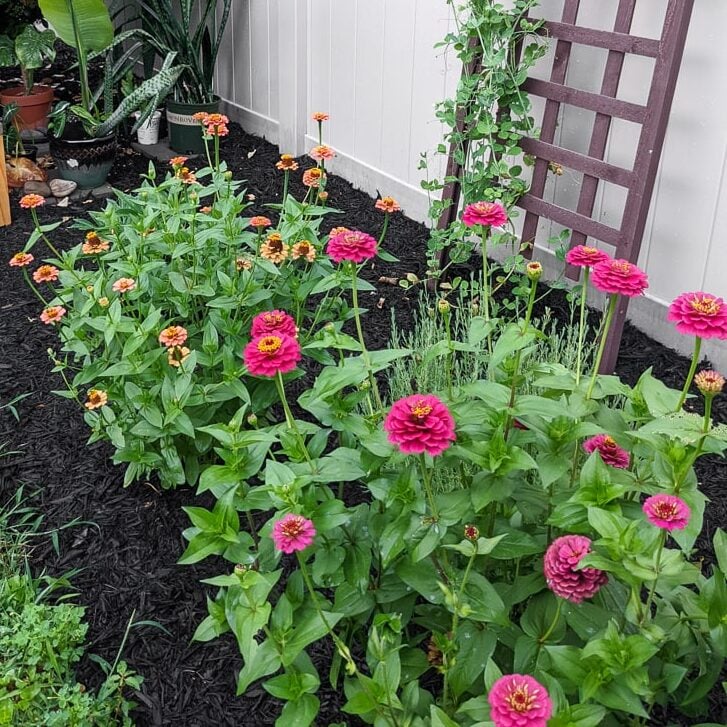
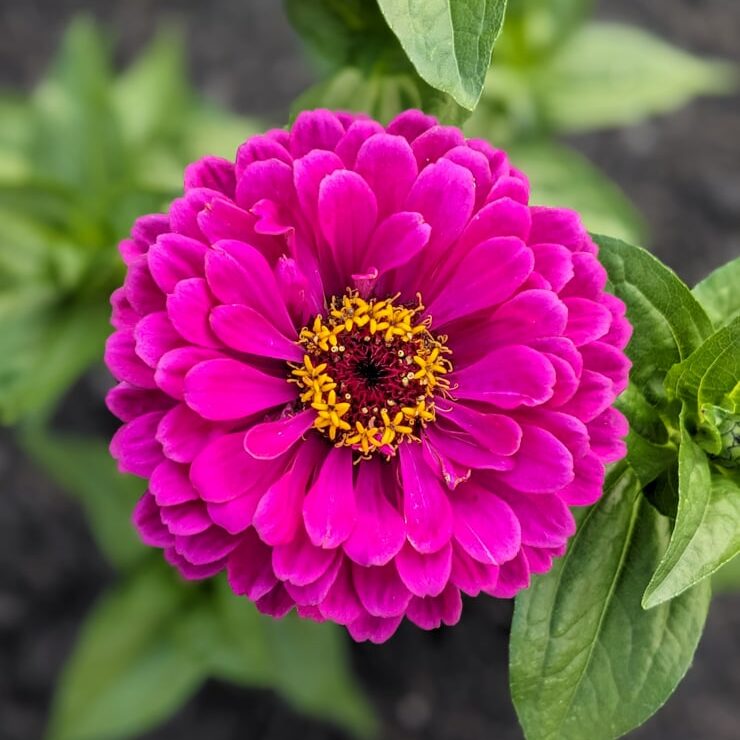
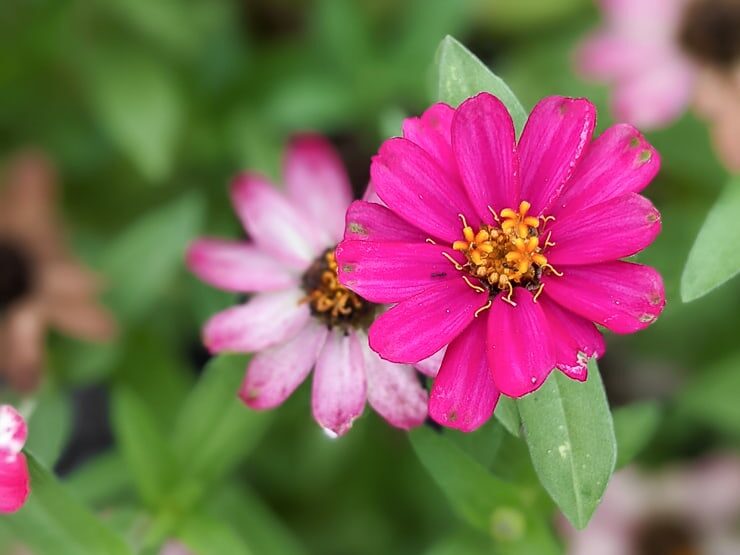
Zinnias are some of my favorite annual flowers. They make great cut flowers, and I’ve grown them in containers for several years now. But in the new house, I was finally able to put them in the ground. And man did they take off! (See my post on how to grow beautiful zinnia flowers for more.)
I’ve done many different varieties of zinnias, and I’ve saved seeds from all of them! With very little care, zinnias take off. We were able to cut so many flowers from the plants this summer.
So even though zinnia seed packets are cheap, I wanted to experiment with saving zinnia seeds. If you’re wondering how to harvest zinnia seeds from your current plants to save for next year, it’s easy! This tutorial will show you exactly what to do.

Supplies needed
- Zinnia plants
- Shears
- Paper towel
- Small paper or plastic baggie
Step 1: Wait until flowers die
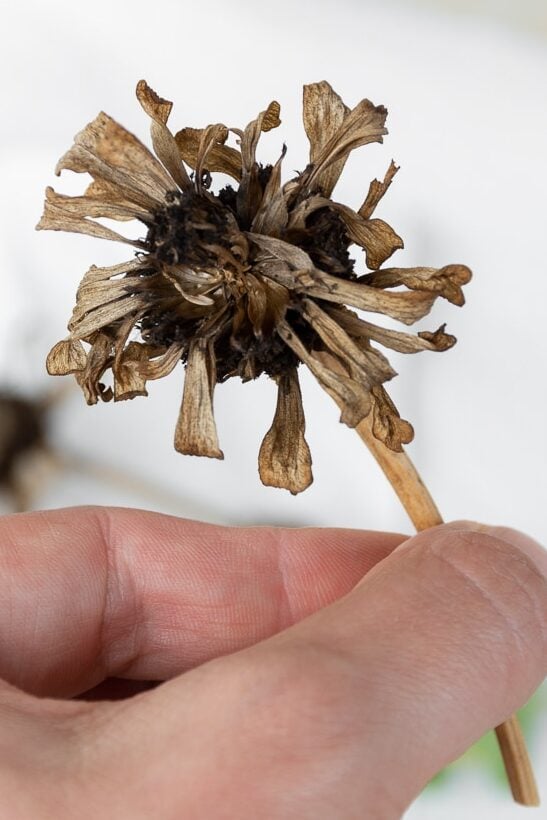
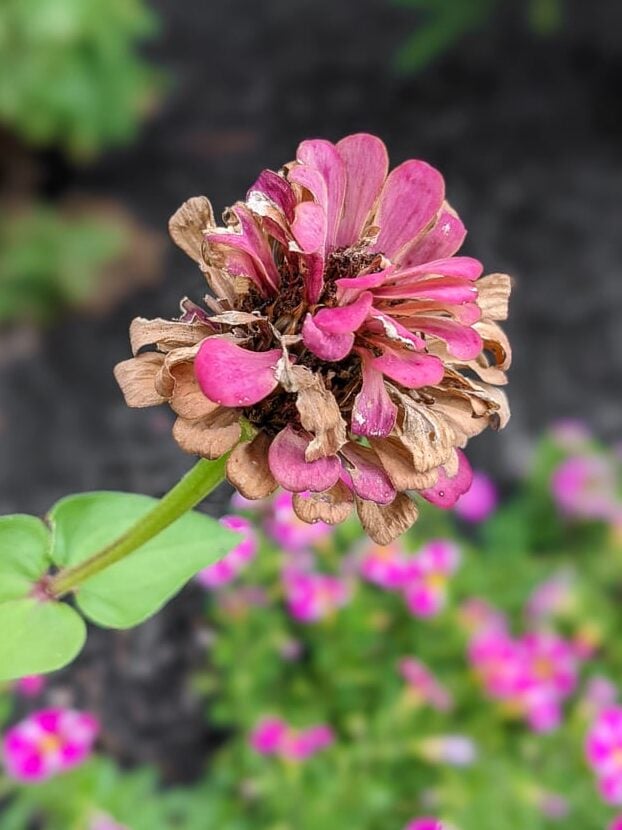
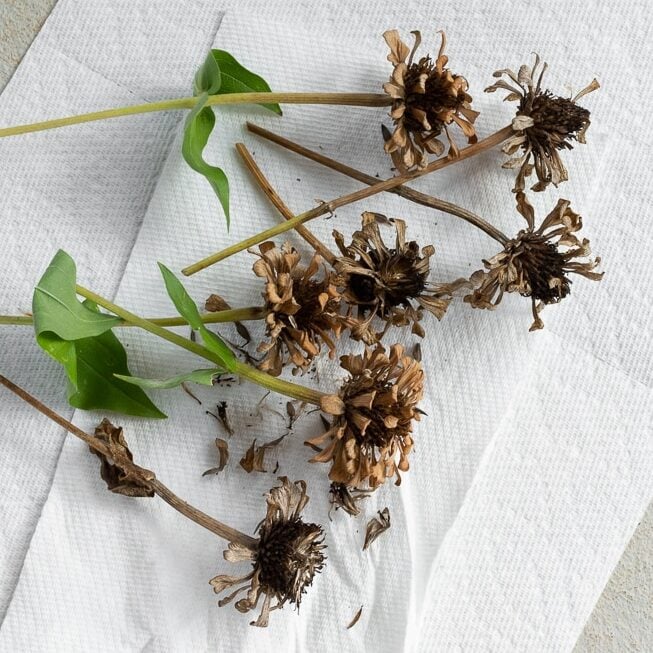
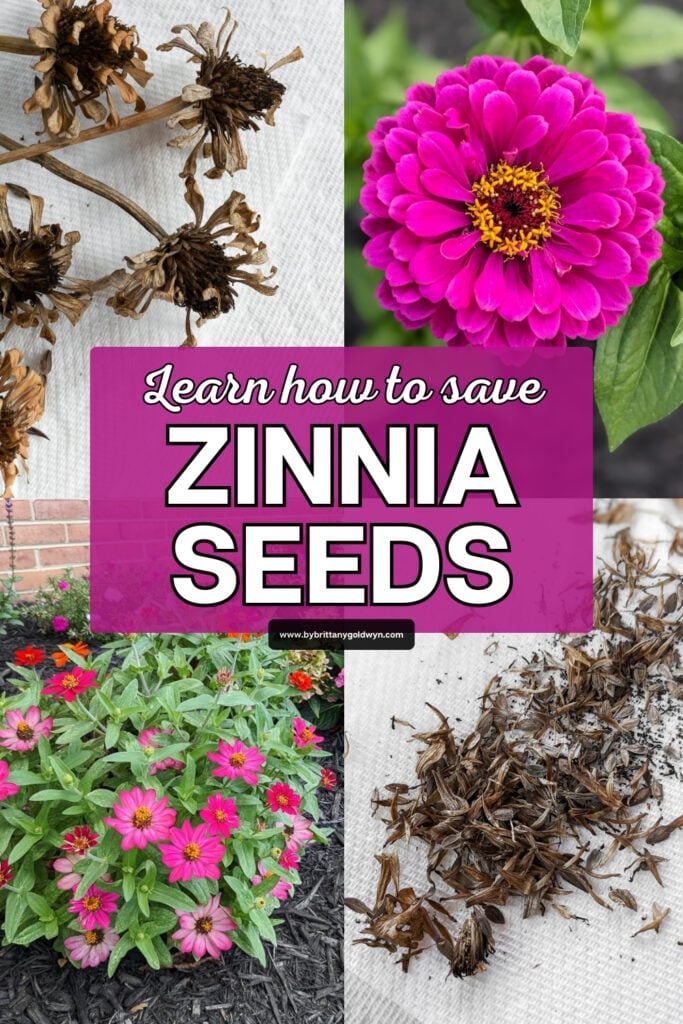
The first step is to wait until the flowers brown and die off while they are still on the plant. This is very important. You don’t want to harvest the seeds from cut flowers—dried flowers on the vine are best.
The first two images below are an example of what the flowers should look like. They should literally crumble as you touch them. If you notice any green, or if you have to force the seeds out, it’s probably a hair too early.
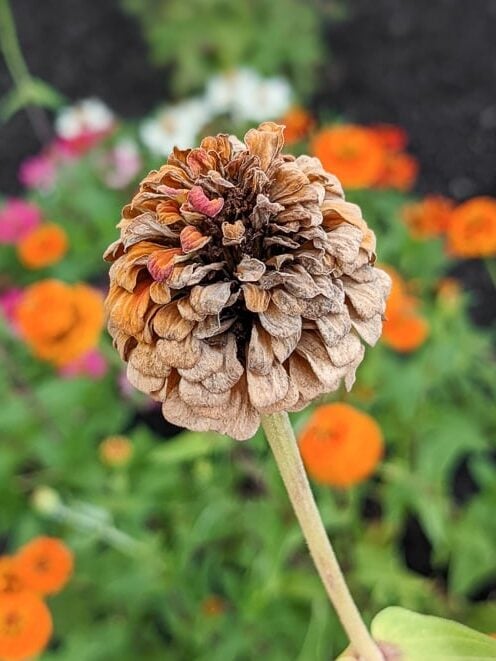
The second two images show examples of flowers that are drying and dying off, but it’s too early to snip them and harvest the seeds. Give these a bit longer before you harvest them.

Step 2: Crumble flower heads
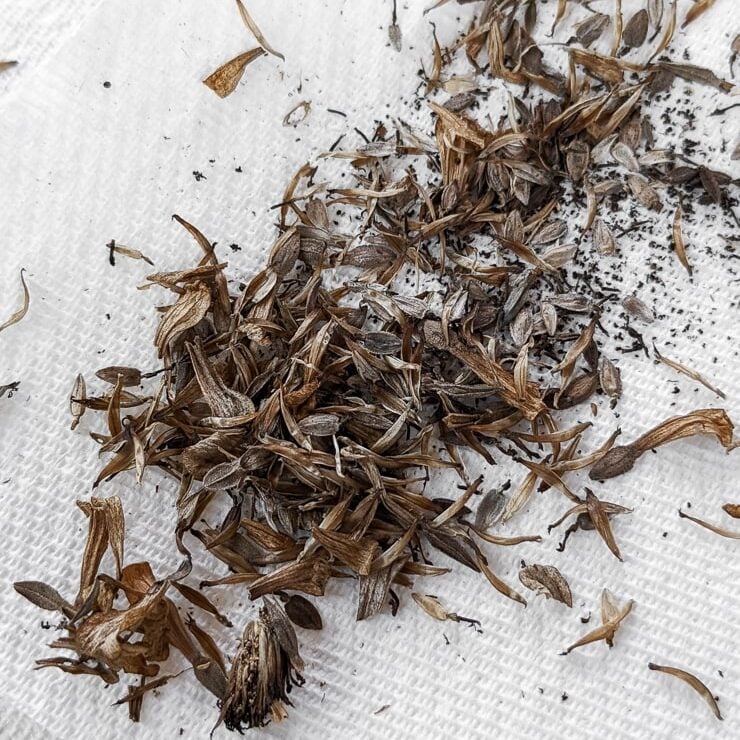
After you’ve cut off the dry flowers, sort them by color if that’s important to you. Them spread them flower heads out over paper towels. Crumble the flower heads and pull the seeds out.
There will be other parts of the flower that crumble out. Just pick those and set them aside. The seeds will be attached to the dried petals, but if the flower is really dry, they’ll probably fall off on their own.
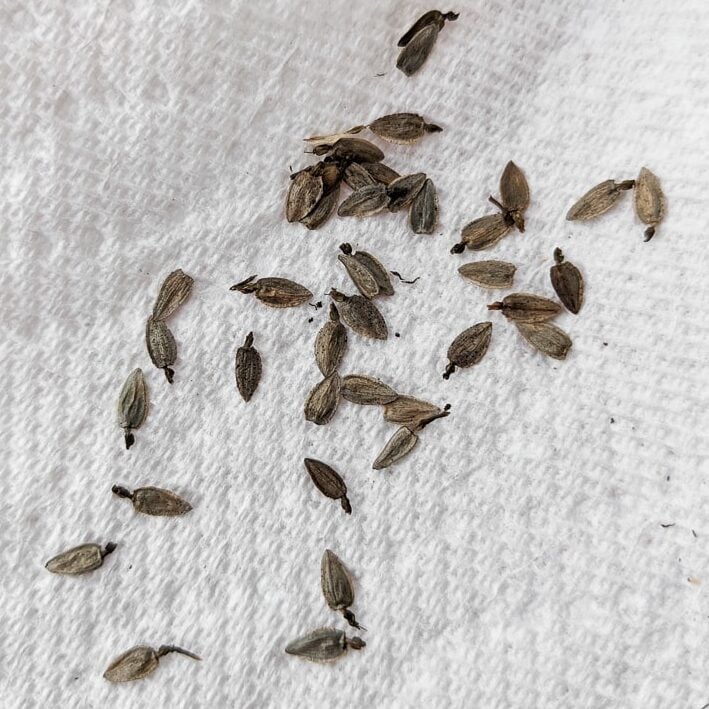
Step 3: Let seeds dry
The seeds should be largely dry already. However, once you’ve picked them out and isolated them, let them sit unobstructed to ensure they are totally dry for a few days. If they don’t dry completely, they may mold while in storage over the winter.
Step 4: Store in a dry place
Pop the fully dried seeds in a small paper or plastic baggie. Keep the seeds in a dry place over the fall and winter so you’re ready to start them in the early spring. Make sure to label by color and type if that’s important to you!
And that’s it. Hopefully this helps you save your seeds. It’s not always about saving the money—I love the idea of keeping plants going from year to year by saving seeds.
Pin my post!

Brittany is a seasoned DIY home and garden expert, running a creative brand since 2014 that inspires others with approachable plant care guides, woodworking tutorials, and decor projects. She is a certified project manager and has completed extensive coursework in the art and science of growing your own plants. Her work has been recognized by major publications, and she routinely collaborates with fellow DIY industry leaders—but her favorite thing to do is inspire you! Learn more about her here.
Leave a comment