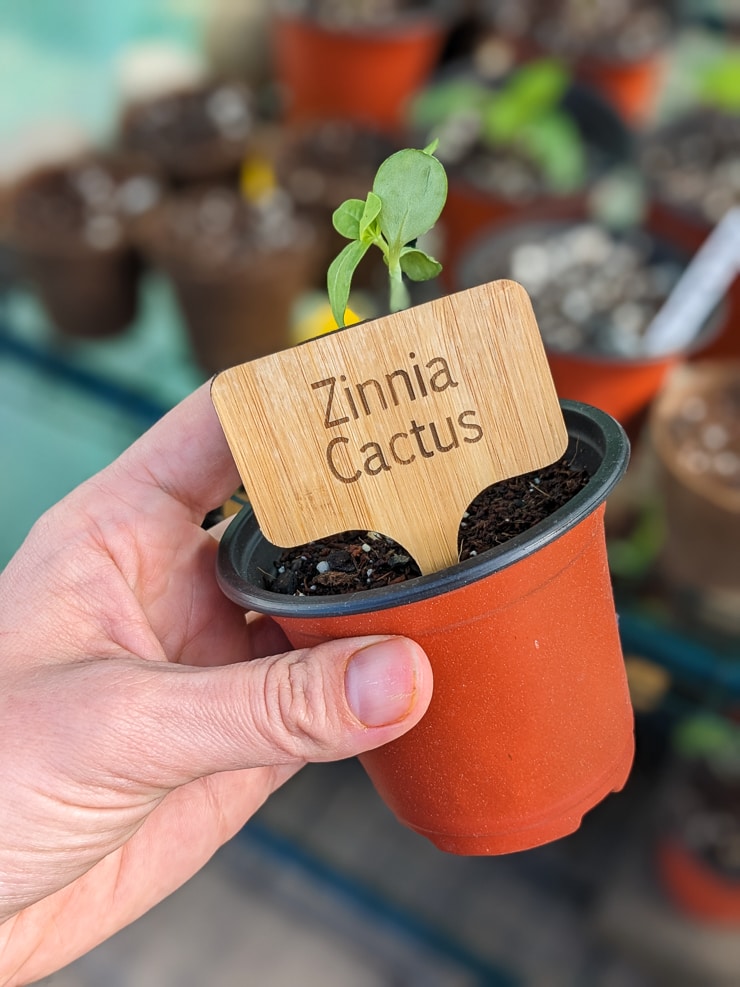
Laser-Engraved Bamboo Plant Stakes
See how I made laser-engraved bamboo plant stakes with my xTool M1 machine, including the best fonts to use and how to seal the stakes for help protect them from water.
Hey all! I’m back today with another quick xTool M1 project. When xTool sent me my M1 machine, they also sent a few other fun things to play around with. Including a bunch of bamboo plant stakes.
I wanted to use them for some of my seed starting, but I also thought they’d be perfect for labeling plants I start from seed in my GreenStalk vertical planter. I am planting some stuff as transplants, but I like to do lettuce and spinach from seed when I can.
I’ll go over some tips for making these laser-engraved bamboo plant stakes on this machine, including the best font to use and how I sealed these to help prolong their life in wet outdoor conditions. So let’s get started.
Want to learn more about this machine? Check out my xTool M1 Review post, my post about Cutting Acrylic With the xTool M1, and my 16 Free Houseplant Trellis SVG Files you can download to make!
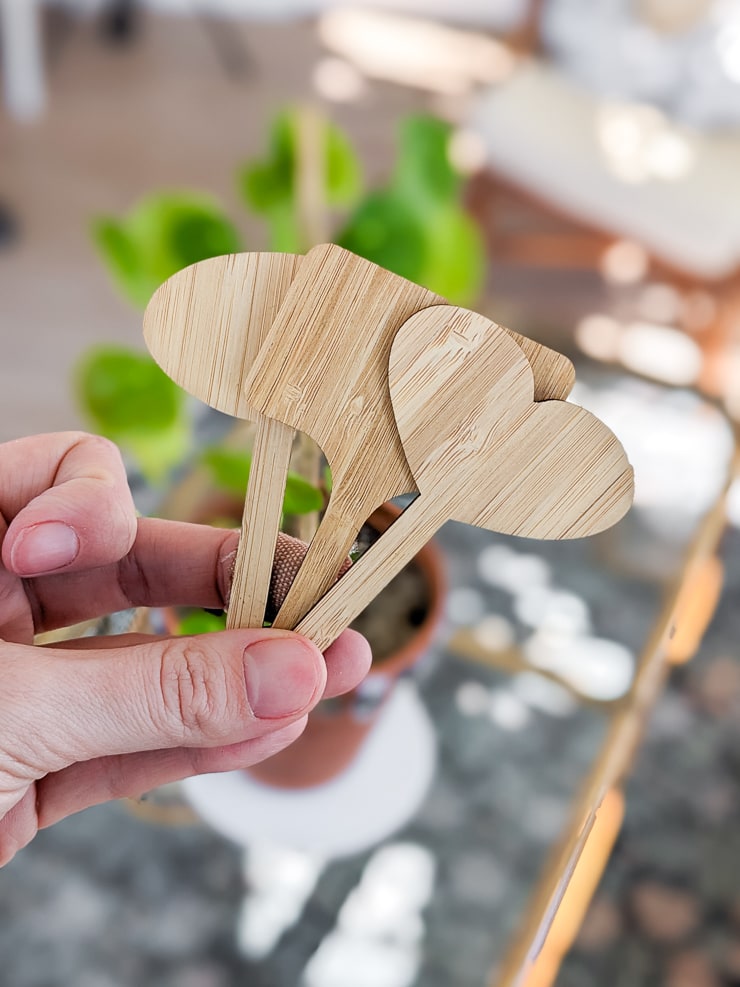
Supplies:
(Affiliate links below; read more about those here)
And here’s how I made laser-engraved bamboo plant stakes!
Step 1: Organize your stakes and create text designs
First I set up my triangular prisms inside of my xTool M1’s work space. Then, after shutting the lid, I got the live view on my xTool Creative Space software.
I created multiple text boxes and typed out all of the names I wanted to engrave in the plant stakes. Then I tweaked their rotations so they would engrave as evenly and as straight as possible on the stakes.


What is the best font to use?
I originally had created files in Canva using a thicker font I really liked. However, after getting halfway through engraving the first plant stake, I quickly realized it looked like garbage—see the pic below.
Had the font been a bit bigger, it probably would have been fine. But it was just too chunky for the engraving to look great. So instead I chose a thinner font available in xTool Creative Space and just typed out all of the labels.

Step 2: Send design to machine to engrave
Next I completed the framing step and sent the designs to my machine to engrave. It was a pretty quick process, and I’m really happy with how these turned out. Ignore my dirty machine…I know I need to clean it!
I did two rounds of these. Originally I’d tried to pack them all into the machine for one cut, but I quickly found that the ones near the sides of the camera view were a bit warped. This made me worried that the engraving would come out different from how I’d placed the text on the stakes in XCS.


Step 3: Seal to increase durability
Bamboo is pretty durable, but I had some Flex Seal clear coat on hand. So I decided to coat these, front and back, using the sealant. I figure it will help prolong their life outdoors exposed to wet soil and the elements.


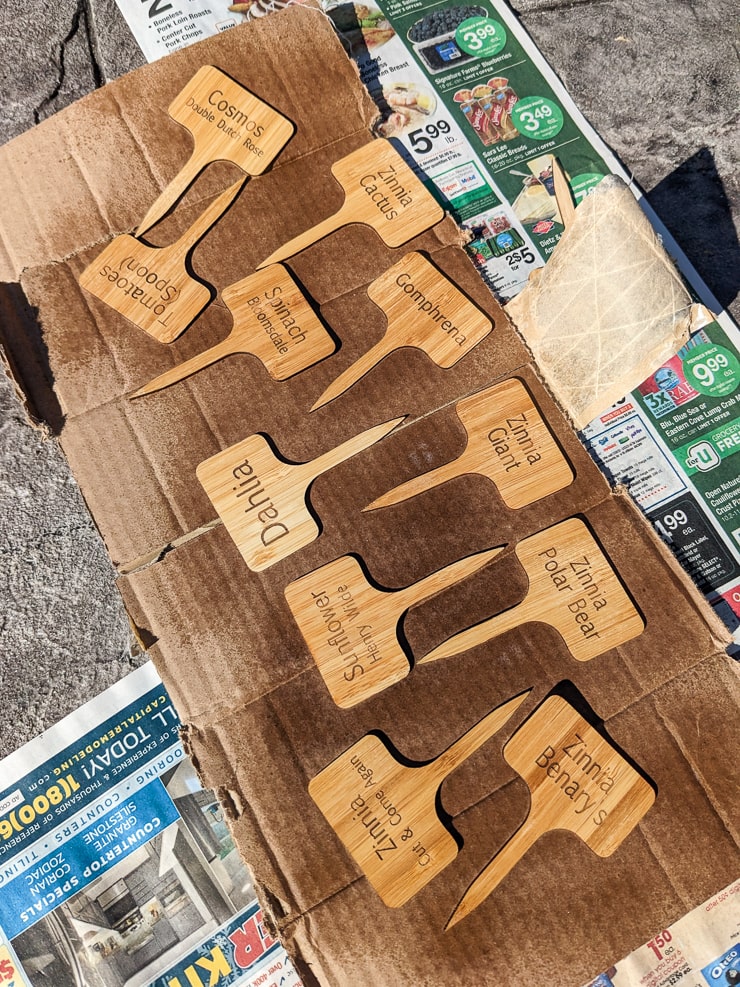

And here are my finished laser-engraved bamboo plant stakes!
They are so cute! Truly a bit extra for what I usually do in my garden, but they are also practical. I’m hoping the sealed bamboo stands up for a while, because I’ll likely be starting a lot of these same seeds next year.