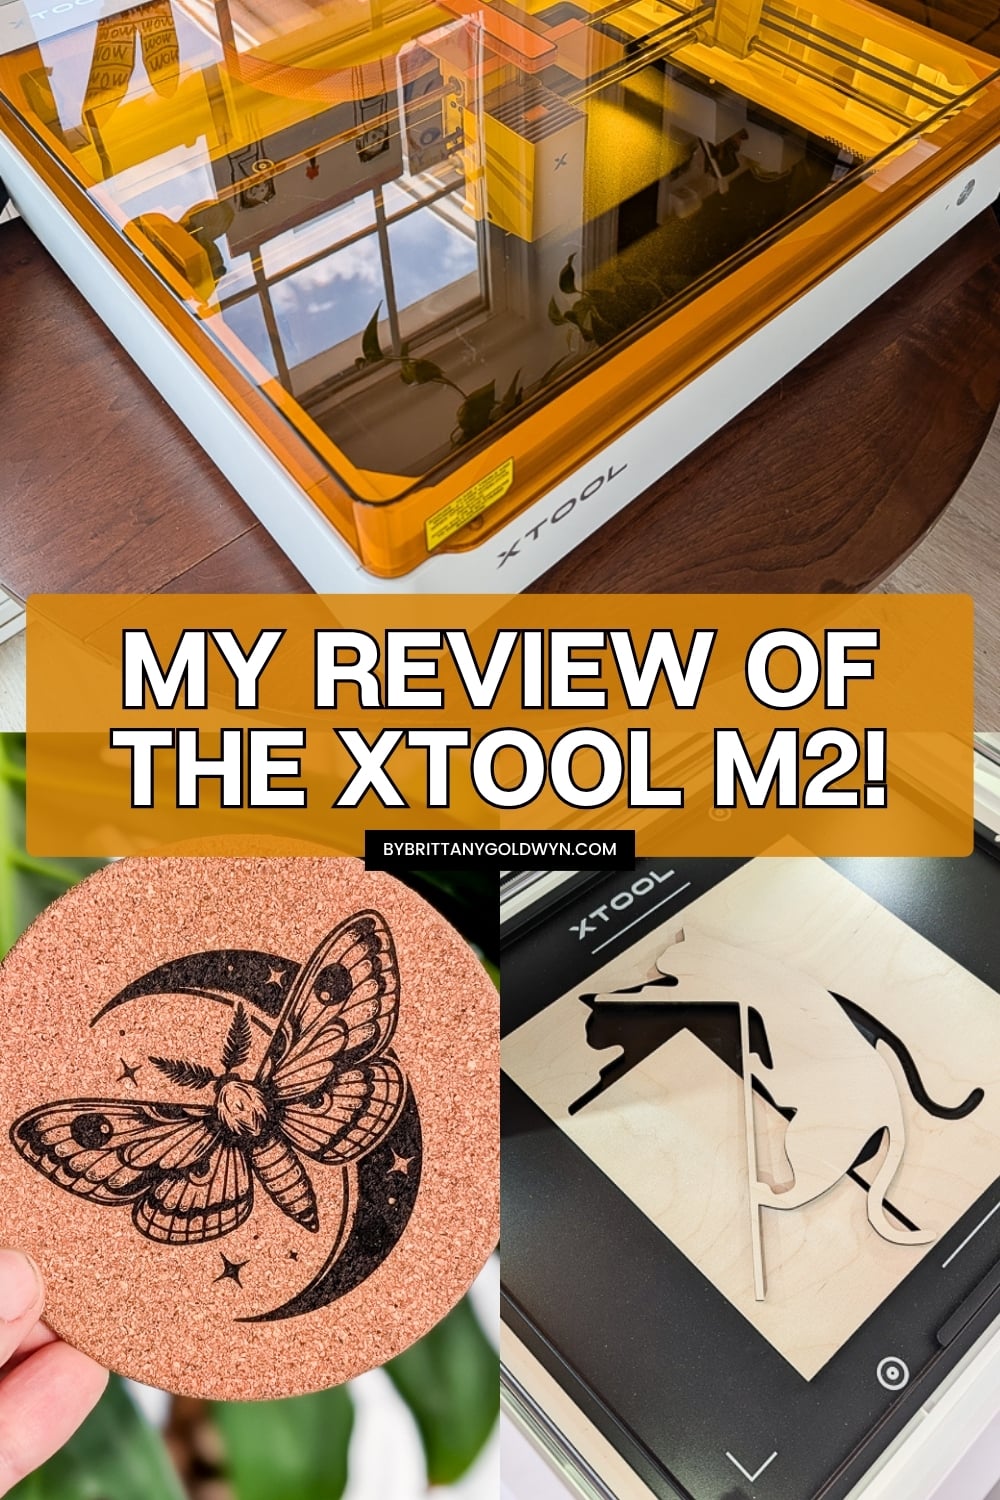
My xTool M2 Review…Features & Setup!
I’ve completed many projects on the xTool M2 and am sharing my thoughts on its capabilities, ease of use, and overall performance. This post contains affiliate links, and I received this machine in exchange for an honest review.
What can this machine do?
After working extensively with the xTool M1, upgrading to the xTool M2 10W machine felt like a natural next step for me. So when xTool reached out and asked if I wanted to review the machine, I said, absolutely! This is the absolute best part of having this website…getting to test cool stuff!
The M2 builds directly on the hybrid cutting and engraving foundation of the M1, offering higher processing efficiency, a more refined camera alignment, and an upgraded enclosure design. It definitely feels like a more substantial machine.
If you are researching hybrid laser cutters to add to your craft space, you know how critical practical testing can be before committing to an investment. This post breaks down the technical details, setup workflow, material testing results, and pros and cons of the xTool M2.
xTool M2 overview
- Laser module: 10W diode laser module engineered for precise vector cutting and detailed raster engraving.
- Hybrid capabilities: Combines diode laser processing with interchangeable tool heads for versatile crafting.
- Dual smart cameras: For automatic positioning, material recognition, and efficient batch processing.
- Workspace area: Accommodates materials up to 12 by 15 inches.
- Material compatibility: Wide material compatibility (300+ materials), including wood, leather, acrylic, paper, vinyl, and fabric.
- Software integration: Connects via USB or Wi-Fi to xTool Creative Space on desktop and mobile platforms. I haven’t used mobile yet, though. I need the big screen!
What is the xTool M2?
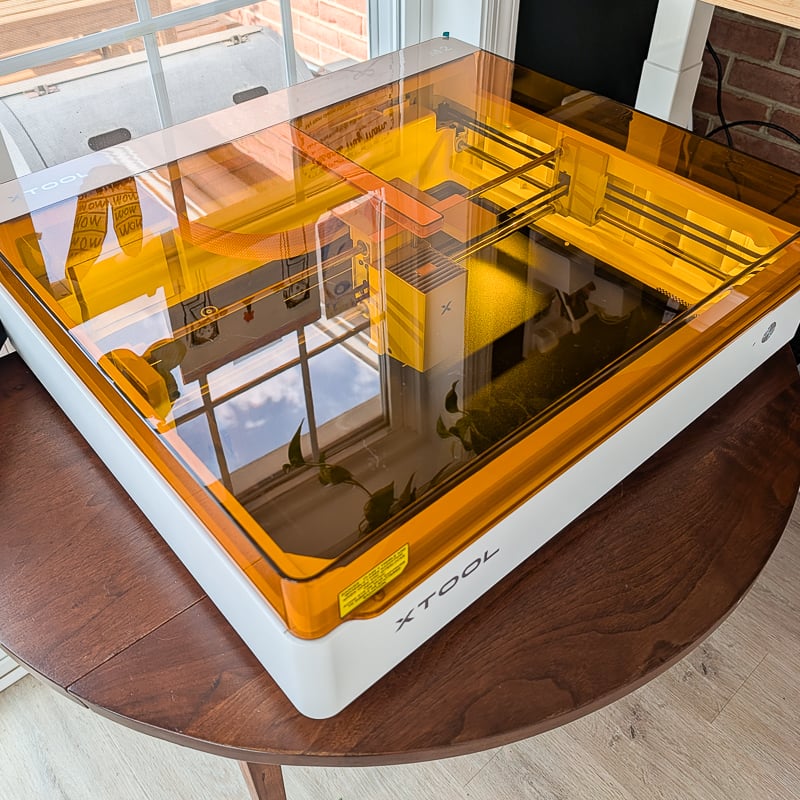
The xTool M2 is a desktop diode laser cutting and engraving machine designed for small-space studios, home workshops, and independent small business production. Perfect for someone like me who has a craft room in the basement with no ventilation…I can easily carry this one upstairs to use it!
It has a 455nm semiconductor diode laser to deliver focused energy onto target materials, and the machine housing features an orange protective filtering lid, internal lighting, and exhaust ports. Like other xTool machines, you’ll use xTool Studio, which handles vector imports, bitmap image processing, power and speed adjustments, and real-time material positioning.
Supported materials for cutting & engraving
The 10W diode laser processes materials efficiently. However, diode lasers operate on a 455nm light wavelength, meaning light-colored or transparent acrylics require specialized surface treatment or alternative laser sources (like CO2…see the xTool P2 machine for more on that).
Highlighted materials for laser cutting
- Thin pine wood & basswood: Cuts cleanly up to 6mm in a single pass; thicker materials up to 8mm to 10mm require multiple passes.
- Cork sheets: Cuts rapidly without excessive scorching when paired with active air assist.
- Leather & faux leather: Precise edge seals on natural leather.
- Dark acrylic: Cuts black, dark red, and opaque acrylic sheets up to 3mm.
Highlighted materials for laser engraving
- Hardwood & softwood: Produces crisp, dark contrast on pine, oak, walnut, and birch.
- Bamboo: High-contrast burning on bamboo coasters, cutting boards, and tags.
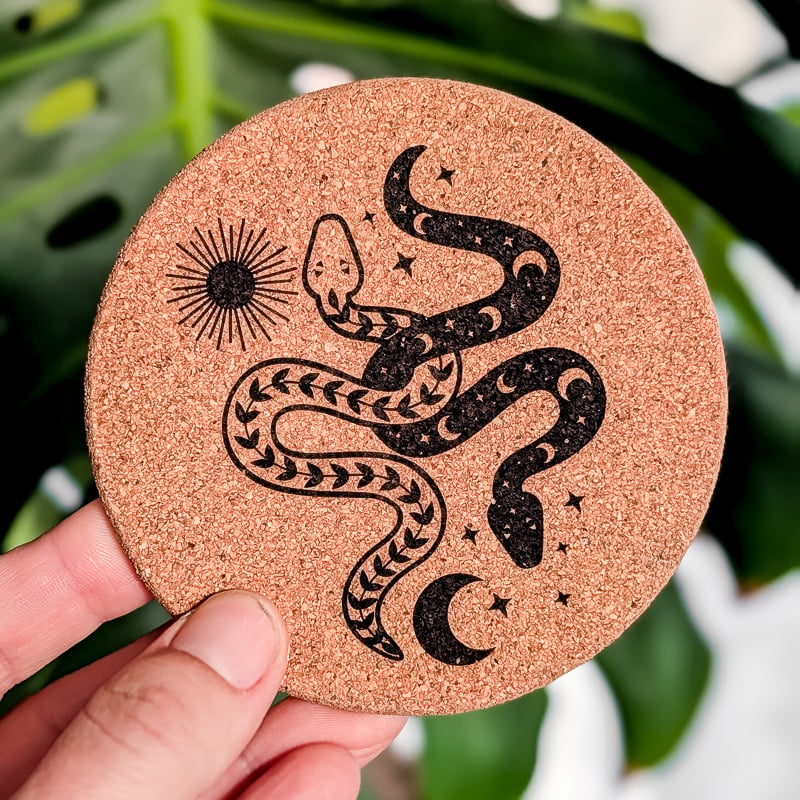
- Cork: Transfers cleanly onto cork…one of my favorites to engrave on.
- Coated metals: Engraves anodized aluminum and stainless steel coated with laser marking spray.
Software setup & camera alignment
Setting up the M2 inside xTool Studio requires minimal installation steps, but there are a few things to do before you hit the ground running.
- Cable connection: Connect the power supply unit and attach the USB cord directly to your computer (Wi-Fi configuration can be completed after initial pairing).
- Exhaust routing: Route the included flexible hose out an open door or window or connect it directly to an indoor air purifier unit.
- Calibration: Open xTool Studio, power on your machine, and connect. It will prompt you to calibrate your laser using a piece of paper that comes with the machine.
Testing performance on wood & cork
I completed a few tests with different materials to nail down the settings I wanted, and then I got to work making projects. We’re going to talk through engraving thin wood, engraving cork, and cutting thin wood today. All materials I had on hand.
1. Engraving thin pine wood
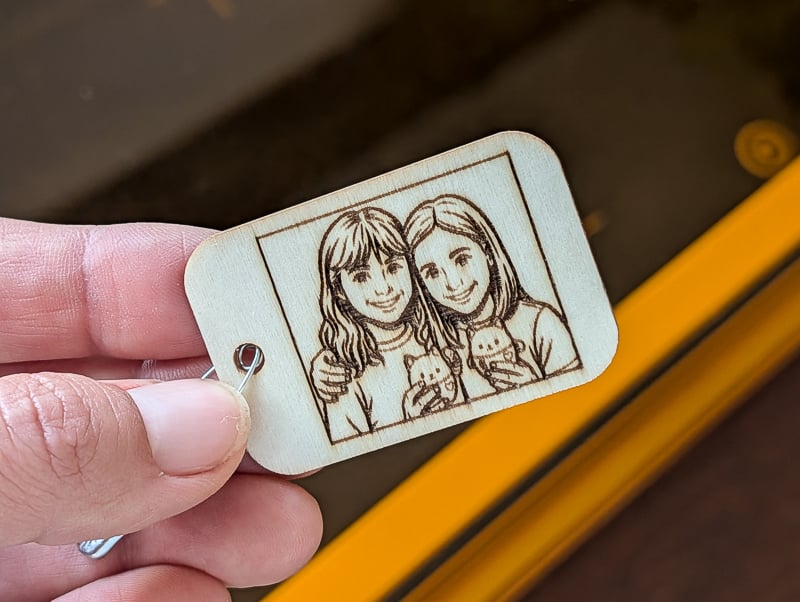
I had a bunch of these wooden tags left over from a previous project, so I decided to try engraving on them. They are very thin, and in the past, I have had issues with them warping while engraving.
I took a picture of my daughter and her friend and put some filters on it in Canva to make it a bit more engraving-friendly on such a small piece. Then I got to work! The first few tests weren’t light enough, but I finally settled on some good settings.
Here are the settings I used:
- 91 power
- 61 speed
- 1 pass
- Air assist 100
- Bitmap mode Jarvis
- 130 lines per cm
- Bi-directional
- Min output power 3%
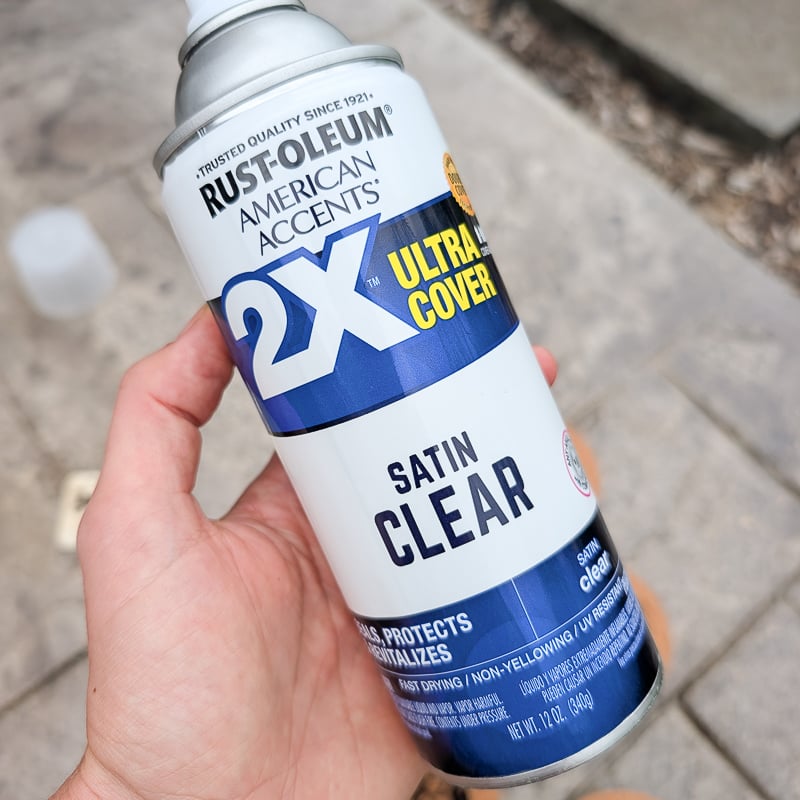
I also used a small piece of masking tape to hold the tag in place. With the air assist up to 100, it would have blown everywhere. I finished this piece off by running a very fine sandpaper over it to polish up some very faint burn marks, and then I sprayed the front and back with a satin-finish sealant. Make sure you spray both sides of thinner projects like these. Spraying just one side can lead to warping.
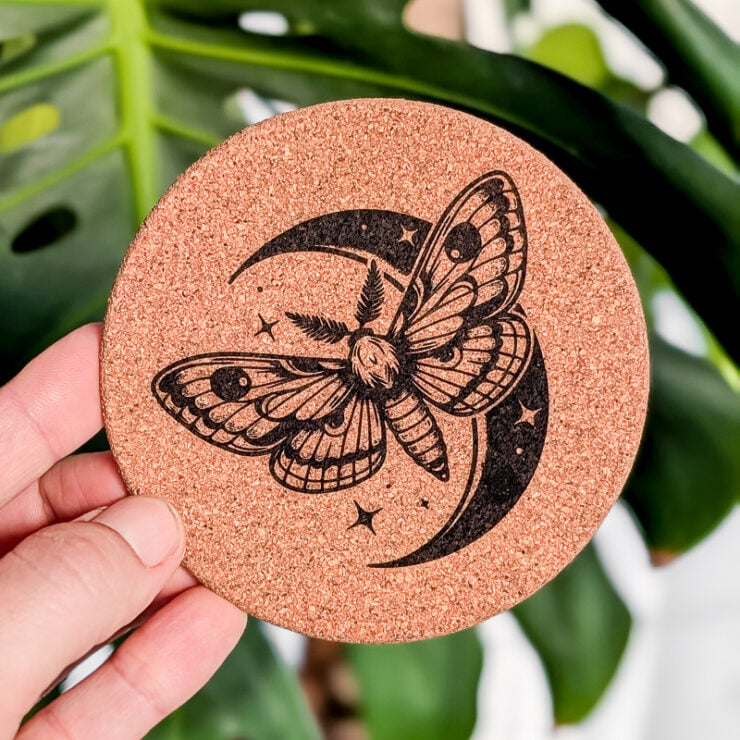
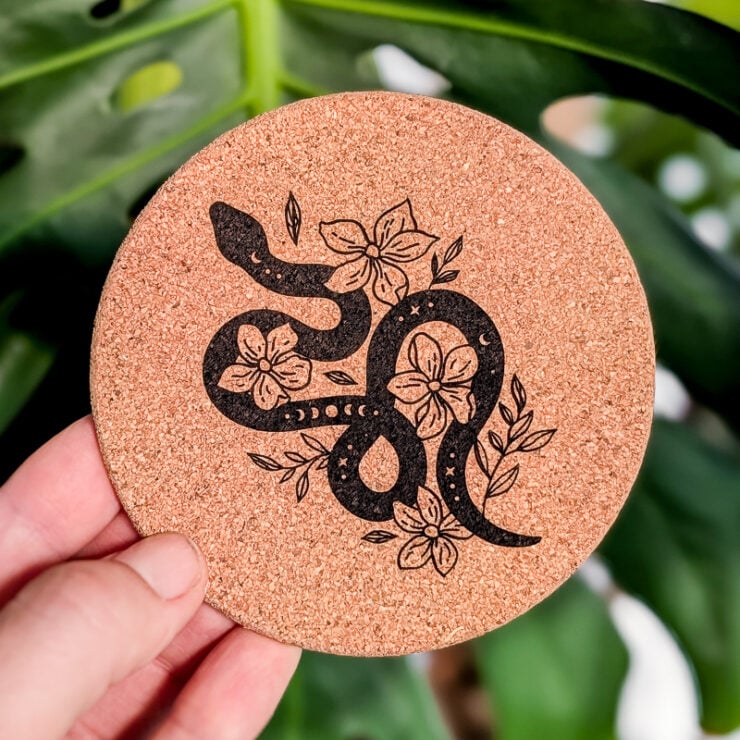
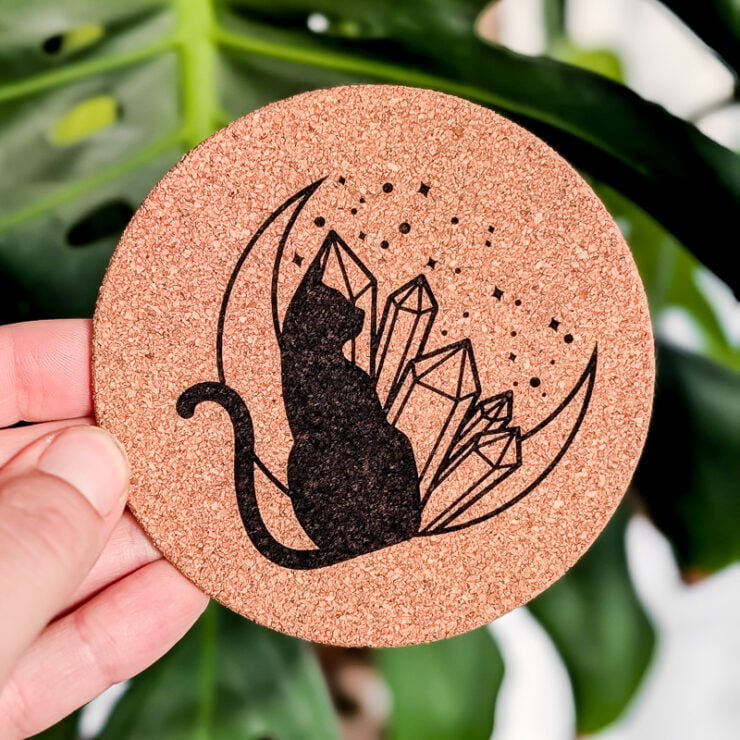
2. Engraving cork
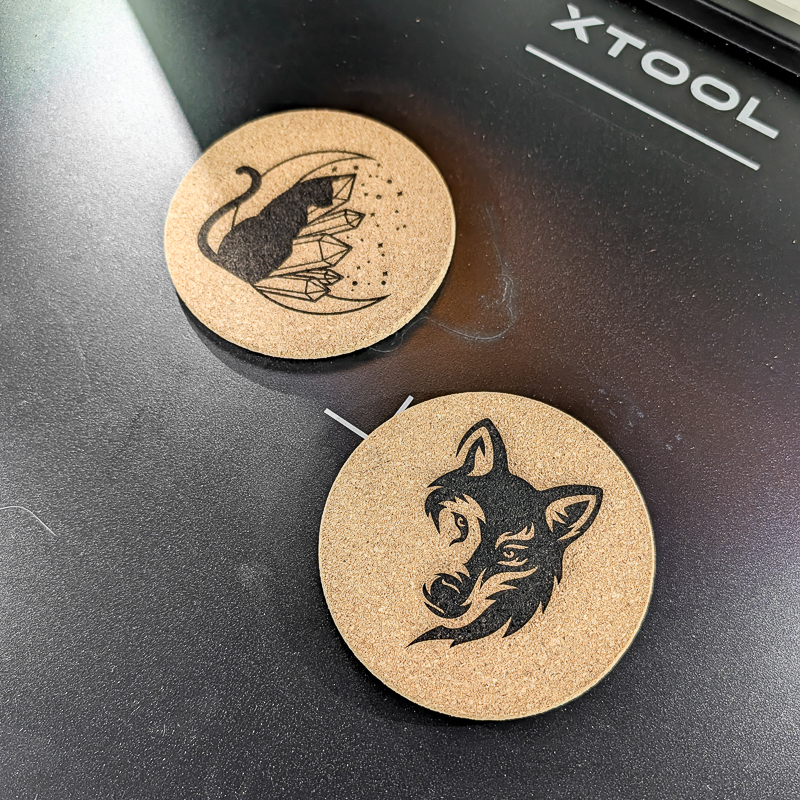
Cork is my favorite thing to engrave. It burns so easily, and the contrast between the cork and the black engraving lines is *chef’s kiss.* I decided to try a variety of designs varying in intricacy to see how this machine performed.
Here are the settings I used:
- 25 power
- 100 speed
- 1 pass
- Air assist 100
- Lines per cm 121
- Engraving mode bi-directional
I also used some tape to hold these in place. And the detail on the designs was SUPERB. I started off with the cat/crystal design and finished off with the detailed moth design. Very impressed. Much like the engraving on my M1, which was my favorite machine for engraving, but faster!
A tip on engraving cork. There will be some residual smoke lines from the engraving, especially on intricate designs. Just use a little painter’s tape to remove a lot of that. Works like a charm!
3. Cutting thin wood
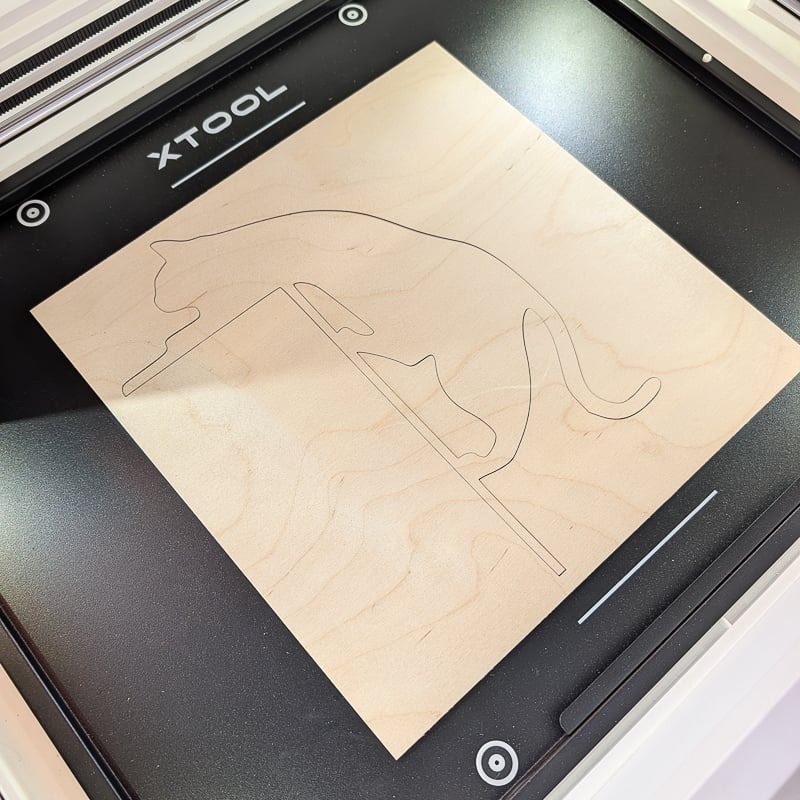
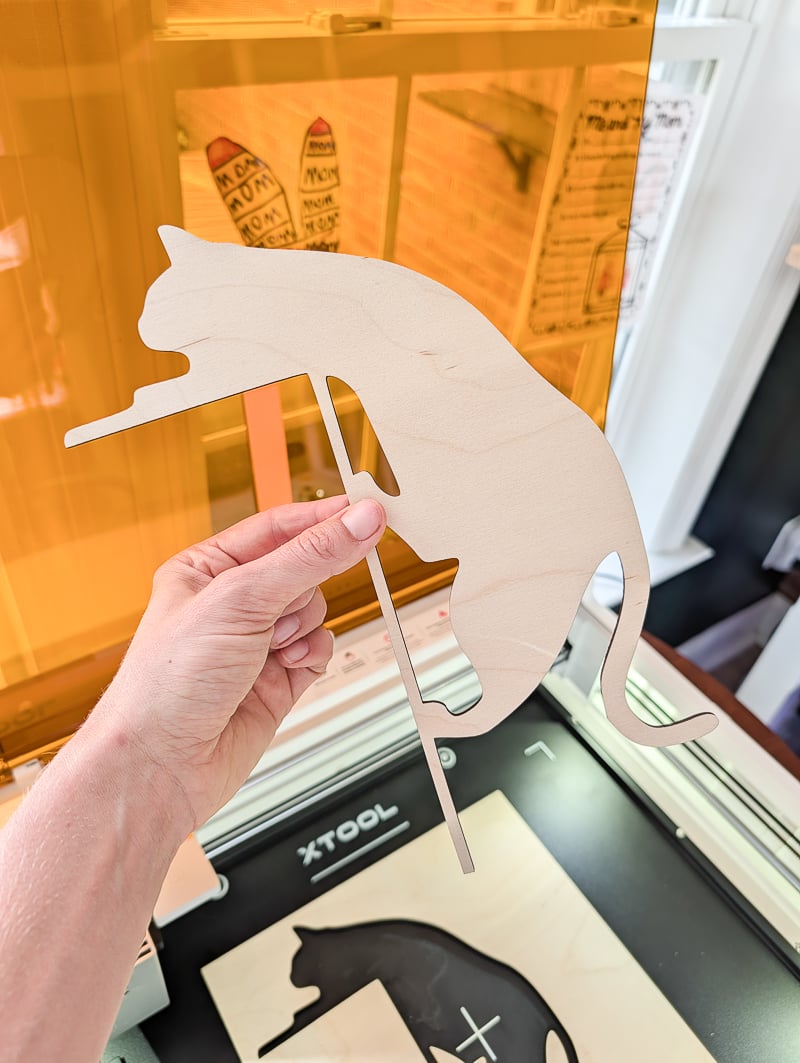
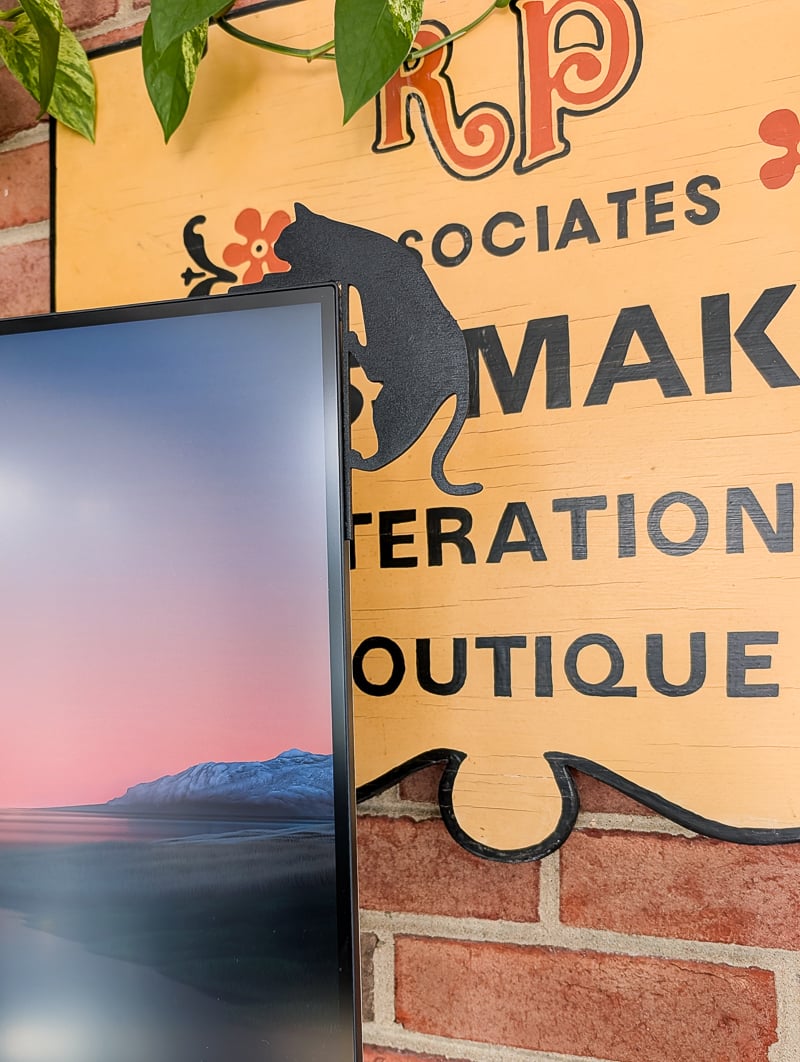
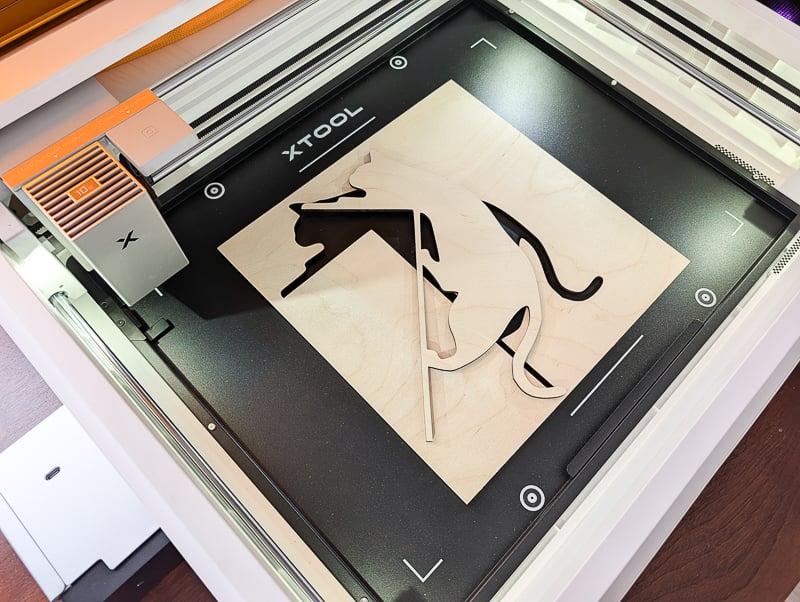
And as a final test, I wanted to try out cutting some thin wood. I had some 3mm basswood that I decided to cut out a few “climbing cats” on. These are meant to sit on the top corners of door frames or windows. I just found this file in xTool Studio for free.
Here are the settings I used:
- 100 power
- 3 speed
- 1 pass
- Air assist 100
- Dynamic power 15%
Safety, ventilation, & air assist
Safety is VERY important when operating these laser machines. Take it seriously, folks! Here are a few things to remember…
- Ventilation: Never operate the M2 without active exhaust venting. If window venting is impractical, pair the machine with a filtration system that you pump the fumes into.
- Air assist integration: Make sure to use the air assist whenever it is practical to. The air assist blows pressurized air at the laser focal point, helping to clear debris, cool the material, suppress flare-ups, and prevent dark residue on material.
- Eye protection: Keep the lid closed throughout the entire cycle. The lid filters harmful laser radiation wavelengths.
Pros & cons of the xTool M2
Pros
- Built-in air assist: Air assist did not come standard on the M1, and that was a huge complaint of mine. You had to buy it separately and install it, and it was a bit clunky to use. Everything is built in and streamlined with the M2, though. This is a HUGE improvement.
- Simple software: xTool Creative Space is easy for beginners and offers a variety of free projects you can use to get started.
- Precision camera positioning: Live background capture helps you save material placing designs exactly.
- Compact desktop footprint: Fits easily on a standard 24-inch surface and is light enough to move around for use. Great for me since I don’t have a window in my workshop and I like to carry my machines upstairs to use.
- Consistent 10W output: Handles wood cutting and detailed image engraving beautifully and reliably.
Cons
- Diode light limitations: Cannot cut clear, white, or translucent acrylic without surface pretreatment.
- Processing speed: While faster than 5W entry-level units, high-volume production runs will take significantly longer compared to industrial CO2 lasers.