
How to Propagate Pothos
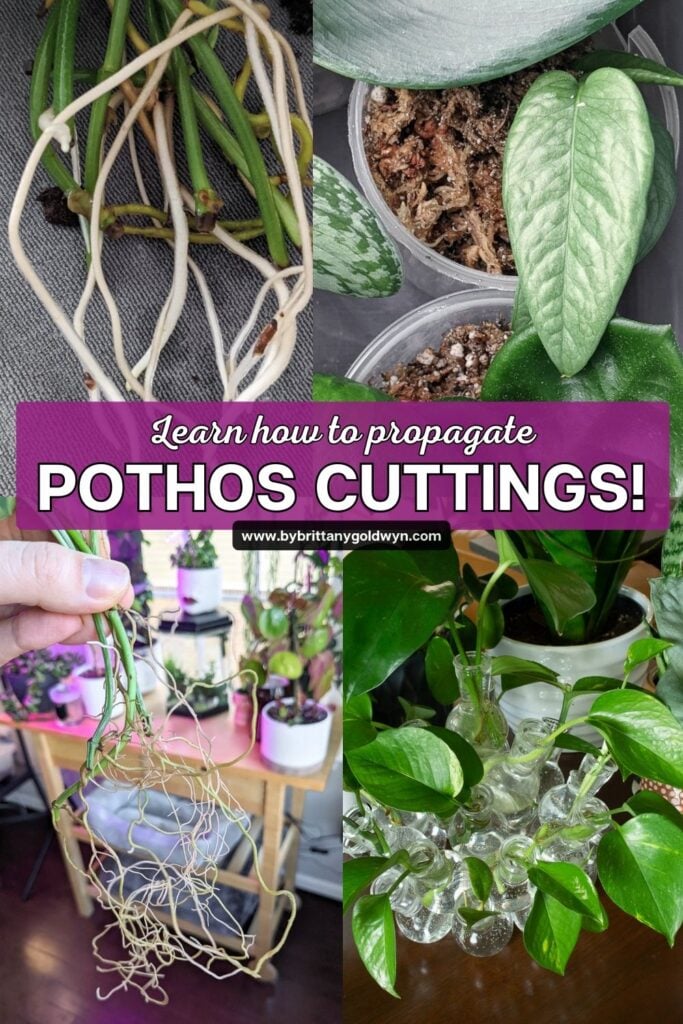
Learn how to propagate pothos cuttings!
Are you looking to get your feet wet with plant propagation? Pothos plants are your gateway plant. Once you start propagating them, you won’t be able to stop. I always say that if you buy one pothos plant, you never have to buy another one—as long as you have a little patience! So let’s dive in.
Overview
- Use cuttings that are 4-6 inches long to ensure plenty of growth points (nodes) are present for root development.
- In water: Submerge cuttings in water; roots will grow from nodes over several weeks, after which you can transfer to soil.
- Using LECA: Place cuttings above a water reservoir; clay balls will wick moisture up to growth points, fostering stronger root development.
- In sphagnum moss & perlite: Nest cutting in lightly damp moss and perlite; keep humidity high and transfer to soil when roots are a few inches.


Taking a good cutting
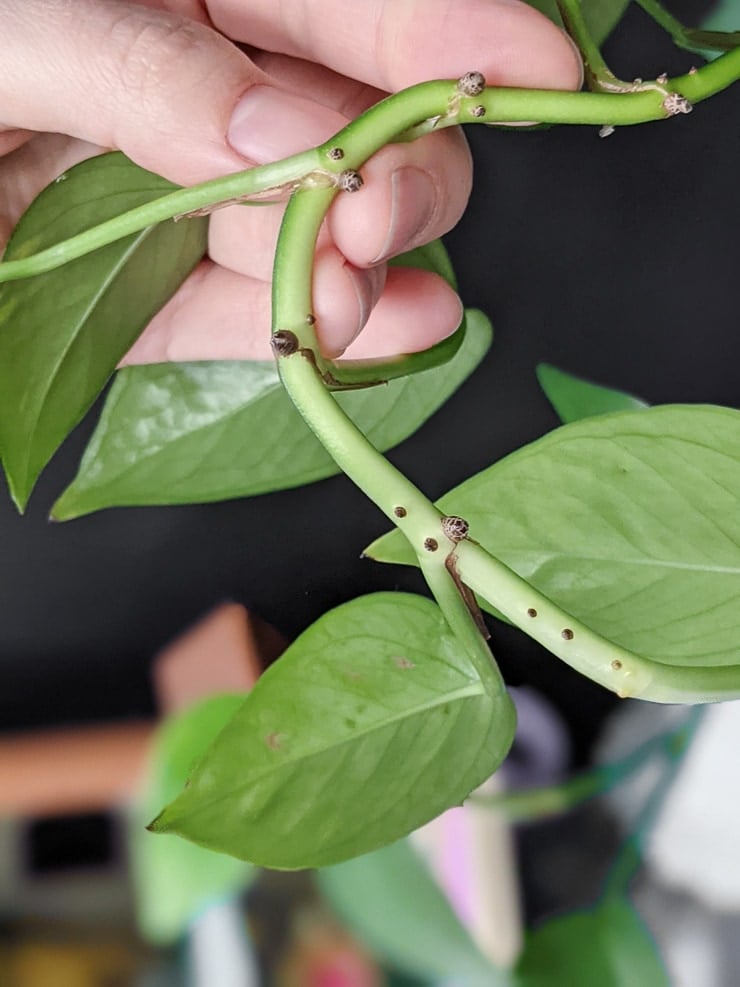
First let’s go over how to take a good cutting. Taking a good cutting is essential—if it doesn’t have growth points on it, it will not root. I like to make my cuttings about 4-6 inches long. If the cutting is too long, it might struggle to root.
Make sure the cuttings have nodes (growth points) on them. Most areas you can cut from will have them. These growth points can be the little brown spots on the stems (see below). Or you can take a cutting and remove the bottom-most set of leaves to expose those growth points.
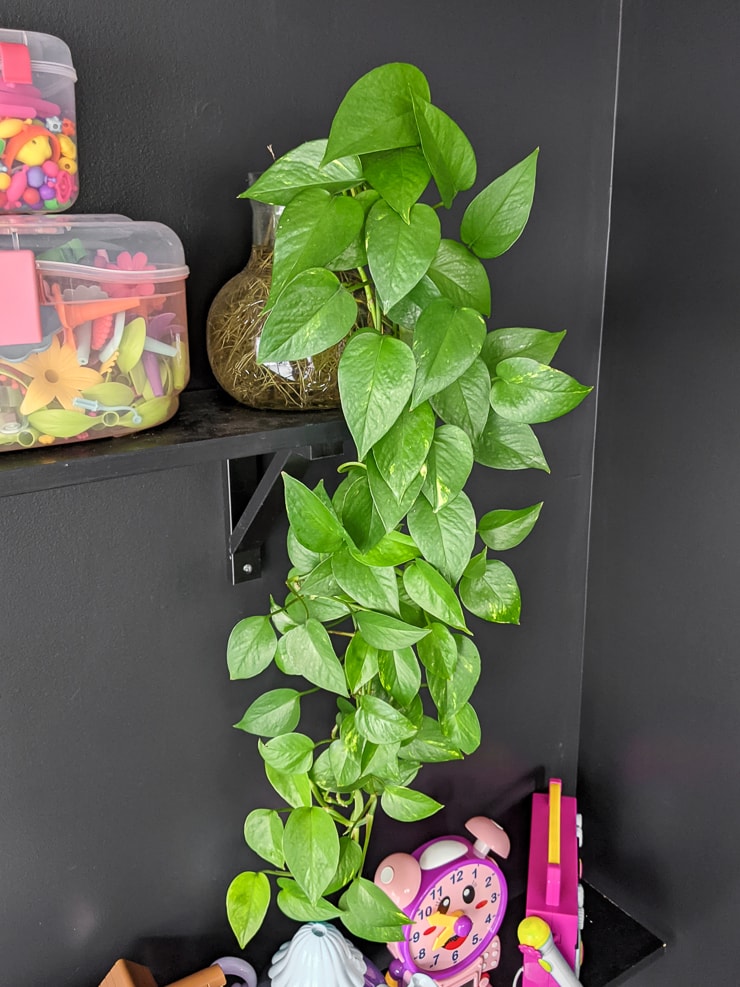
If you want a big, bushy plant, take several short cuttings. This will take longer to get a mature-looking plant, but it will be worth the wait! Don’t forget that pothos plants grow like weeds with just a little bit of care, so a small plant will becoming a large plant in no time.
Keep in mind that, after you trim your plant, it will continue to grow. It just won’t grow from exactly the point you cut it. Instead, it will grow from the closest node on the stem. It will branch out a bit.

Method 1: In water
Pothos plants are really easy to propagate in water. It’s a plant I actually favor water propagation for. You can even keep your pothos plant cuttings in water. They’ll grow slowly, but they’ll do just fine for quite a while.
Here’s all you need to propagate in water:
- Cuttings with growth points
- Container (clear is great to help you monitor root development
- Water
First, add the cuttings to the container
Stick the cut end of the pieces into a jar with water. They should be fully submerged. I like using a clear mason jar because I can easily tell when I need to add more water and see when roots sprout. The first photo below is right when I put the cuttings in.
After a few weeks, you’ll see new roots sprouting from the cut part of the pieces. Those roots are what prevents the plant from dying when you transplant it into new soil.
It takes about 1-2 weeks for pothos cuttings to begin rooting in water. However, if it’s cooler—like during the fall or winter—your propagations will likely take longer. The spring and summer are always the best time to propagate plants, but I have propagated pothos all year.
The photos below are the cuttings after about a week in the water. See the little whiteish roots sprouting from the stems? That’s the start of the new roots. I like to let the roots get a few inches long before transplanting.


And I know I said to take shorter cuttings, but I have an example below where I rooted very long cuttings. I had these in this jar for over a year. They were in my office when the world shut down, and they still did fine until I could go in to get them (someone in security must have been adding water!).


Next, transfer the cuttings to soil
When the roots are long enough, you can transfer the cuttings to fresh, well-draining soil. Make sure you bury the cuttings deep enough to keep them stable—but they might be a bit flopping until the roots make themselves at home.
The roots are very fragile, so be gentle. If the new roots break off, the piece will probably have a higher chance of wilting and dying when you transplant it into the soil.
I recommend keeping the soil moist for a few weeks while the water roots convert to soil roots. Once the plant begins pushing out new growth, back off the watering and treat the plant as you would any normal pothos plant.


Method #2: In LECA
Another way to propagate pothos cuttings is in LECA. LECA balls are clay balls that hold moisture. You nest the cuttings in them, and roots sprout. (See my full LECA propagation guide for more.) I love rooting plants in LECA for a bunch of reasons:
- It’s reusable forever because you can sanitize it after using it.
- It provides a more stable base when compared to water.
- It helps you grow stronger roots that respond better when you transfer the cuttings to soil.
I bought a large bag of LECA clay balls from Ikea years ago. I haven’t had to buy anymore because it is reusable (just boil between uses). However, if you can’t find it at your Ikea or aren’t close to an Ikea, check your local nurseries. If all else fails, you can buy a small bag online.
Here’s what you’ll need:
- Cuttings with growth points
- Clear container
- LECA
- Water

First, add a bottom layer of LECA to the container
LECA propagation uses water as well, but the process is a bit different. You create a reservoir of water in the bottom of your container. Then, you nest the cutting just above that reservoir.
The cutting shouldn’t touch the water. Instead, the LECA balls will soak up the moisture from the reservoir. The cutting will respond by sprouting new roots from its growth points. These roots grow throughout the LECA.


Next, transfer the cuttings to soil
Monitor the water levels to make sure it doesn’t evaporate completely. I don’t flush our the LECA while I am rooting cuttings; instead, I wait until it is almost gone and just pour some more in the top.
When the cuttings have some nice long roots, you can transplant these to soil. No need to keep these as moist as you would with water-rooted cuttings. The roots are stronger since they aren’t technically grown in water.

Method #3: In sphagnum moss
Finally I want to cover how to propagate pothos in sphagnum moss and perlite. Moss is my favorite way to root cuttings of many plants, including varieties of hoya and many philodendrons. It’s often overkill for pothos plants since they root so easily.
However, it’s what I use when I want to pretty much guarantee my propagation will be a success. Rooting plants in moss creates very strong roots, so they experience very little shock when moving to soil. Here’s what you need.
- Cuttings with growth points
- Small container
- Sphagnum moss
- Perlite
- Clear baggie
- Water
First, dampen the moss and mix in perlite
For your cuttings to root successfully, you’ll want to dampen the moss. I like to soak it in a bowl and then wring out every bit of water I can. Mix with some perlite and put it in a small container.
I like to use small cups and sometimes even use a DIY plastic propagation box if I want to root multiple cuttings at once. Add the cutting into whatever contain you’re using, making sure the growth points are buried.
Then put a clear plastic baggie over the cutting and container. This will help keep humidity high and prevent the moss from drying out too quickly. You’ll notice roots sprouting pretty quickly. Make sure the moss stays damp.


Next, plant the cutting in soil
When the roots are several inches long, take the cutting out of the moss and gently pick off the pieces of moss from the roots. It can be hard to tell if things are roots or moss, so take it slow.
Then plant the cutting in fresh, well-draining soil. Water the plant and treat it as you would any other pothos plant. You should notice minimal drooping with your strong new roots.

Issues & troubleshooting
No matter the propagation method you choose, you may encounter some issues. Here are some tips for how to troubleshoot them!
Cuttings look droopy after planting
Sometimes cutting will look droopy and just a little sad after planting. This is transplant shock. Plants need some time to rebound after being repotted. Make sure you don’t water it too much thinking that the droopiness means it is thirsty. Only water once the top few inches of soil dry out.
Keep in mind that transplant shock can be much worse when you are transitioning soil cuttings that were rooted in water to soil. Water roots are different from soil roots. That’s why pothos can root and grow in water, but an overwatered pothos in soil will die from root rot.
Water roots are white and fuzzy, while soil roots take in water differently. The water roots might take in a bit too much moisture when you first transplant the cuttings to soil. So give it a few days to adjust after you transplant it. Don’t panic! Trust me, I’ve done this countless times.
Cuttings are rotting
My cuttings are often not a 100% success. That’s why I recommend taking a few cuttings to root, whatever propagation method you choose.
If you have the cuttings in water and the rot seems to be around the growth point, try trimming it and rooting from another growth point instead. Let the cut end callus over for 24 hours before putting it back in water.
If you notice that cuttings in sphagnum moss and perlite are rotting, your moss might be too wet. Make sure it is damp, not wet. Squeeze out all of the water. You also want to give the cuttings some fresh air, occasionally taking the bag or box’s lid off to air things out.

In conclusion…
This guide aims to walk you through my favorite ways to propagate pothos. Pothos propagation is a straightforward and rewarding process, whether you choose a method I’ve outlined in this article or another way.
Remember, success in propagation comes down to the basics: proper cutting techniques, patience, and the right environment for your plants to thrive. I’d love to hear about your propagation experiences or any questions you might have. Feel free to drop a comment below. Happy planting!
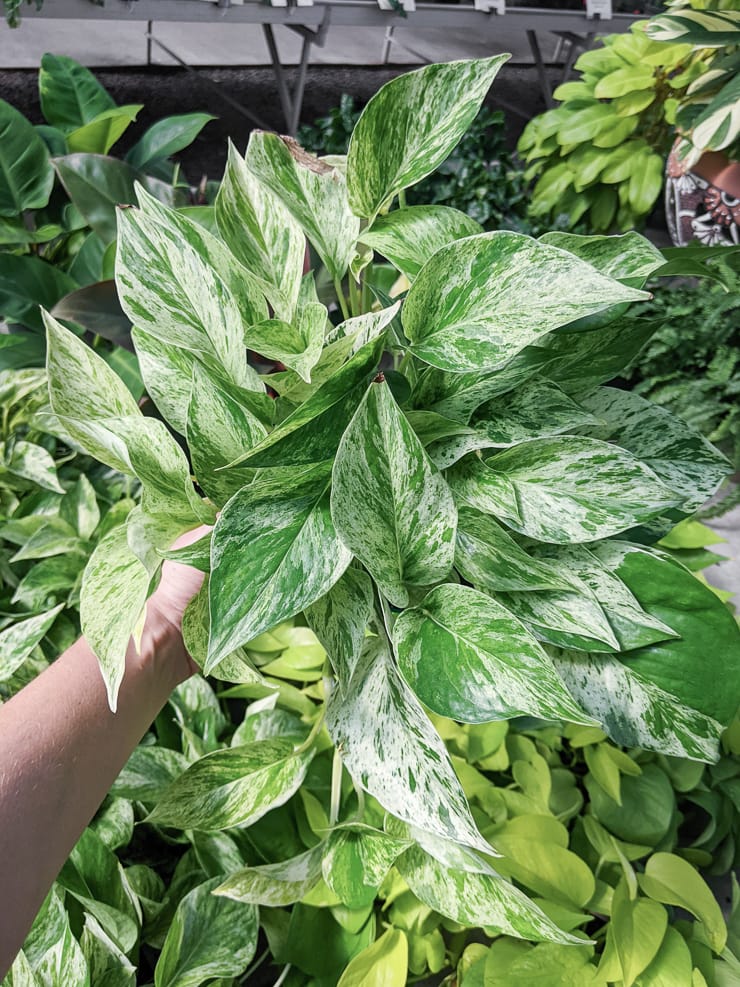
Like this? Check out my article about 11 Pothos Varieties to Check Out!
Pin my tips!


You are so talented haha, just trying to keep my Boston Fern’s alive has been a slow, declining struggle. Trying to propogate anything would definitely result in disaster for me. I love the pops of color these bring to your house!
Hey Jenn! Thanks! You should try it with these…I promise it’s so easy. Only low-maintenance plants for me now.