Learn how to make succulent soil at home using this easy DIY recipe!
How to make succulent soil
Today’s article is all about how to make succulent soil at home. Making your own succulent soil is a cost effective way to give your succulents (and other plants that enjoy well-draining soil) a great home without dropping a ton of cash on bags of pre-made succulent soil at the store.
This is just one way to make succulent soil. There are a lot of ways to do it and a lot of recipes out there. It’s really hard to go wrong with most of them, as long as you’re adding enough of the right materials to help water quickly drain through the soil. No succulent likes to have its roots bogged down in soggy soil!

DIY succulent soil overview
- Succulents are native to arid regions where the soil drains quickly; mimicking these conditions help to keep succulents happy as houseplants.
- Making succulent soil at home is easy, and it’s suitable for succulents and other plants requiring well-draining soil.
- My recommended recipe consists of 2.5 cups of potting soil, 1 cup of coarse sand or grit (not fine sand), and 1 cup of perlite, creating a mix that allows for efficient drainage.
- Mix the ingredients in a bowl and plant.
Why use special soil for succulents?
When caring for succulents as houseplants, it’s a good idea to mimic their natural habitat as closely as possible. Succulents and cacti are native to arid regions where the soil drains quickly, preventing waterlogged conditions. Succulent soil mixes often contain materials like perlite, pumice, or sand to improve drainage and prevent root rot.
These plants have also adapted to environments with low moisture, and their roots require good aeration to prevent them from rotting. Soil mixes for succulents and cacti usually have materials that help to enhance aeration and provide the roots with oxygen. So let’s talk about what supplies I use.

For more succulents, see my String of Pearls Care guide, my Prickly Pear Cactus Care tips, and my article all about the gorgeous Echeveria succulent!
Supplies you’ll need
(Affiliate links below; read more about those here)
- Potting soil—something like this works fine
- Perlite
- Horticultural sand or grit
- Measuring cups—or you can eyeball it, which I often do!
- Bowl
Step 1: Gather soil, sand, and perlite
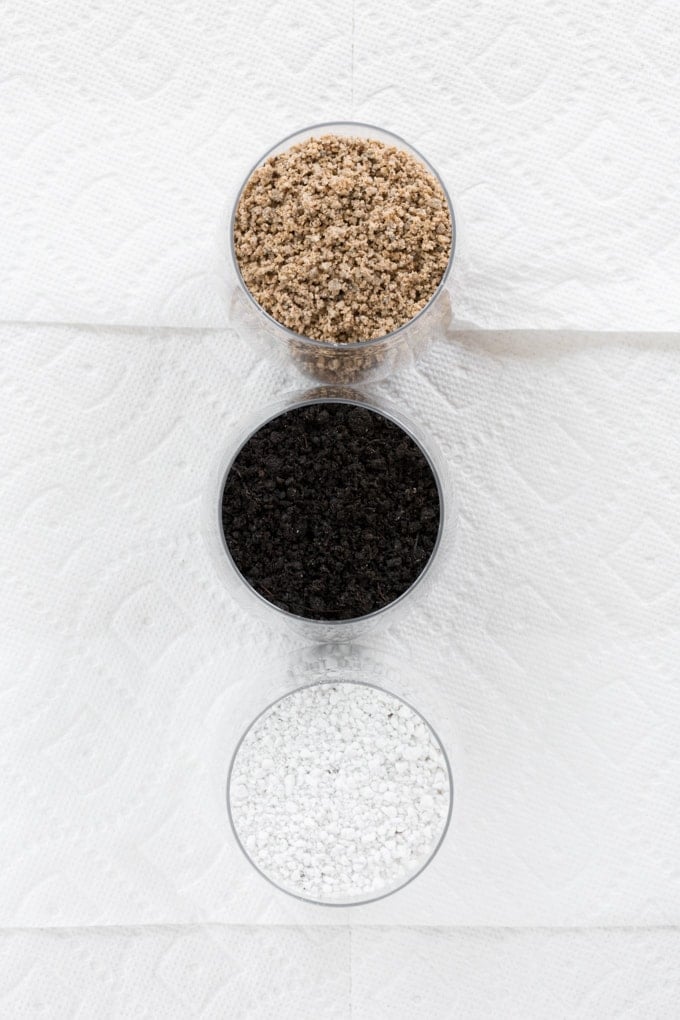
The first step is to gather your ingredients. For this recipe, I am using three: potting soil, sand, and perlite. The potting soil came from a bag of soil I keep on hand in the garage pretty much all the time.
I also usually have a bag of perlite on hand because it’s a great material to light up any any soils. I’ll sometimes add a bit in when potting hoyas, too. You can read more about perlite and other soil amendments I use for houseplants in my article Indoor Potting Soil 101.
As for the sand? Well, between you and me, I stole a cup from our weighed down outdoor umbrella stand for this mixture. It was from a bag of coarse sand from the paver area at Home Depot.
You don’t want to use something super fine like playground sand. Look for something that has some small pebbles and a bit of grit in it. If you’re buying sand, look for horticultural sand at local nurseries or online.


Step 2: Measure & mix the ingredients
The recipe I typically use for succulent soil is easy and very straightforward. It’s not an exact science, but it is made up of about 2.5 cups of potting soil, 1 cup of coarse sand, and 1 cup of perlite. So, the ratio looks like this: 2.5:1 potting soil, 1:1 coarse sand, 1:1 perlite.
I often eyeball this process, starting by mixing the sand and perlite. Then I add that mix to the soil. If it feels nice and light, I’ll run with it. Sometimes I like to go heavier on the perlite for plants that are especially prone to root rot.


Step 3: Plant your cutting
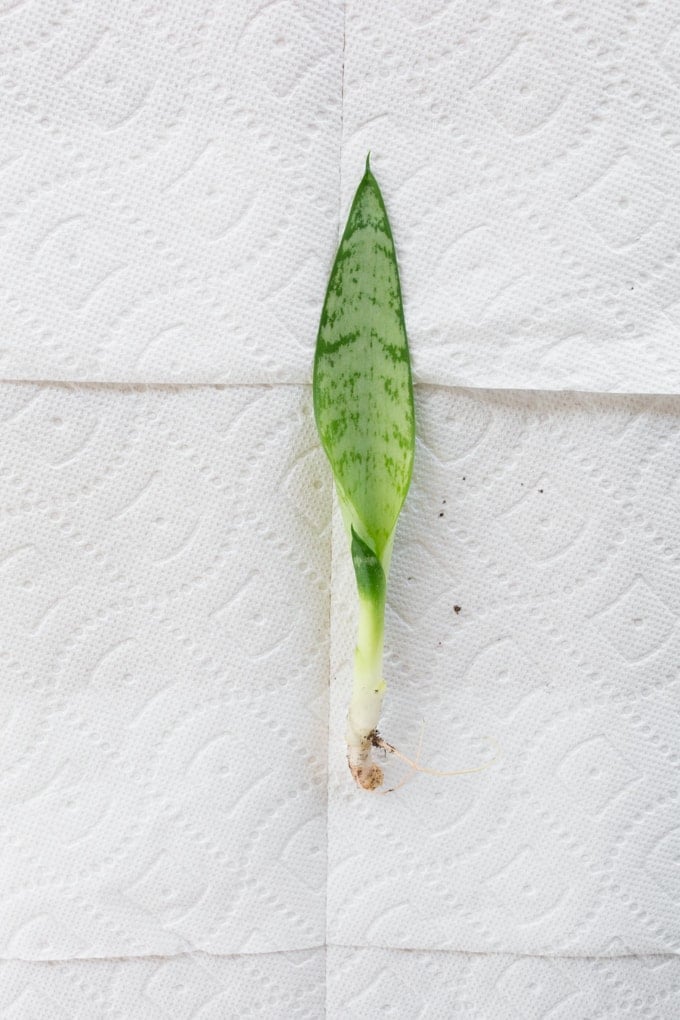
I’m working with a cute little snake plant cutting here. Did you know snake plants are actually succulents? That’s right! So they love a good well-draining succulent mix.
I planted my snake plant cutting just as I would any other plant. Since I’m planning to give away, I just planted it in one of the cups I’d used to mix the sand and perlite. Once it roots a bit, it should be replanted into something with drainage holes to prevent overwatering.
And that’s about it! If you do a lot of planting that requires well-draining soil (I use succulent soil for plants other than succulents a lot), making your own at home can save you a few bucks. Happy planting!


In conclusion…
Making your own succulent soil is a practical and cost-effective solution for your plants. By following the simple recipe and steps outlined in this guide, you can create a great mix that helps to mimic your plant’s natural habitat.
Have you tried making your own succulent soil? What tips and tricks have you discovered in the process? Share your experiences in the comments below—happy planting!
Pin my tips about how to make succulent soil!


Brittany is a seasoned DIY home and garden expert, running a creative brand since 2014 that inspires others with approachable plant care guides, woodworking tutorials, and decor projects. She is a certified project manager and has completed extensive coursework in the art and science of growing your own plants. Her work has been recognized by major publications, and she routinely collaborates with fellow DIY industry leaders—but her favorite thing to do is inspire you! Learn more about her here.


Leave a comment