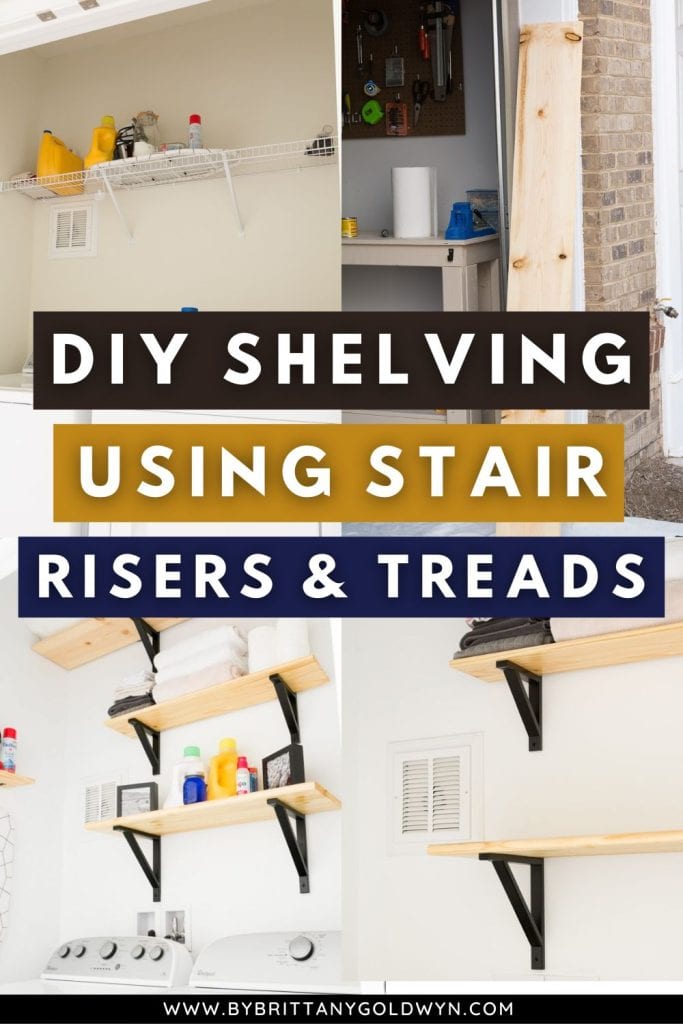
This post shares all about DIY stair tread shelves. Using stair treads as shelves is a cheap and easy idea for wooden open shelving anywhere in your home.
How to make stair tread shelves, a cheap storage solution!
Hellooooo second week of the $100 Room Challenge! If you’re just joining me, I’m tackling my tiny laundry nook and making it pretty and functional for $100 or less. And thanks to Erin at Lemons, Lavender, and Laundry for hosting this challenge again and giving us all a kick in the butt to get a space done on a tight budget!
So here’s where we left off last week. I pulled down the wire shelving, patched the drywall, and painted the walls and ceiling using Sherwin-Williams Extra White in Eggshell. I had some left over from painting our bedroom, so I decided to go with that.


Cheap open shelving idea using stair treads
This week I’m chatting about how I’m putting this space back together and making it a big more functional using some open shelving! As a reminder, we had one 6-foot wire shelf mounted in the space.
I wanted to reconfigure the shelving to maximize the storage space and also make it prettier. To do so, I mixed light pine with black shelving brackets to put up three new shelves: one 6-foot shelf at the top of the space for items we don’t use very often and then two 3-foot shelves that we can easily reach for things like detergent, extra towels, etc.
However, while I was walking through Lowe’s browsing my options, I wandered into the aisle that had unfinished pine stair treads. They were much cheaper than the pieces of pine I already had in my cart, but they looked a little rough. I took a chance on them thinking I could polish them up nicely and came home with them.
What is the difference between stair treads and stair risers?
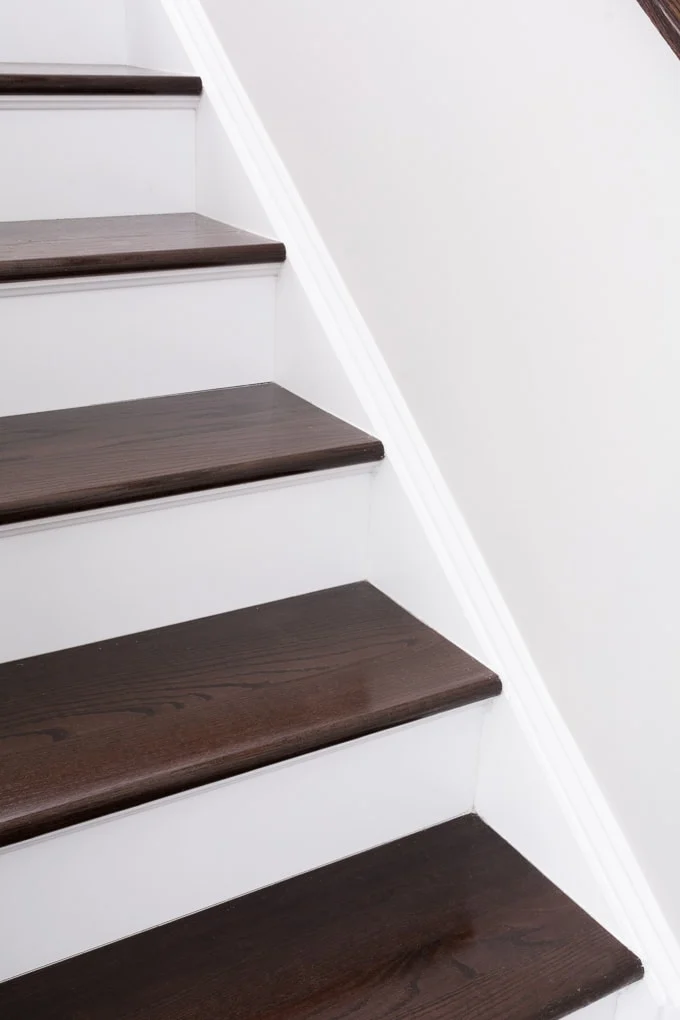
If you’re new to stair lingo, you might be wondering what the difference is between stair treads and stair risers. Stair treads are the things that you actually put your feet on when walking on a set of stairs. They are typically thicker and often have a rounded “bullnose” front.
Stair risers are the part between the treads. Unlike the treads, which sit horizontally, risers are attached vertically. They are often a bit thinner—3/4-inch to 1-inch thick, generally—and are rectangles. They do not have rounded edges. Here’s a pic of our newly refinished stairs so you can see a closeup of each in action:

Here’s what I used—
(Affiliate links below; read more about those here)
- Stair tread, (1) unfinished 4-foot pine stair tread
- Stair riser, (1) unfinished 4-foot pine stair riser
- Whitewood board, (1) unfinished 6-foot whitewood board
- Orbital sander (I have this one)
- Minwax wood stain in Natural
- Minwax polyurethane in semigloss
- (6) Ekby brackets from Ikea, (2) large ones and (4) smaller ones
And here are the steps I took for my DIY stair tread shelves!
(Remember to wear a mask and eye protection while sanding and working with wood, and wear an appropriate mask while working with paints, stains, and finishes. Follow the directions and warnings from your particular brand. Do not use any tools without proper training, precautions, and supervision from a professional. Read my full terms of use here.)
Step 1: Cut stair treads to size
First I cut down the two 4-foot stair treads/risers to 3 feet each. I cut about an inch off of the 6-foot whitewood board so that it would fit comfortably from wall to wall in the top of the closet.

Step 2: Sand the pieces
Since these weren’t exactly top-shelf pieces, I grabbed my orbital sander and gave each piece a good sanding. I focused a lot on the edges, too, since they were rough and splintery. This just helps the wood look a bit more polished.
Step 3: Stain and finish
After wiping the dust off of the pieces, I stained them using Minwax wood stain in Natural and Minwax polyurethane in semigloss. I was a little worried at how yellowish the stain seemed to be taking, but they ended up looking great with the black brackets and white wall!
Here are our two assistants helping out with the hanging process. So nosy!


Step 4: Mount stair tread shelves using shelving brackets
We used Ikea Ekby brackets for the shelves. These are really cheap, sturdy, and versatile shelving brackets from Ikea. They have a lot of decent shelving bracket options if these aren’t your look. These come in other colors, too—or you could easily spray paint them. I used two of the bigger brackets for the stair tread and two of the smaller ones for the stair riser since it was a bit narrower.
Here are the final DIY stair tread shelves mounted. Don’t they look awesome?! And for a fraction of the price of what we would have paid to top-shelf pine lumber or pre-made shelving. Everything is MUCH easier to reach. I’m generally keeping laundry stuff on the bottom shelf and extra towels and other linen-type stuff on the middle shelf.


And when I need something from the top shelf, which you can see in this pic, I just grab a stool. I think I’ve only had to do that like twice a year, though, since it’s mostly off-season stuff. Or stuff we need when we have house guests. The kind of stuff you don’t really want to be taking up precious storage space.

Next week I’ll be back to share another DIY to store my ironing supplies. Until then…
And here’s my to-do list with a predicted/actual budget for each:
Remove wire shelving and bring to ReStore($0)Patch drywall($0)Paint walls and ceiling($0)DIY shelving—cut, stain, finish, and mount(Actual cost: $26.69 for lumber, $27.56 for brackets)- Iron board/iron hanger ($10)
- DIY drying rack for sweaters/delicates ($30)
- Misc room in the budget ($10)
Total money spent: $54.25
Share my DIY stair tread shelves on Pinterest!


Brittany is a seasoned DIY home and garden expert, running a creative brand since 2014 that inspires others with approachable plant care guides, woodworking tutorials, and decor projects. She is a certified project manager and has completed extensive coursework in the art and science of growing your own plants. Her work has been recognized by major publications, and she routinely collaborates with fellow DIY industry leaders—but her favorite thing to do is inspire you! Learn more about her here.

This is so smart I’m definitely tucking {pinning} this nugget away for a future project. Your cats are too cute, my cat is always around when I’m working. I call her the project manager LOL.
Yes! I call them the apprentices. Although they usually cause more harm than good. Good thing they are cute. 🙂
Oh these shelves look SO much better than the original! Great job making it budget friendly. I can’t wait to see how your laundry room comes together!
Brittany!!! The shelves look gorgeous! Love how the cats are making sure you’re doing everything right 🙂
What made you buy one stair tread and one riser? It seems like you would want two of the same.
Thanks, Stacy
Hey Stacy! One is a bit wider than the other, and I wanted to use the wider one for the bottom shelf to store big jugs of laundry detergent. 🙂
This DIY shelving is amazing, and I’m loving how your laundry nook is coming together. Can’t wait to see the whole space pulled together. You have a fabulous style.
Thank you Sue <3
I love the shelves! They look great!
Thanks Tracy! And we’re already putting them to good use 🙂
Your cats look so cute watching him work. I love the shelves and I can’t wait to see the final room because I am doing my laundry room next.
That’s what they do, watch us work 🙂 Or get in the way. But they’re still adorable.
girl this is SO SMART! I am amazed when places like lowes have “secret items” that can be swapped for each other like this. bravo!
Ha, thanks!! And they were originally 4 feet long, too, so pretty big shelves.