How to Make a Spice Rack for a Drawer
Wondering how to store spices in a drawer? This post will teach you how to make a spice rack for a drawer using cheap pine project board you can get at your local home improvement store.
How to Make a Spice Rack for a Drawer (for $4.50)
January is all about organization over here. I don’t know what it is about the post-holiday, new-year mood that makes you want to get your sh!t in order. Maybe it’s being stuck inside the house more than you normally would.
Or maybe it’s an empty promise to yourself that this is the year you’ll finally be organized. Maybe I’m getting too deep here at the start of a post, and people just like organizing. 🙂
One thing that we have always battled is spice organization. We have a lot of spices. For a while we did the lazy-susan-in-the-cabinet approach. That was too cluttered. Then we decided to use one of those plastic organizers with drawers to at least contain some of them from rolling around. That just became frustrating because you’d sometimes have to check three different drawers to find the spice you want.

We toyed with the idea of doing a shelving organizer in our cabinet, but we ultimately decided that moving all of our spices to a drawer and using a draw organizer would be the best approach. We have more drawer space than we do easy-to-reach cabinet space.
I love how it turned out—you can easily see everything you have in one spot, and everything stays put! If you want to learn how to make a spice rack for a drawer, this project is for you.


HERE’S WHAT I USED:
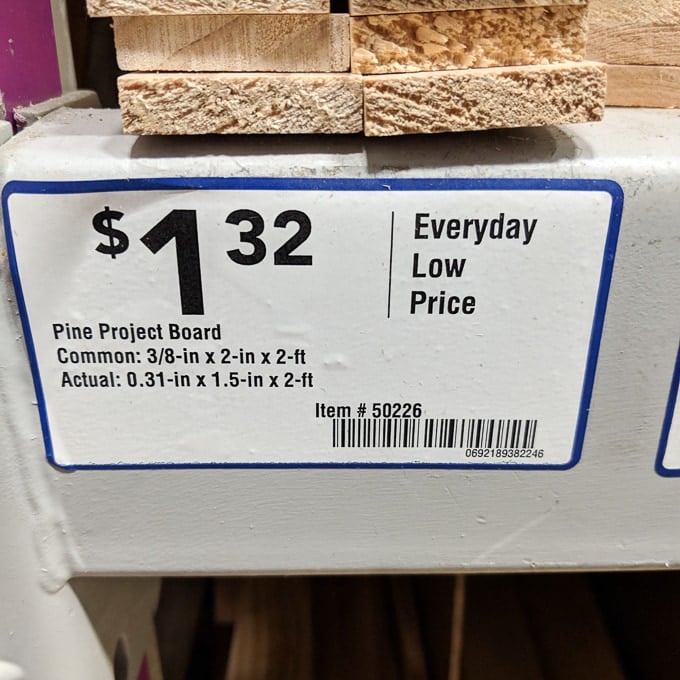
- 3/8″ x 3″ select pine craft board (cut to the lengths indicated in step 1)
- Miter saw
- Wood glue
- Measuring tape and pencil
- Bar clamp (optional)
And here are the steps to make a spice rack for a drawer.
(Remember to wear a mask and eye protection while sanding, and wear a mask while working with oil-based stains and finishes. Follow the directions and warnings from your particular brand.)
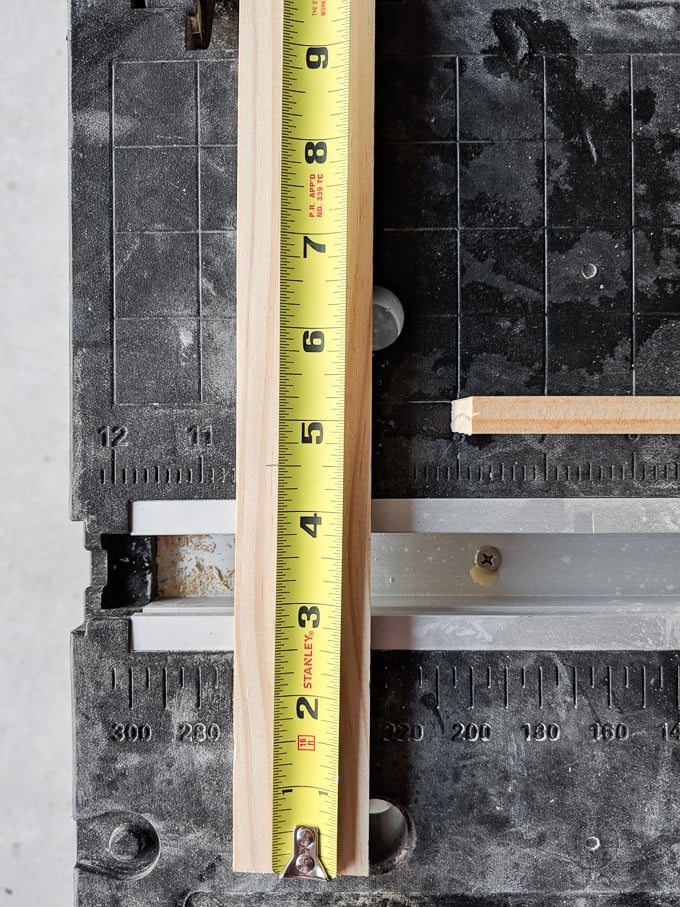
Step 1: First I cut my pine craft board as indicated below. I wanted the organizer to fit perfectly in the drawer.

Step 2: Next I glued one of the dividers in. I started with the bottom divider. I measured my spices before I measured and marked where to glue the divider.
Not all spice jars and racks are the same size unless you buy the same brand for everything, so I used the largest measurement. I figured some of the smaller spice jars could be stacked on top of one another, too.


Step 3: Once that dried, about 30 minutes, I measured, marked, and glued the second divider. The third divider required a bar clamp because one of my side pieces bowed out just a hair, but you may not need one.
I wasn’t terrible worried about this popping out after the glue dried because the glue is really strong and there really wouldn’t be that much pressure put on the joint. The rack would be laying flat. (Months later and it’s still fine!)

I didn’t stain or finish mine; I just popped it in the drawer and organized the spices. I’d say this was a super easy, high-impact project—what do you think?
And it was so freaking cheap to make. I love looking at it every single time I open the drawer. It really maximizes the space well.


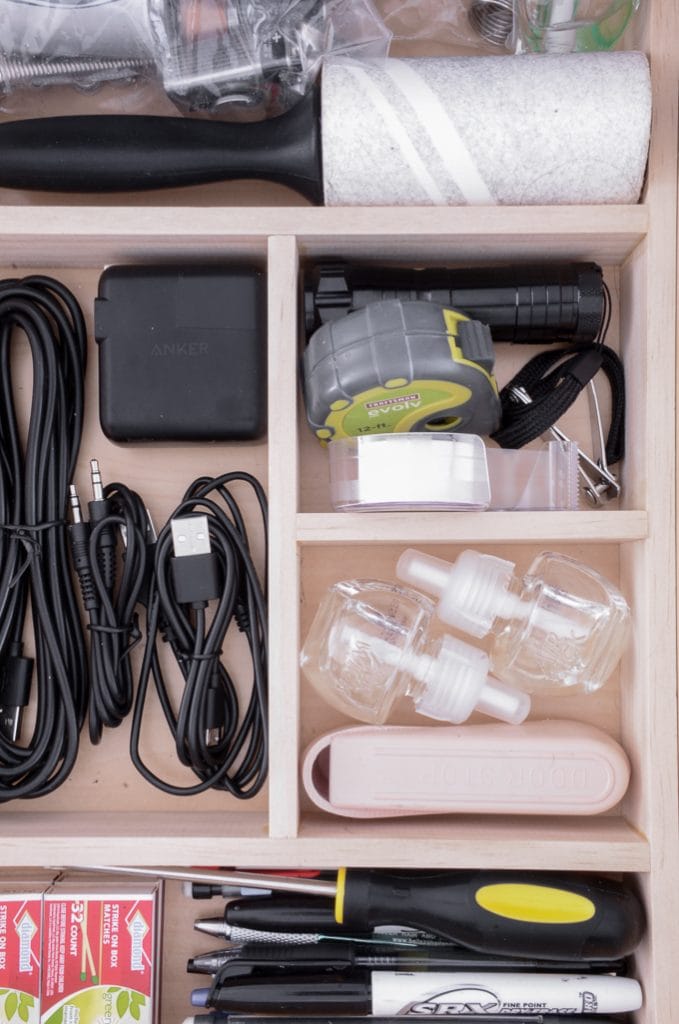
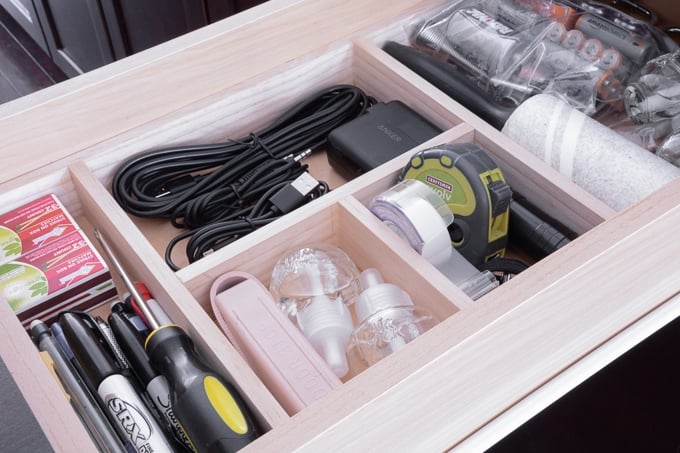
In fact, it was so easy and I loved it so much that I made a version for the junk drawer in our kitchen, too:

Pin my tips about how to store spices in a drawer!


