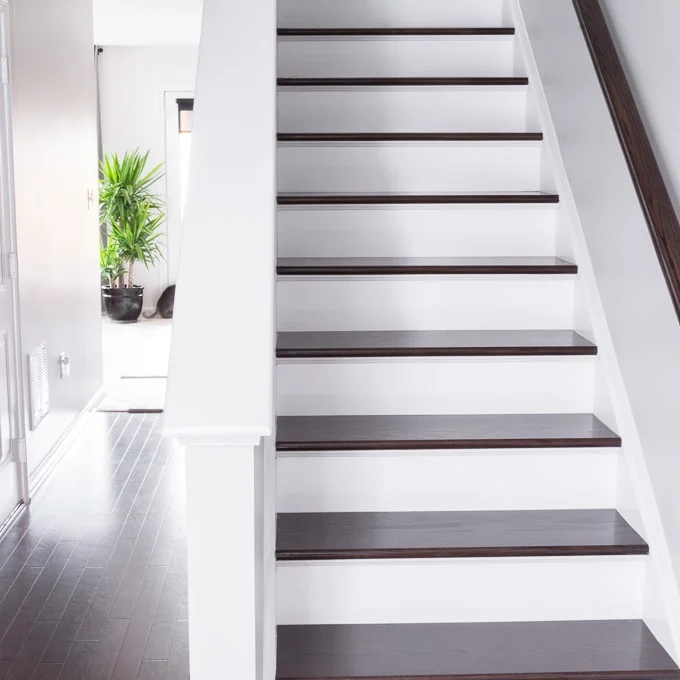
This post shares how to caulk hardwood stairs, specifically how I re-caulked cracked stair stringer seams and trim for a beautiful finished look.
How to Caulk Hardwood Stairs & Repair Cracked Caulk
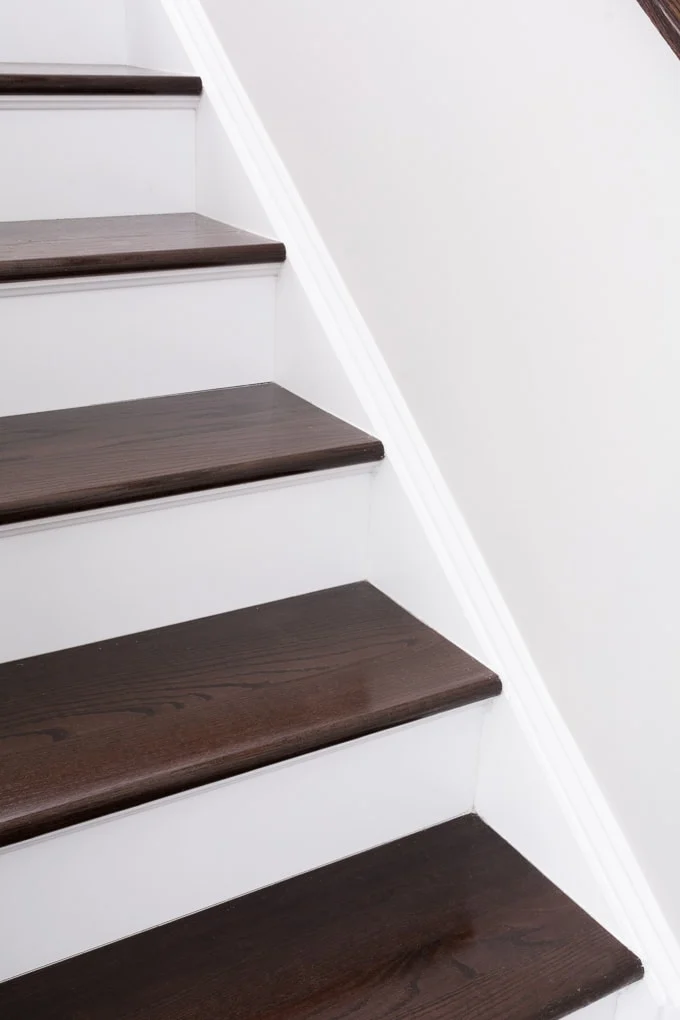
Hey guys, just sharing a quick little tip on how to caulk hardwood stairs, specifically how to re-caulk cracked stair stringer seams and trim. Although we hired out the job of refinishing our carpeted stairs to wood treads, I took on the job or re-caulking the stair stringers and trim. The caulk was cracking, and I couldn’t have that next to my beautiful new staircase!
This topic also lines up nicely with this month’s DIY at Home theme of home improvement. After you check this project out, definitely check out the other projects at the end of the post!


Here’s what I used:
(Affiliate links below; read more about those here)
- Utility knife
- Pliers
- FrogTape
- Paintable caulk
- Caulk gun
- Disposable gloves
- Cup with water
- Paper towels
- Paint to match existing white
And here’s how to caulk that wooden staircase!
Step 1: A lazy way would be to just run a bead of caulk over the existing cracked caulk. Although I do some things the lazy way, this was not one of them. I wanted the new caulk to last, so I removed all of the old caulk first.
I did that using a utility knife to slice down the middle of the caulk seam and then used the pliers to pull out a starting point. Most of the caulk came out pretty easily, which was a nice surprise. I expected to be picking bits out for a while.


Step 2: Once the existing caulk was gone, I applied FrogTape to create the outline of where I wanted to caulk. This was honestly the most time-consuming part of the process. But I’m not a professional caulker, so I always feel like I need the training wheels to get a perfect line.


Step 3: I began applying the caulk at the top of the stairs on one side and stopped about halfway down. Then I went back to the top, dipped a gloved finger in a bit of water, and ran it along the bead of caulk to press it in to the seam and smooth it out. Just a bit of water helps here. I wiped excess caulk on to a paper towel.


Step 4: I removed the tape from the caulked area immediately (and carefully) and repeated steps 3 and 4 until all areas were caulked. I also caulked the area between the trim and the wall and then the area between the treads/risers and the stringers using the same method. (Lots. of. tape.)


After everything was sufficiently dry, I gave the stringers and trim a coat of white paint to match the existing color, and they look brand new! And there ya go.


Pin my tips on how to caulk hardwood stairs & repair old cracked caulk!


Brittany is a seasoned DIY home and garden expert, running a creative brand since 2014 that inspires others with approachable plant care guides, woodworking tutorials, and decor projects. She is a certified project manager and has completed extensive coursework in the art and science of growing your own plants. Her work has been recognized by major publications, and she routinely collaborates with fellow DIY industry leaders—but her favorite thing to do is inspire you! Learn more about her here.

Such a great tutorial for how to do this. Love all the details! Your stairs are gorgeous by the way – we still have carpet 🙁
You did a wonderful job! I have done mine, but I find it cracks again pretty quickly. Perhaps I should have used a more flexible caulk because of the stress a staircase undergoes. It would be great to hear how your lovely result holds up.
I want to remove the carpet from the stairs in my house, but I scared of what might be under there. This has me feeling like I want to find out. That stairway gets all the heart eyes from me….
How fab!!
What a huge difference a small little DIY project can make, this turned out Great!
The stairs look amazing – it’s crazy what a little caulk can do! I’ve been postponing redoing our staircase but really just need to bite the bullet and do it …
There are so many things in my house that need to be re-caulked… But my stains need a complete remodel. Thanks for sharing your home improvement looks amazing!
Very impressive! I love how you have shared so many ideas and details to help us. Pinning for future reference!
Oh!! Looks perfect now!! Reminds me that I need to caulk all my baseboards… ugh hehehe
P.S. The stairs are sooooo pretty!
Thanks Christine!
Oh I need to do this so bad! My stairs are looking a hot mess these days!
It makes me so happy when I walk in the front door now 🙂
I totally just notice last week how badly I need to do this in my house! Thanks for the deets!
I know, after doing this, I am reminded of how badly I need to do it everywhere else in the house